47
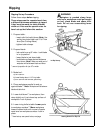
Making Crosscuts
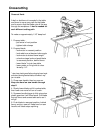
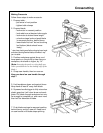
Follow these steps to make crosscuts.
1. Prepare table:
- put fence in front position
- tighten table clamps
2. Prepare blade:
- lock motor in crosscut position
- lock radial arm at desired miter angle
- lock motor at desired bevel angle*
- unlock carriage lock and push blade
to rearmost position, behind fence
- lower blade into kerf* but not touching
kerf bottom (blade should move
freely).
* raise clear plastic guard before changing bevel angle
and when lowering beveled blade, otherwise it may
jam into table.
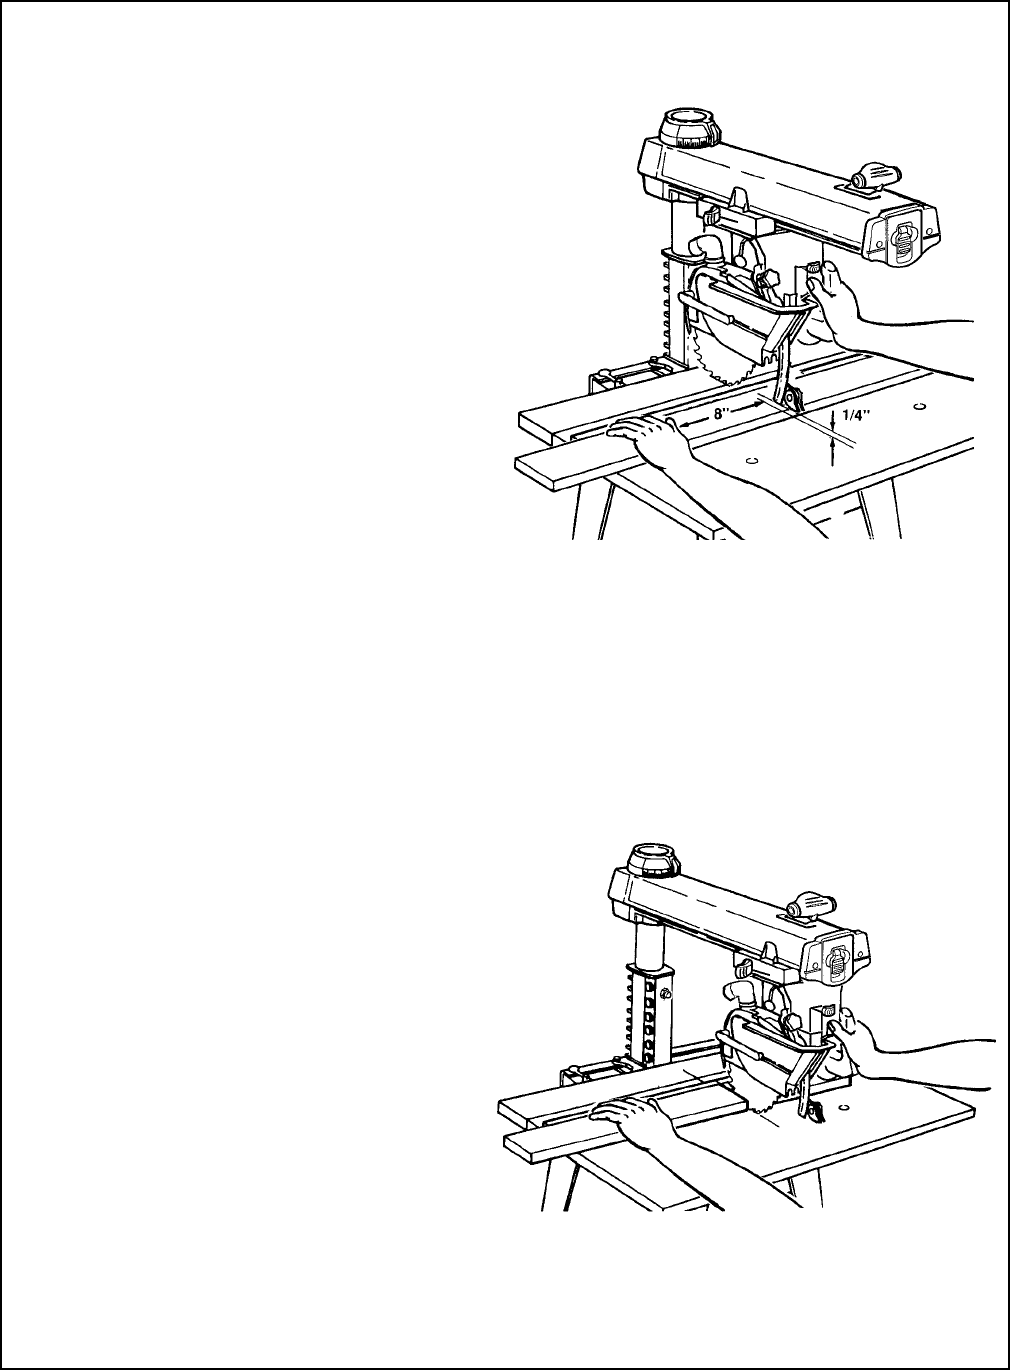
3. Position workpiece against fence, and
lower pawls or riving knife to clear fence or
workpiece, whichever is higher, by 1/4".
(Note: Lowering the pawls or riving knife pro-
vides a partial barrier to the leading edge of the
blade.)
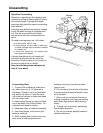
4. Grasp saw handle, then turn saw on.
Keep one hand on saw handle through
step 7.
5. Hold workpiece down and against fence.
Keep hand at least 8" away from blade.
6. Squeeze handle trigger to fully raise clear
plastic guard so it will clear fence and work-
piece. Pull blade through workpiece but only
far enough to complete cut, and never more
than half the diameter of blade.
7. Push blade carriage to rearmost position,
behind fence, and turn saw off. Keep hand
on saw handle until blade stops spinning.
Crosscutting


