32
Square Blade to Fence
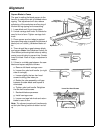
The goal in setting the blade square to the
fence is to reduce the risk of kickback when
ripping. This adjustment will also reduce
splintering of the workpiece and burning of
the kerf during ripping and crosscutting.
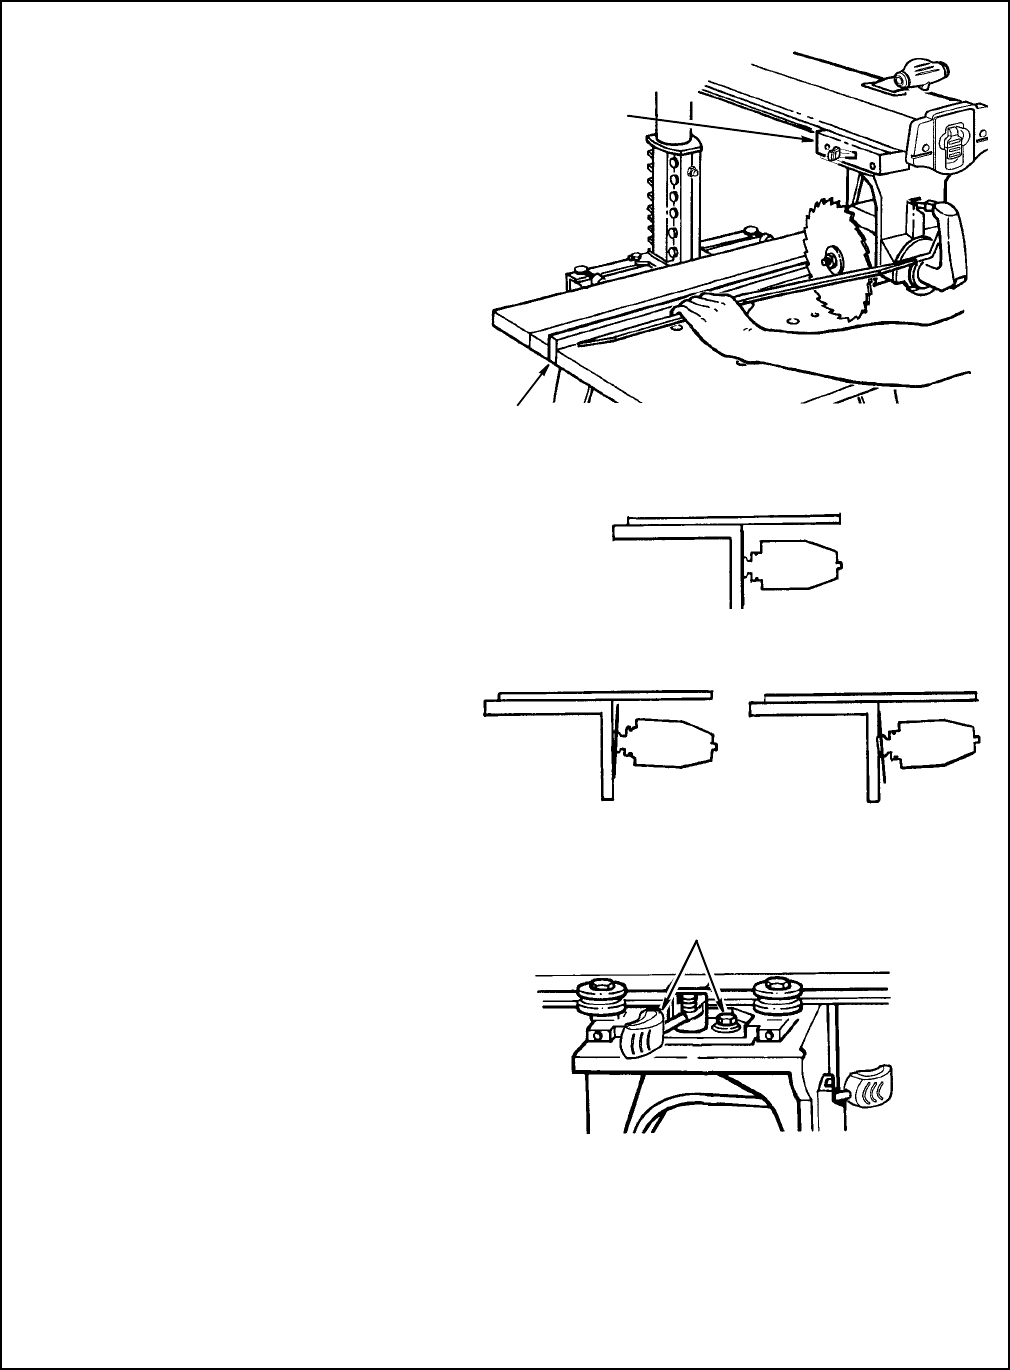
1. Lower blade until it just clears table.
2. Unlock carriage lock knob. Pull blade for-
ward to front of arm. Tighten carriage lock
knob.
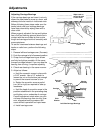
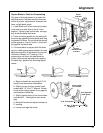
3. Place square so short edge is against
fence and long edge is against flat surface of
blade (not on a tooth), just below blade col-
lar.
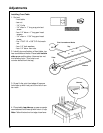
4. There should be no gap between blade
and square. Note:
Not all blades are Perfectly flat.
Check different points along blade surface by making
quarter turns and looking for gap each time. Consider
overall fit of blade. If there is no gap, no adjustment is
needed.
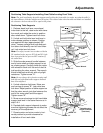
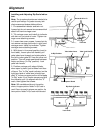
5. If there is a visible gap between the saw
blade and square adjust as follows:
a. Remove left hand carriage cover.
b. Loosen the yoke lock handle. (on right
side of carriage).
c. Loosen slightly the two hex-head
screws holding yoke index pin.
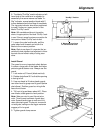
d. Rotate the yoke assembly until gap
between the saw blade and square is
eliminated.
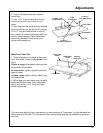
e. Tighten yoke lock handle. Retighten
the two hex-head screws.
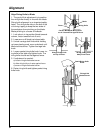
f. Recheck blade squareness.
g. Install carriage cover.
h. Loosen carriage lock knob and return
blade to rear of arm.
Note:
This alignment procedure will simultaneously
set both yoke indexing positions for blade in and out
rip.
Left Hand
Carriage Cover
Rip Fence
Square
Fence
Motor
Correct
Wrong
Wrong
Lower Hex Head Screws
Left side of carriage
Alignment


