


Adjustment Procedures
5–10
THS710A, THS720A, THS730A & THS720P Service Manual
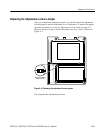
After removing the adjustment-lockout jumper, use this procedure to adjust the
meter voltage references.
1. Turn on the TekScope instrument and let it warm up for at least ten minutes.
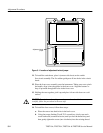
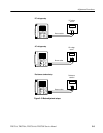
2. Connect the DC voltage source to the instrument as shown in the DC voltage
setup of Figure 5–3.
3. Set the DC voltage source amplitude to 400 mV.
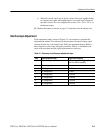
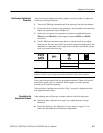
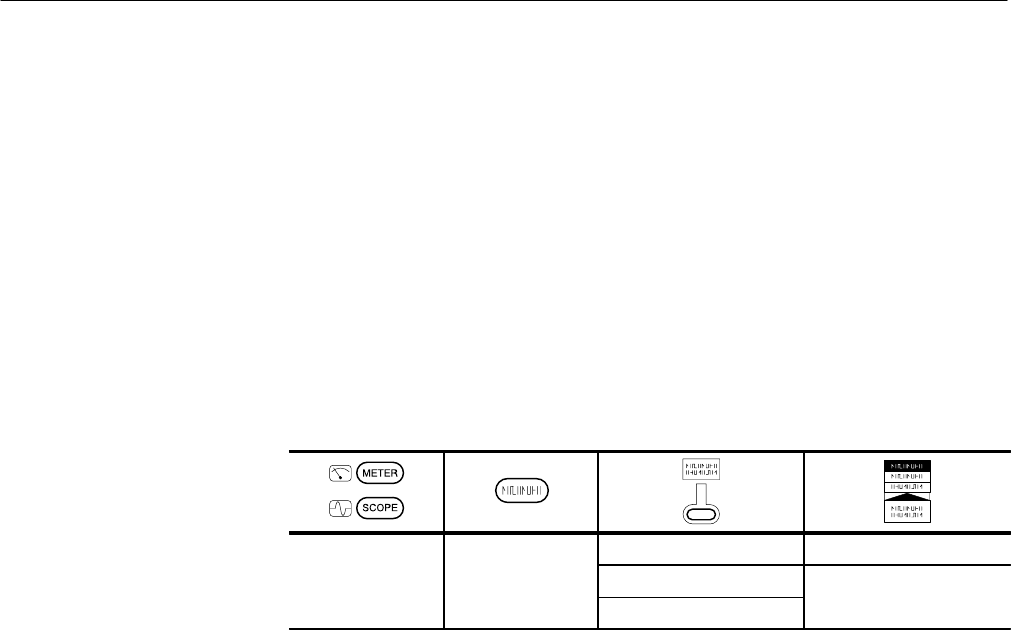
4. Use the TekScope instrument setup below to start the meter adjustment
process. For each step, follow the specific instructions displayed by the
instrument to connect the correct signal source and confirm that you are
ready to proceed to the next step.
ME
T
E
R
UTI
L
ITY
System Cal
Factory DMM
—
OK Factory Cal DMM
If any step in the procedure fails, the procedure terminates. Failure will result if
an incorrect signal source is connected. If this happens, you must start the
procedure over from the beginning.
If the procedure completes successfully, a “Pass” message is displayed and the
new adjustment takes effect.
After adjusting the meter, continue with one of the following steps:
H Return to Oscilloscope Adjustment on page 5–5 to adjust the oscilloscope
voltage references.
H Proceed to Replacing the Adjustment-Lockout Jumper on page 5–11 to
protect the instrument from inadvertent readjustment.
Meter Adjustment
Procedure
Completing the
Adjustment Process