


Maintenance
THS710A, THS720A, THS730A & THS720P Service Manual
6–27
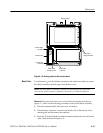
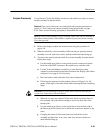
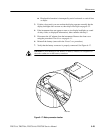
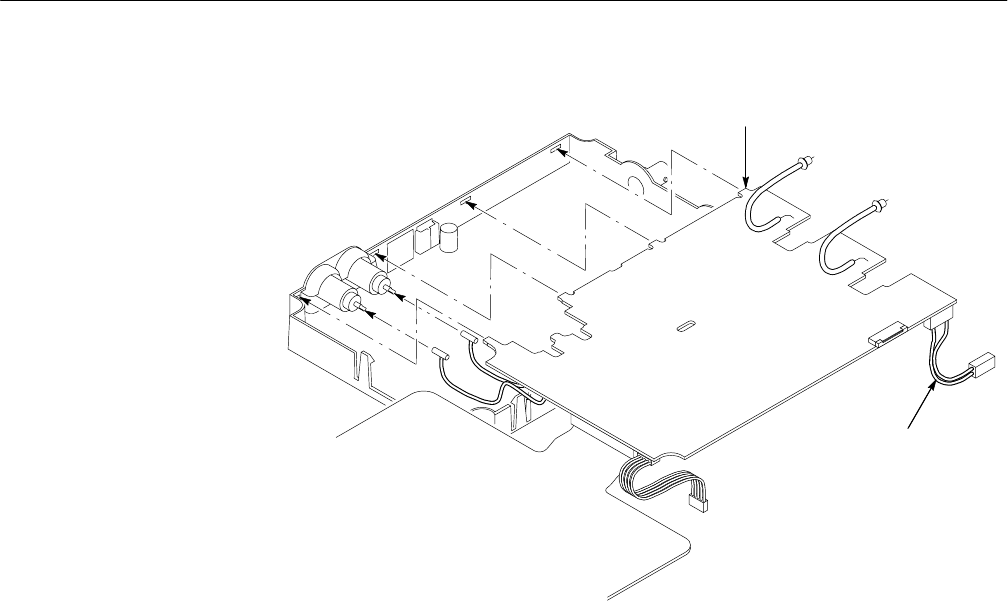
Insert circuit board tabs
into chassis holes
Route battery cable into
slot in chassis (not shown)
Figure 6–16: Reassembling the chassis
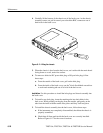
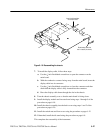
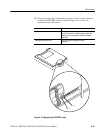
7. To install the display cable, follow these steps:
a. Use the
1
@
8
inch flat-bladed screwdriver to open the connector on the
main board.
b. With the conductive contacts facing away from the main board, insert the
display cable into its connector.
c. Use the
1
@
8
inch flat-bladed screwdriver to close the connector and then
check that the display cable is fully inserted into the connector.
d. Dress the display cable down through the slot in the chassis.
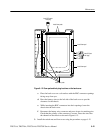
8. Turn the chassis assembly over so that the main board is facing down.
9. Install the display module and inverter board using steps 1 through 9 of the
procedure on page 6–18.
10. Install the chassis assembly into the back cover using steps 1 and 2 of the
procedure on page 6–20.
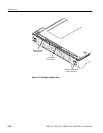
11. Install the switch mat and front cover using the procedure on page 6–12.
12. If detached, install the tilt stand using the procedure on page 6–9.
This completes the reassembly of the instrument.