


34
Using the Fence and Push
Shoe for End Cutting
This operation is done
without the safety shield
in place. Use extreme caution. Do not
allow any body part to contact the
router bit at any time. Doing so could
lead to serious personal injury.
Unplug router while
making adjustments.
Routing to make tongue and groove
joints, tenons, and sliding dovetails
requires that the workpiece edges and
ends be true and smooth, with all sides
at 90° angles to one another. Use
scrap wood to test adjustments before
making final cuts.
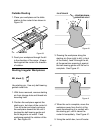
WARNING
WARNING
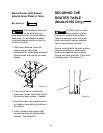
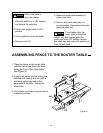
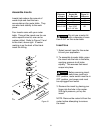
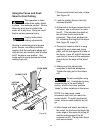
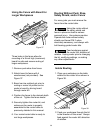
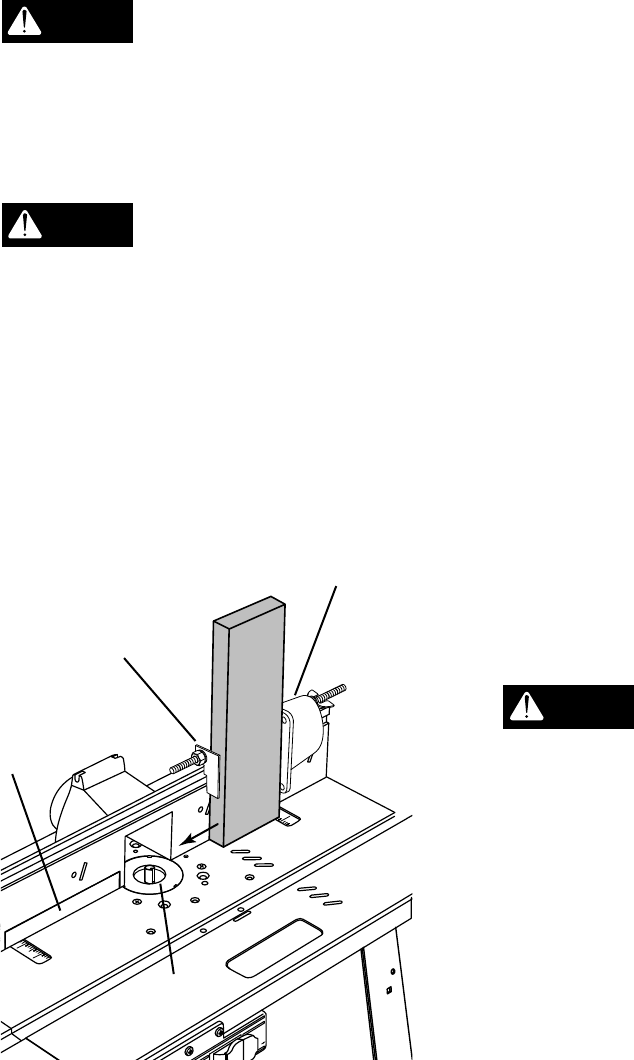
1. Place correct insert into hole in table.
See Figure 35.
2. Lock the jointing fence in the fully
retracted position.
3. At the end of the board where the cut
will occur, use a soft pencil to mark
line #1. This indicates the depth of
the cut (how much wood to be
removed). Then mark another line
#2, indicating the height of the tenon.
See Figure 32, page 32.
4. Place your board so that it is snug
against the push shoe and clamp
plate, with its side against the face of
the fence. Lines #1 and #2 should be
near the bit; the end of the workpiece
should be on the edge of the insert
hole.
5. Making sure the clamp plate
continues to hold the workpiece.
Tighten the wing nut on the clamp
rod.
Do not overtighten wing
nut. Overtightening may
cause binding in the push shoe's
motion, which in turn may produce
"steps" or other variations in the tenon.
NOTE: For deep work, make
successive cuts until you reach the
correct depth. To avoid overloading
router, remove waste material as you
go.
6. Move fence and board, and adjust
the router, so the board contacts the
outer edge of the router bit at line #1
and the cutting edge of the bit
contacts line #2. Clamp down fence
and secure router.
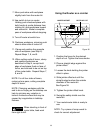
CAUTION
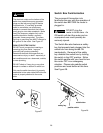
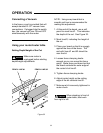
P
U
LL
O
N
P
U
S
H
O
F
F
R
E
S
E
T
OU
T
L
E
T
S
JOINTING
FENCE
INSERT
PUSH SHOE
CLAMP PLATE
Figure 35