Maintaining Print Quality
Advanced Topics 6-5
Advanced Topics
Lines
If sharp or smeared black streaks appear on the page (in the
direction the paper passes through the printer):
• Toner may be on the transfer charger or pre-charger corona
wires. Clean the printer’s transfer assembly unit and pre-
charger. (See “Transfer Assembly Guide” on page 5-9.)
• Replace the drum unit with a new one. (See “Drum Kit -
Replacing Drum and Transfer Assembly” on page 4-18.)
• If you still have this print quality problem, contact your autho-
rized HP service representative.
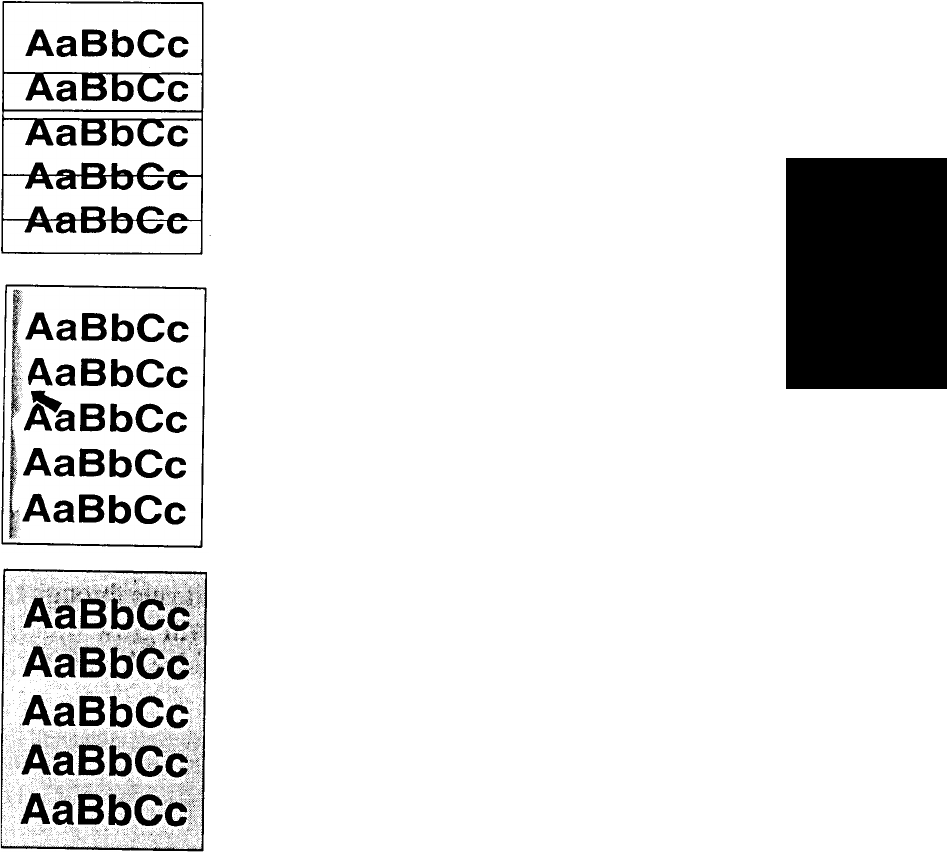
Toner Smear
If toner smears appear on the leading edge (as is passes through
the printer) of the paper:
• Toner may be loose inside the printer’s paper path. Clean the
printer by following the instructions in “Periodic Cleaning
(When Replacing Drum)” on page 5-5.
• Replace the drum unit with a new one. (See “Drum Kit -
Replacing Drum and Transfer Assembly” on page 4-18.)
• If you still have this print quality problem, contact your autho-
rized HP service representative.
Background Gray Toner Shading
If the amount of background toner shading becomes unacceptable:
• The print density setting may be too high. Adjust the print den-
sity (See “Density” on page 2-25.)
• Toner may be on the transfer charger or pre-charger corona
wires. Clean the printer’s transfer assembly unit and pre-
charger. (See “Transfer Assembly - Transfer LED Areas” on
page 5-6.)
• Change the paper to a lighter basis weight.
• Check the printer’s environment; very humid conditions can
increase the amount of background shading.
• Replace old developer with fresh developer. (See “Replacing
Developer” on page 4-9.)
• Replace the drum unit with a new one. (See “Drum Kit -
Replacing Drum and Transfer Assembly” on page 4-18.)
• If you still have this print quality problem, contact your autho-
rized HP service representative.


