G0451 14" Sliding Table Saw
-25-
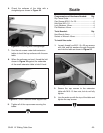
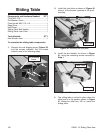
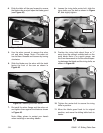
11. Adjust the height of the rip fence rail, then
tighten all of the nuts against the table as
shown in
Figure 31.
12. Check if the bottom of the rip fence rests on
the surface of the table. Note—The rip fence
will scratch the table surface if the ride height
is not adjusted correctly.
— If the rip fence does not rest on the table,
then the fence is correctly adjusted.
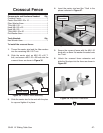
— If the rip fence
does rest on the table,
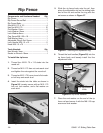
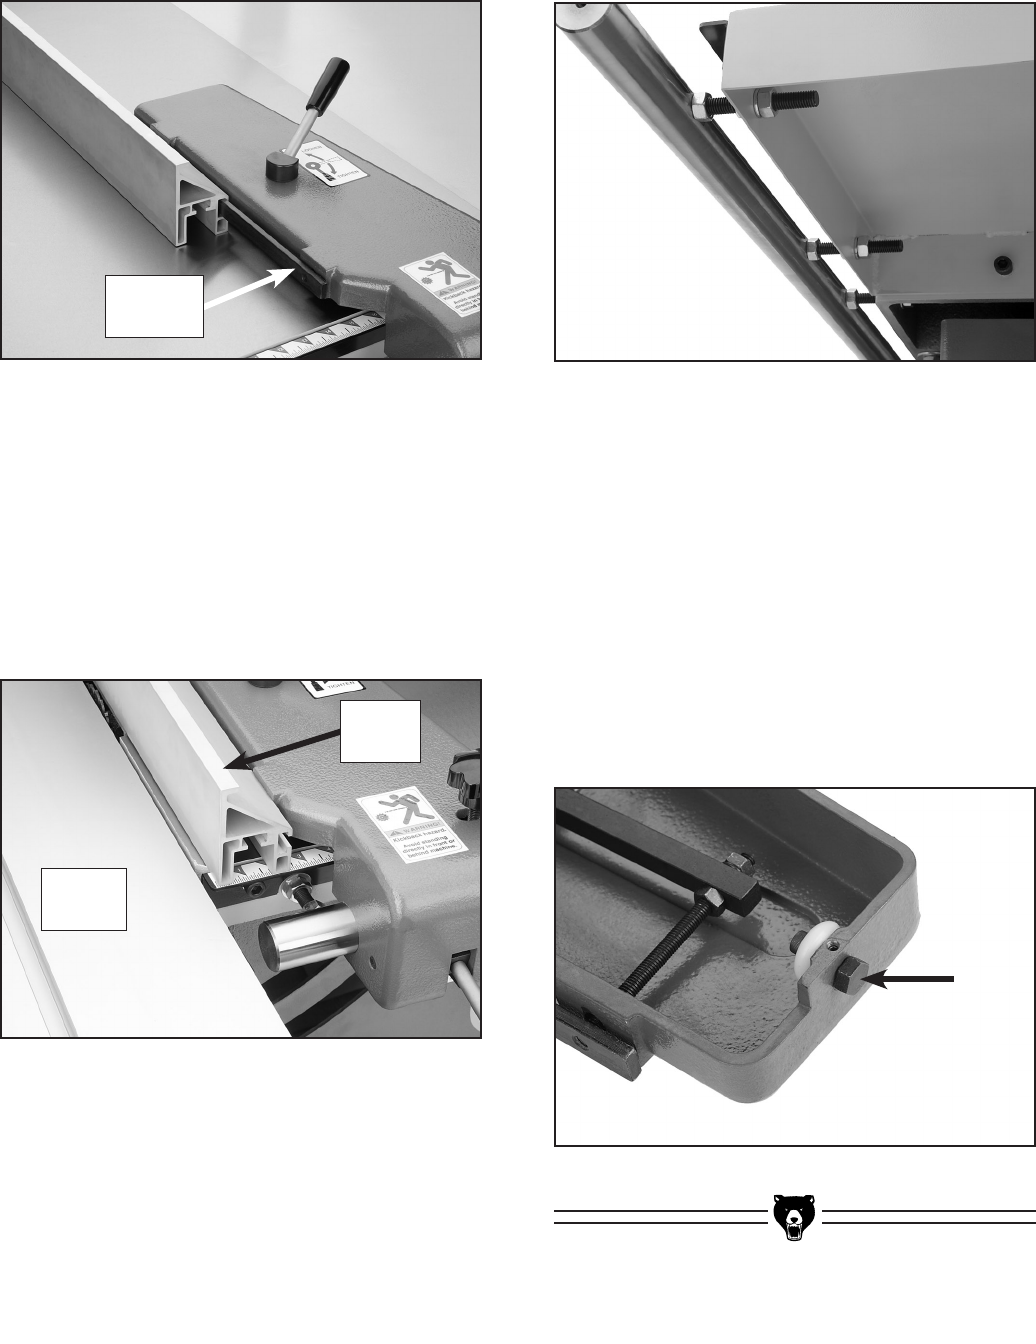
loosen the set screw shown in
Figure
32 and rotate the hex bolt to raise the
roller. Tighten the set screw to lock the ride
height.
Sliding
Table
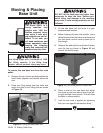
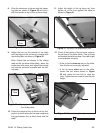
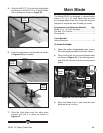
Figure 29. Installing the rip fence.
Clamping
Plate
8. Slide the aluminum rip fence onto the clamp-
ing plate
as shown in Figure 29 and lock it
with the handle on top of the rip fence body
.
Figure 32. Rip fence height adjustment.
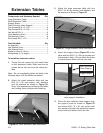
9. Adjust the nuts on the outside of the table
until the edge of the rip fence is parallel with
the sliding table as shown in
Figure 30.
Note—Adjust the nut closest to the sliding
table so the rip fence slides freely, leave the
center two nuts loose, and adjust the outside
nut until the rip fence is parallel with the slid
-
ing table.
Figure 30. Aligning the fence with the edge of
the sliding table.
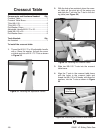
Figure 31. Rip fence rail adjustment nuts.
10. Check the height of the rip fence rail by slid-
ing the rip fence along the rail and comparing
the gap between the rip fence body and the
table.
Rip
Fence


