-30-
G0451 14" Sliding Table Saw
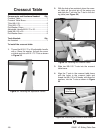
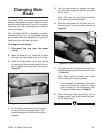
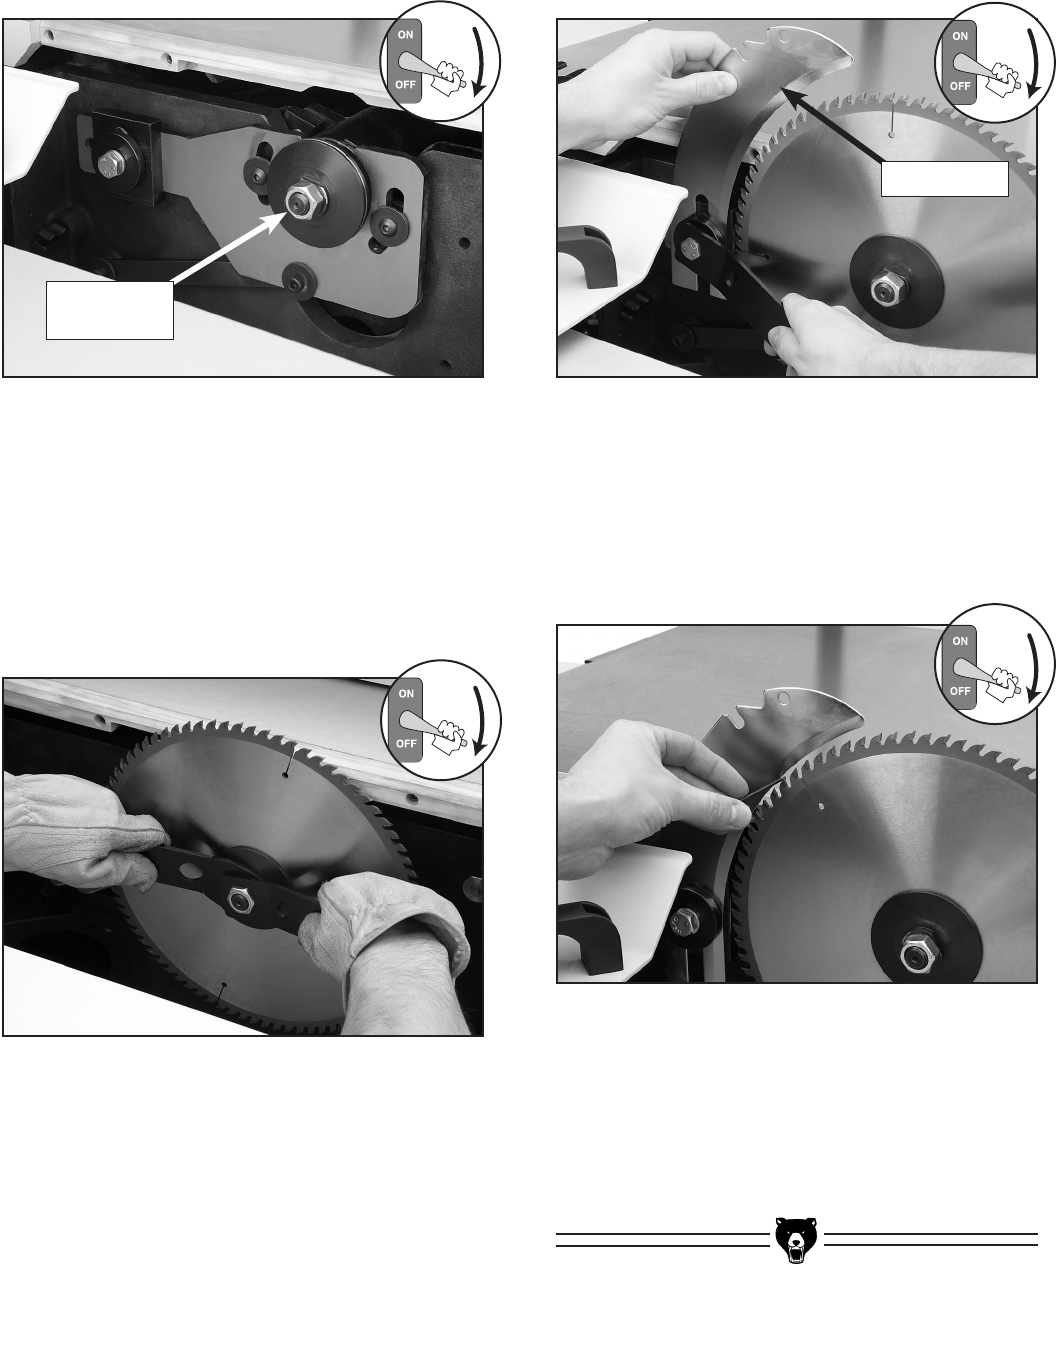
5. Use the arbor wrench to remove the arbor
nut and arbor flange. Note—The arbor nut
has left hand threads and loosens by turning
clockwise.
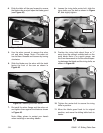
6. Slide the blade over the arbor with the teeth
facing the front of the saw as shown in
Figure 46.
7. Re-install the arbor flange and the arbor nut
and tighten them against the blade as shown
in Figure 46.
Note—Wear gloves to protect your hands
when installing or removing blades.
4. Slide the table all the way forward to access
the blade arbor and pull open the blade guard
(see Figure 45).
Figure 45. Main blade arbor components.
Main Blade
Arbor
Figure 46. Installing the main blade.
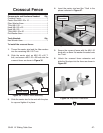
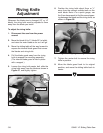
8. Loosen the riving knife center bolt, slide the
riving knife over the bolt as shown in
Figure
47, and slightly tighten.
Figure 47. Installing the riving knife.
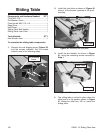
9. Position the riving knife about 3mm or
1
⁄8"
away from the nearest carbide tooth on the
main blade. Note—For a quick gauge, use
the 3mm hex wrench to find the correct spac
-
ing between the blade and the riving knife, as
shown in
Figure 48.
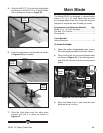
10. Tighten the center bolt to secure the riving
knife in position.
11. Move the blade guard back to its original
position, and move the sliding table back to
center.
Riving Knife
Figure 48. Adjusting the riving knife.


