


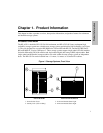
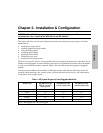

Installation & Configuration
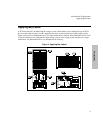
Installation Overview
8
Installation
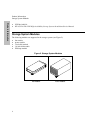
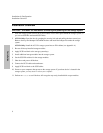
Installation Overview
CAUTION! Shut down the host before connecting and powering-on the storage system.
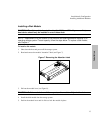
1. Place the storage system close to an ac power outlet. Leave some space behind the storage system, so
you can set SCSI IDs and attach SCSI cables.
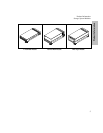
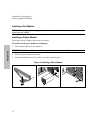
2. A3311A Only: Open the door by grasping the security lock tab and pulling the door toward you.
Remove the keys and bumper feet behind the door and install the bumper feet under the storage
system.
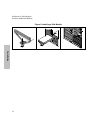
A3312A Only: Install the A3312A storage system into an EIA cabinet (see Appendix A).
3. Re-seat all factory-installed storage modules.
4. Apply SCSI bus labels to the storage system bays.
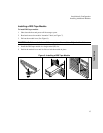
5. Install additional storage modules into the storage system.
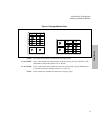
6. Set the SCSI ID switches for the storage modules.
7. Shut down and power-off the host.
8. Connect the SCSI cables and terminators.
9. Apply SCSI bus labels to the SCSI cables.
10. Power-on your computer, then power-on the storage system. If your boot device is located in the
storage system, you may need to reboot your computer.
11. Perform an ioscan to see if the host will recognize any newly installed disk or tape modules.