


Installation & Configuration
Installing Additional Modules
13
Installation
Installing a Disk Module
CAUTION! The disk modules located in slots A1, A2, B1, and B2 will power-on first, so a
boot device should only be installed in one of those slots.
NOTE! Replacement of a disk module is not the same as installing additional capacity in an
operating storage system! To add capacity, follow the steps below. To replace a disk module,
see Chapter 4.
To install a disk module:
1. Shut down the host and power-off the storage system.
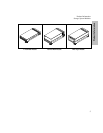
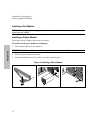
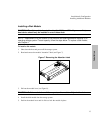
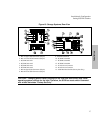
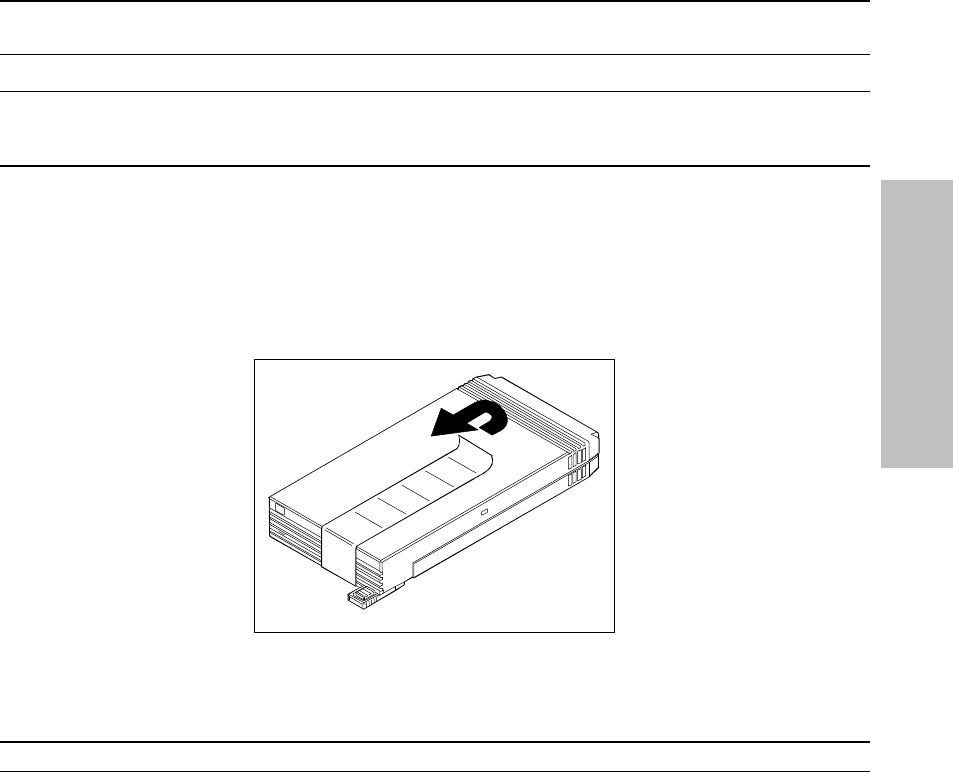
2. Read and remove the module “Attention” label (see Figure 7).
Figure 7. Removing the Attention Label
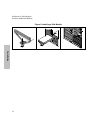
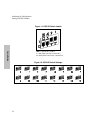
3. Pull out the module lever (see Figure 8).
CAUTION! Pull the module lever all the way out, or the module will jam in the slot.
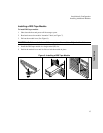
4. Install the disk module into the storage system.
5. Push in the module lever until it clicks to lock the module in place.