


40
Chapter 3 - Preparations
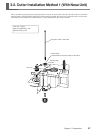
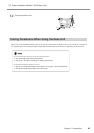
3-2. Cutter Installation Method 1 (With Nose Unit)
3. Cutter Installation and Alignment
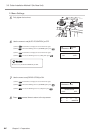
10
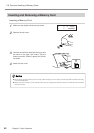
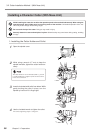
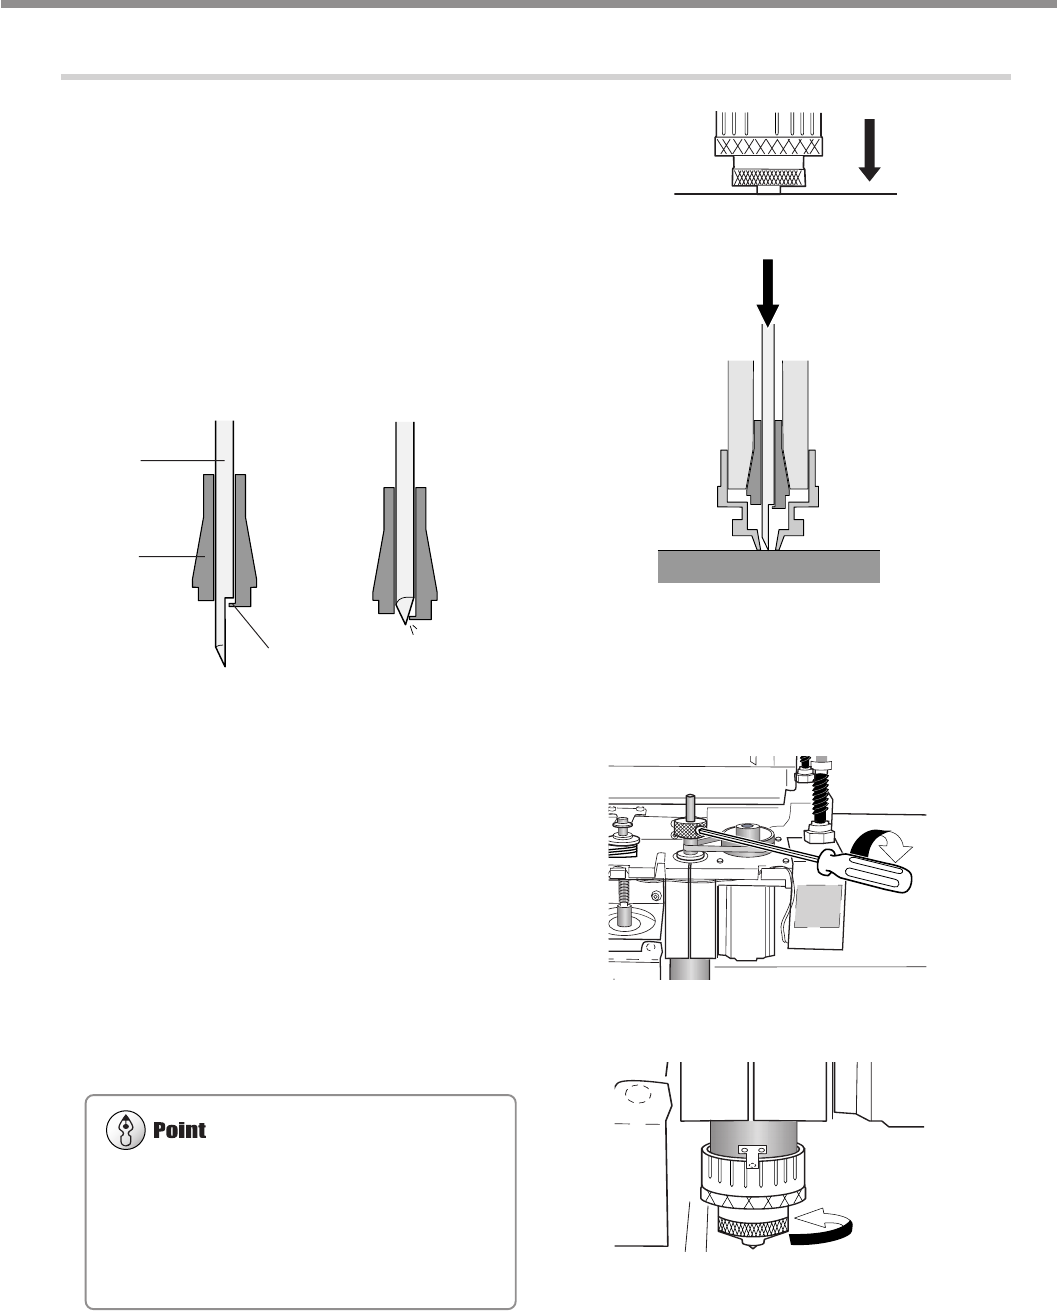
Lower the spindle until the tip of the nose unit
touches the table.
When the nose touches the table, operation stops auto-
matically.
11
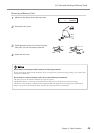
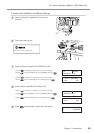
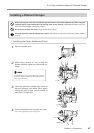
Insert the cutter (diameter 4.36 mm), then bring
the tip lightly into contact with the table.
When you insert the cutter, orient it so that it will not
catch on the collet.
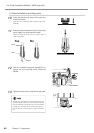
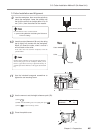
12
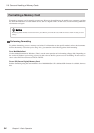
Use the included hexagonal screwdriver to
tighten the tool securing screw. Raise the
spindle.
13
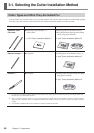
Tighten the nose unit by 4 to 8 ticks on the scale.
The amount you tighten the nose unit determines the
cutting-in depth. Adjust it to suit the task. An amount
of 4 to 8 scale ticks corresponds to 0.1 to 0.2 mm (0.004
to 0.008 in.). One scale tick is 0.0254 mm (0.001 in.),
and one full turn is 25 scale ticks, or 0.635 mm (0.025
in.).
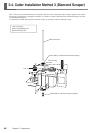
Stopper
Cutter
Collet
Yes No