


45
Chapter 3 - Preparations
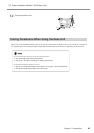
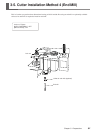
3-3. Cutter Installation Method 2 (No Nose Unit)
3. Cutter Installation and Alignment
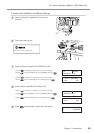
9
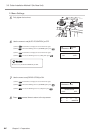
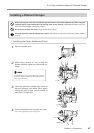
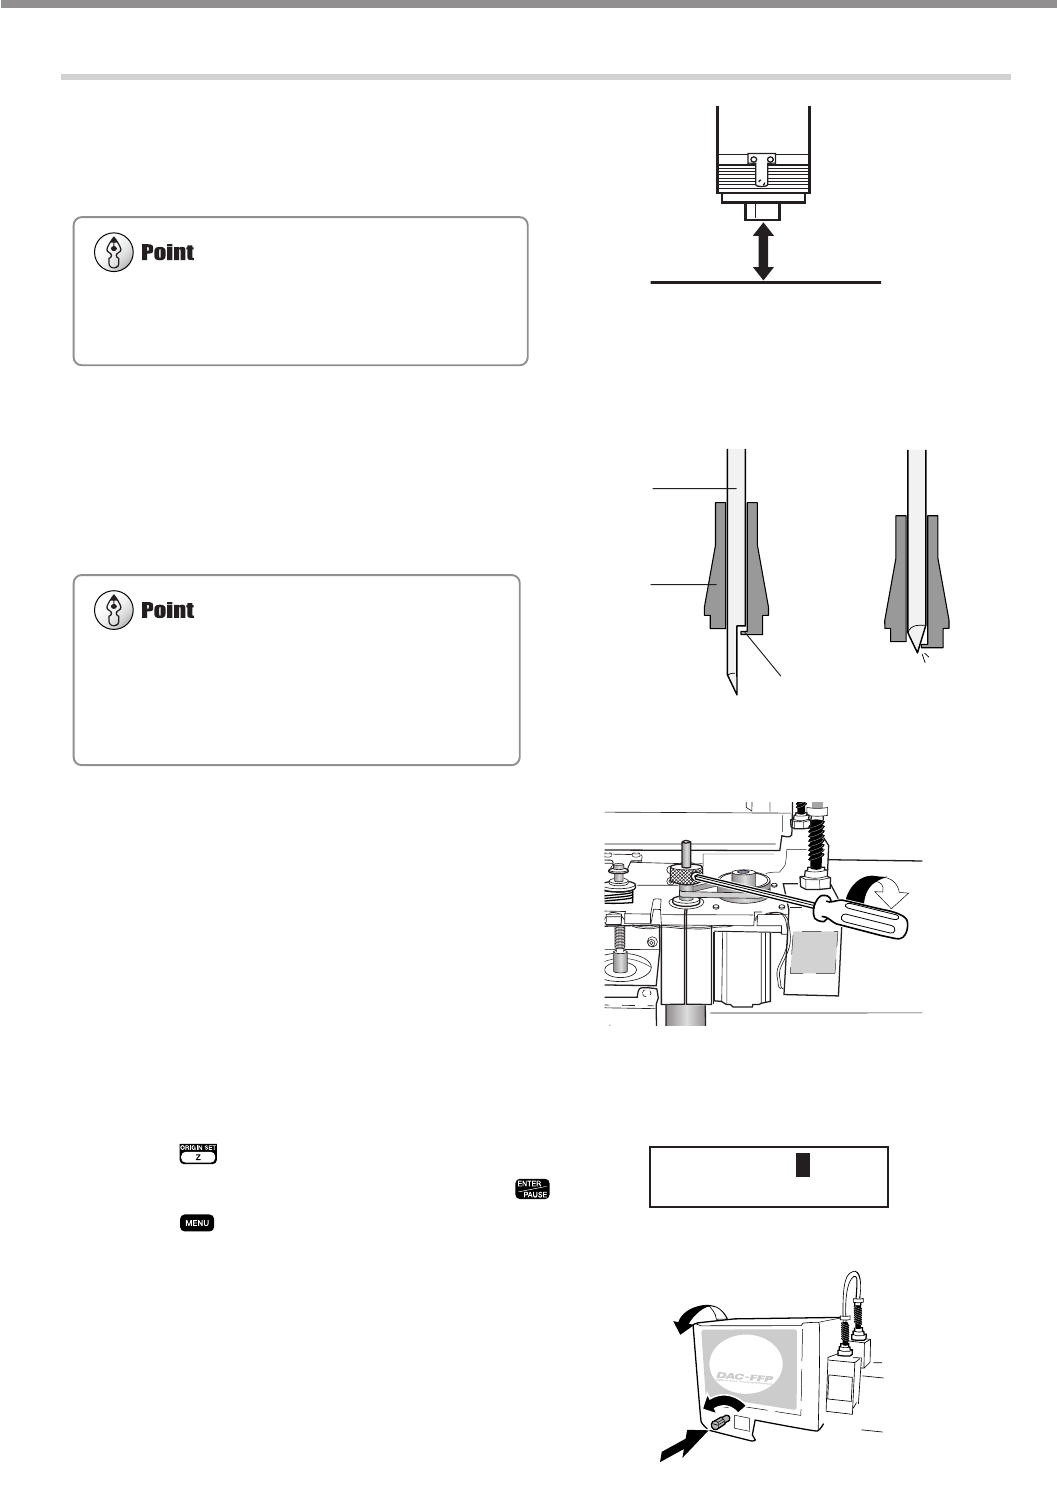
Load the workpiece, then move the spindle to
above the workpiece. Lower the spindle until
the tip of the collet is at a height about 12 to 13
mm (1/2 in.) from the surface of the material.
10
Insert the cutter (diameter 4.36 mm), then bring
the tip lightly into contact with the workpiece.
When you insert the cutter, orient it so that it
will not catch on the collet.
If the cutter does not reach the workpiece, lower the
spindle further.
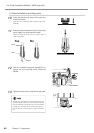
11
Use the included hexagonal screwdriver to
tighten the tool securing screw.
12
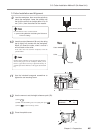
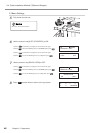
Use the menus to set the height reference point (Z0).
(1) Press .
(2) Make sure the blinking cursor is at [Z0], then press .
(3) Press
to return to the top screen.
13
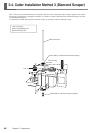
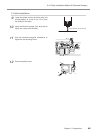
Close the spindle cover.
For information on how to load material
☞ p.55 "Loading Material and Setting the Reference
Point for Cutting"
Damage to the workpiece can be prevented by placing a
sheet of thin paper over the workpiece. When you do
this it is a good idea to cut in by a depth increased by an
amount equal to the thickness of the paper (about 0.002
in.).
SET Z1 Z0 Z2
SURFACE < 0 >
12 to 13 mm (1/2 in.)
1.
2.
3.
Stopper
Cutter
Collet
Yes No