


66
Chapter 4 - Performing Cutting Using a Computer
4-4. Executing Cutting Data Saved on a Memory Card
Saving Cutting Data
First, connect the memory-card writer to your computer running Windows. For information about how to make the
connections, refer to the documentation for the memory-card writer.
This section describes how to use the included programs to save data on a memory card.
Saving from Dr. Engrave
To save cutting data output from the included Dr. Engrave engraving program on a memory card, follow the steps below.
Saving from Dr. Engrave
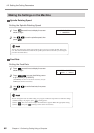
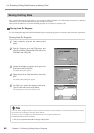
1
Load a memory card into the memory-card
writer.
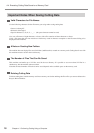
2
Start Dr. Engrave, go to the [File] menu, and
click [Print Setup]. Choose the EGX-400 or the
EGX-600, then click [OK].
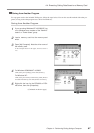
3
Create the design to engrave, then go to the
[File] menu and click [Print].
The [Print] dialog box appears.
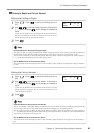
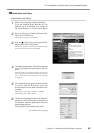
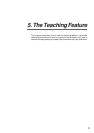
4
Select the [Print to File] check box, then click
[OK].
The [Print to File] dialog box appears.
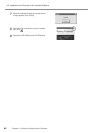
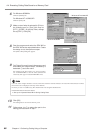
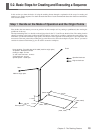
5
For [Save in], select the memory-card drive.
Type in a file name, then click [Save].
The cutting data is saved on the memory card.
Use a file name of eight characters or fewer, with a file extension of three characters or fewer. File names that do not meet
these criteria are not displayed correctly on the machine.
Do not try to save in a subdirectory. This machine does not recognize subdirectories.
Detailed Information About File Names
☞ See p.70 "Important Notes When Saving Cutting Data"