


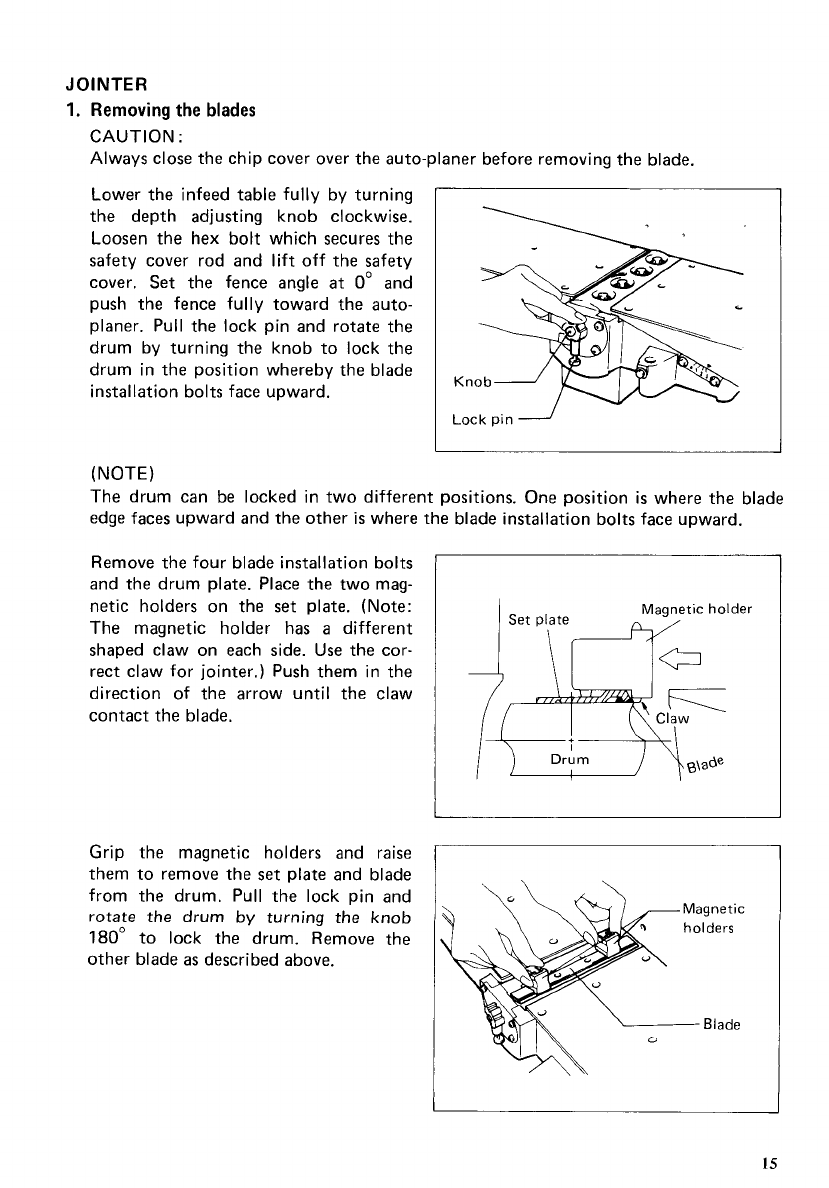
JOINTER
1.
Removing the
blades
CAUTION
:
Always close the chip cover over the auto-planer before removing the blade.
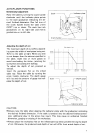
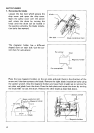
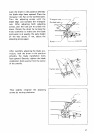
Lower the infeed table fully by turning
the depth adjusting knob clockwise.
Loosen the hex bolt which secures the
safety cover rod and lift off the safety
cover. Set the fence angle
at
0'
and
push the fence fully toward the auto-
planer. Pull the lock pin and rotate the
drum by turning the knob to lock the
drum in the position whereby the blade
installation bolts face upward.
Lock
pin
-
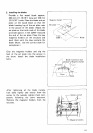
(NOTE)
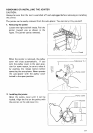
The drum can be locked in two different positions. One position
is
where the blade
edge faces upward and the other
is
where the blade installation bolts face upward.
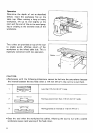
Remove the four blade installation bolts
and the drum plate. Place the two mag-
netic holders on the
set
plate. (Note:
The magnetic holder has
a
different
shaped claw on each side. Use the cor-
rect claw for jointer.) Push them in the
direction of the arrow until the claw
contact the blade.
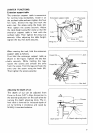
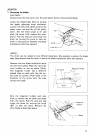
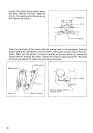
Grip the magnetic holders and raise
them to remove the
set
plate and blade
from the drum. Pull the lock pin and
rotate
the drum by turning the knob
180'
to lock the drum. Remove the
other blade
as
described above.
15