


18
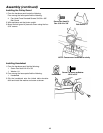
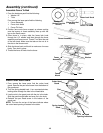
Assembly (continued)
Assemble Fence To Bed
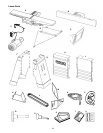
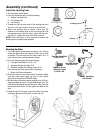
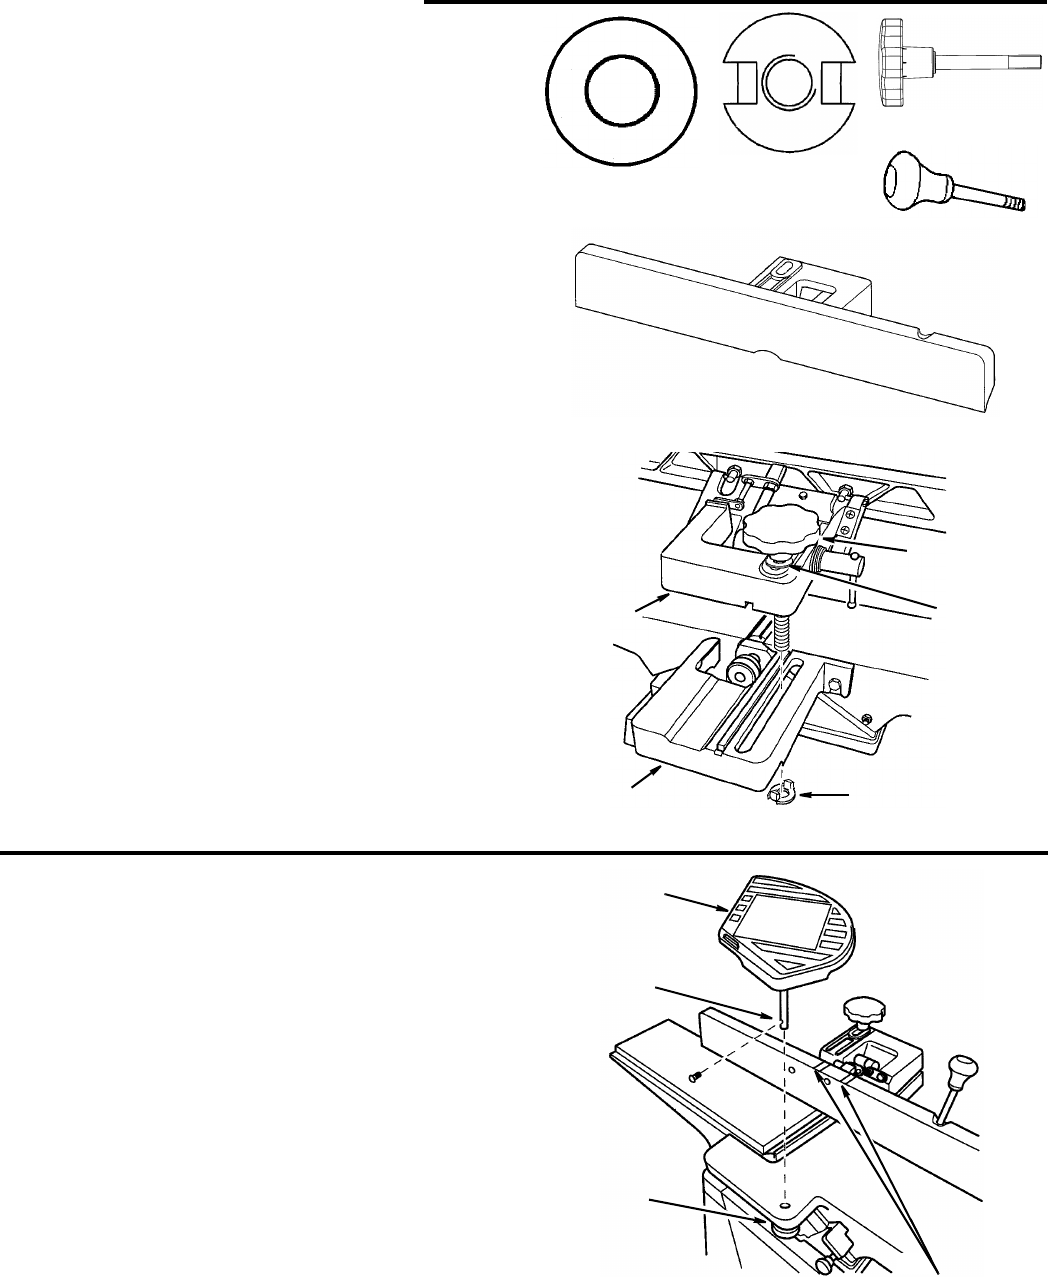
1. From the hardware pack find the following:
1 Washer 1/2"
1T-Nut
From among the loose parts find the following
1Fence Assembly
1 Fence Lock Knob
1 Fence Tilt Knob
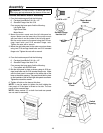
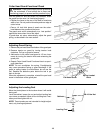
2. Position fence onto fence support as shown making
sure the keyway in fence assembly lines up with the
key on the fence mount.
3. Once fence is in place, slide the fence lock knob
through the 1/2" washer and then through the fence
assembly and fence mount. Thread T-nut onto the end
of the lock knob. Make sure the tabs on the nut sit in
the slot on the fence mount.
4. Slide the fence back and fourth to make sure it moves
freely. Then lock in place.
5. Thread the fence tilt knob into the fence.
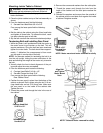
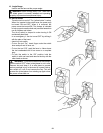
Install Cutter Head Guard
1. From among the loose parts find the cutter head
guard. Remove the pan head screw from the bottom of
the guard post.
2. Turn the spring-loaded knob 1 turn counterclockwise,
looking down through the hole in the infeed table.
3. Line the slot in the guard post with the pin in the knob.
Slide the post through table and over pin in the knob.
4. Reinstall the pan head screw in the bottom of the
guard post.
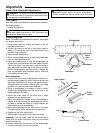
NOTE: The two ribs on top of the fence indicate where
the cutter head opening is located in the table.
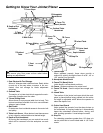
T-Nut
Washer 1/2"
(Actual Size Not
Fence Lock Kno
b
Fence Assembly
Shown)
(Actual Size Not
Shown)
Fence Tilt Knob
Fence Lock
Knob
T-Nut
Washer
Fence
Assembly
Fence
Mount
Slot
Spring Loaded
Knob
Cutter Head
Guard
Cutter Head
Opening Indicators