


26 27
26 27
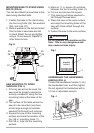
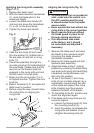
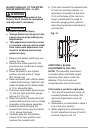
ADJUSTING THE REAR TABLE
EXTENSION (FIG. X)
1. The rear table extension (1) should
be positioned as close as possible
to the rear of the table when ripping
short material.
2. The rear table extension (1) should
be fully extended when ripping longer
materials that require extra support.
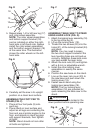
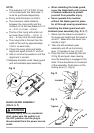
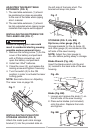
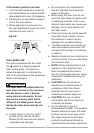
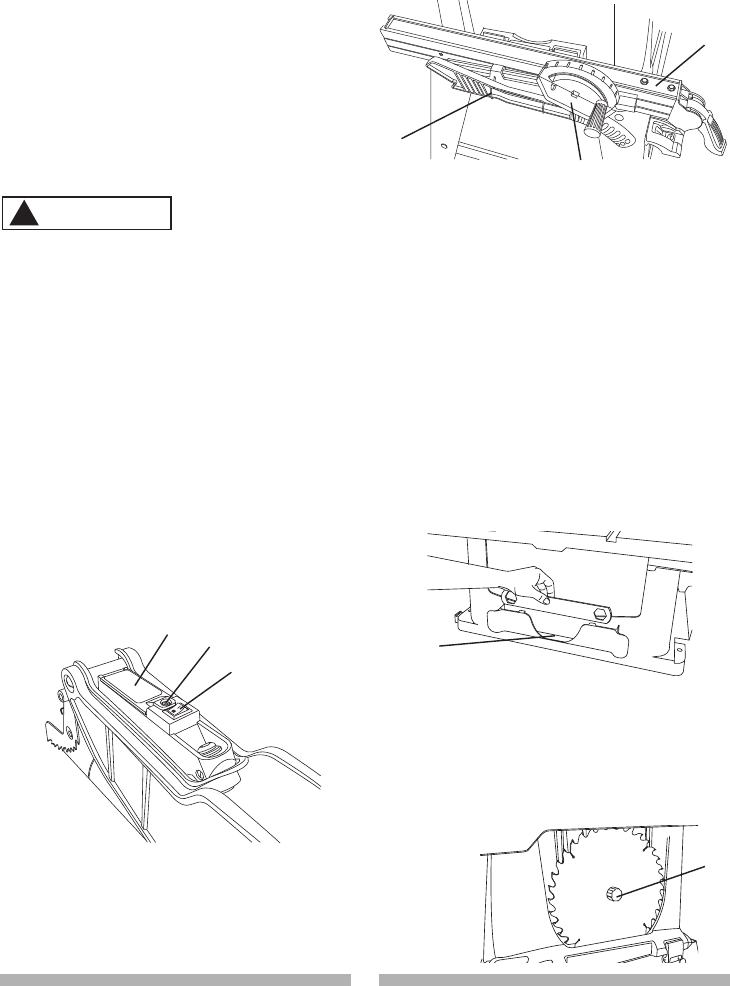
INSTALLING THE BATTERIES FOR
THE LASER LINE (FIG. Y)
Failure to unplug your saw could
result in accidental starting causing
possible serious personal injury.
1. Remove the locking screw (1) on the
cover of the battery compartment
with a Phillips screwdriver, and
open the battery compartment.
2. Install two “AAA” batteries.
3. Close the cover (2), and replace the
locking screw and tighten it securely.
4. Turn the switch (3) to the ON
position in order to activate the laser
cutting guide.
NOTE: See instructions on Adjusting
The Laser Line on page 33.
Fig. Y
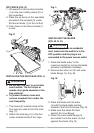
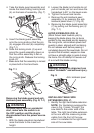
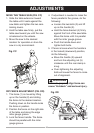
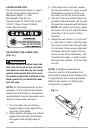
INSTALLING THE PUSH-STICK
STORAGE HOLDER (FIG. Z)
Attach the metal push-stick storage
bracket (1) into the provided slots on
the left side of the body shell. The
bracket will snap into place.
Fig. Z
STORAGE (FIG. Z, AA, BB)
Rip fence, miter gauge (Fig. Z)
Storage brackets for the rip fence (2)
and miter gauge (3) are located on the
left side of the saw housing.
NOTE: Adjust the miter gauge to
45
0
~60
0
before putting away in storage.
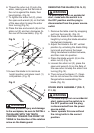
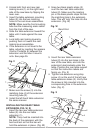
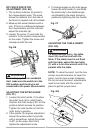
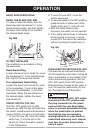
Blade Wrench (Fig. AA)
Insert the blade wrench into the slot
(4) located to the back side of the saw
housing.
Fig. AA
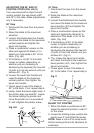
Blade (Fig. BB)
1. Loosen and remove the knob (1) on
the left side of the saw housing.
2. Place extra blades (not included)
onto the arbor. Replace the knob
and tighten.
Fig. BB
3
1
2
WARNING
!
1
3
2
4
1