


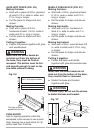

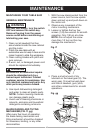
40 41
40 41
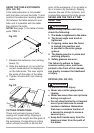
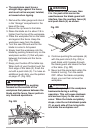
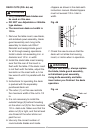
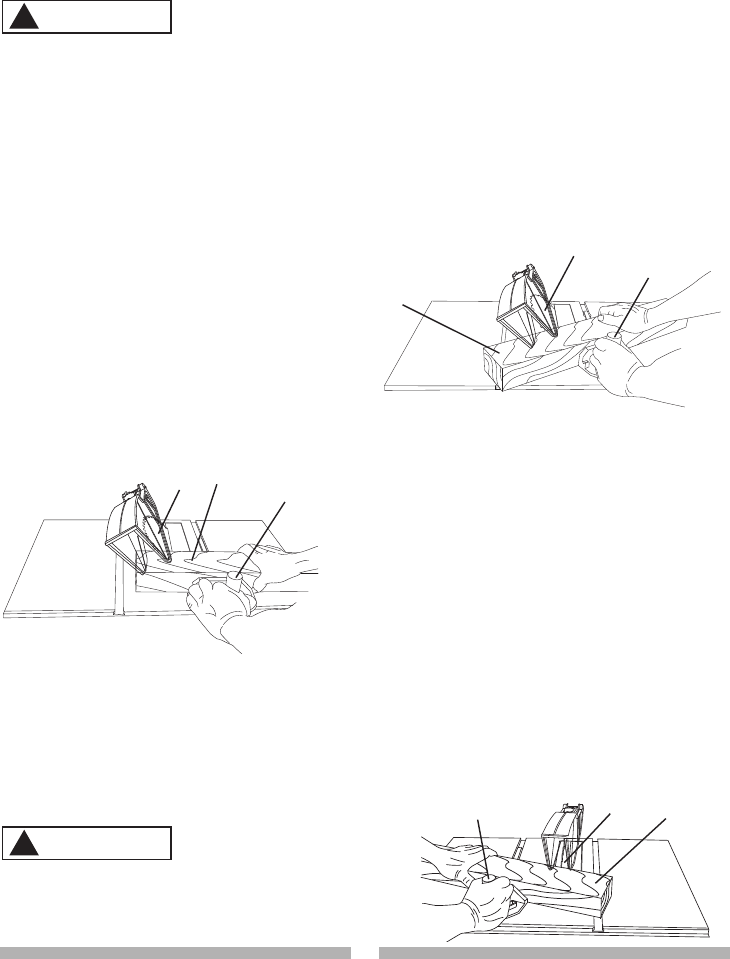
BEVEL CROSSCUTTING (FIG. YY)
0°~45° BLADE BEVEL & 90° MITER
ANGLE This cutting operation is the
same as crosscutting except the blade
is at a bevel angle other than 0°.
Always work to the right side of the
blade during this type of cut. The
miter gauge must be in the right side
groove because the bevel angle may
cause the blade guard to interfere
with the cut if used on the left side
groove.
1. Lower the blade to the down position.
2. Adjust the blade (1) to the desired
angle, and tighten the blade bevel
lock knob.
3. Tighten the miter lock handle (2) at
90°.
4. Hold workpiece (3) firmly against the
face of the miter gauge throughout
the cutting operation.
Fig. YY
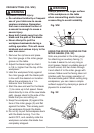
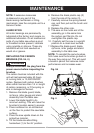
COMPOUND MITER CROSSCUTTING
(FIG. ZZ)
0°~45° BLADE BEVEL & 0°~45°
MITER ANGLE
This sawing operation combines a
miter angle with a bevel angle.
Always work to the right side of the
blade during this type of cut. The
miter gauge must be in the right side
WARNING
!
groove because the bevel angle may
cause the blade guard to interfere
with the cut if used on the left side
groove.
1. Set the miter gauge (3) to the
desired angle.
2. Place the miter gauge in the right
side groove of the table.
3. Set the blade (1) bevel to the
desired bevel angle and tighten the
blade bevel lock knob.
4. Hold workpiece (2) firmly against the
face of the miter gauge throughout
the cutting operation.
Fig. ZZ
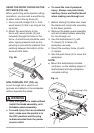
MITERING (FIG. aa)
0°~45° MITER ANGLE
This sawing operation is the same as
crosscutting except the miter gauge is
locked at an angle other than 90°.
1. Set the blade (1) to 0° bevel angle
and tighten the blade bevel lock knob.
2. Set the miter gauge (3) at the
desired miter angle and lock in
position by tightening the miter
gauge locking handle.
3. Hold the workpiece (2) firmly
against the face of the miter gauge
throughout the cutting operation.
Fig. aa
1
3
2
WARNING
!
1
2
3
3
1
2