


28 29
28 29
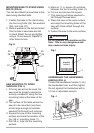
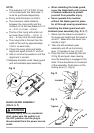
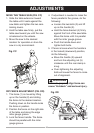
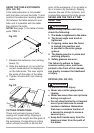
MOVE THE TABLE SAW (FIG. CC)
1. Slide the table extension toward
the table until it rests against the
saw table and tighten the two cam-
locking levers.
2. Hold the table saw firmly, pull the
table saw toward you until the saw
is balanced on the wheels.
3. Move the saw to the desired
location for operation or store the
saw in a dry environment.
Fig. CC
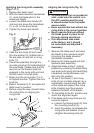
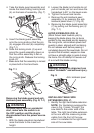
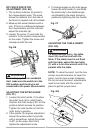
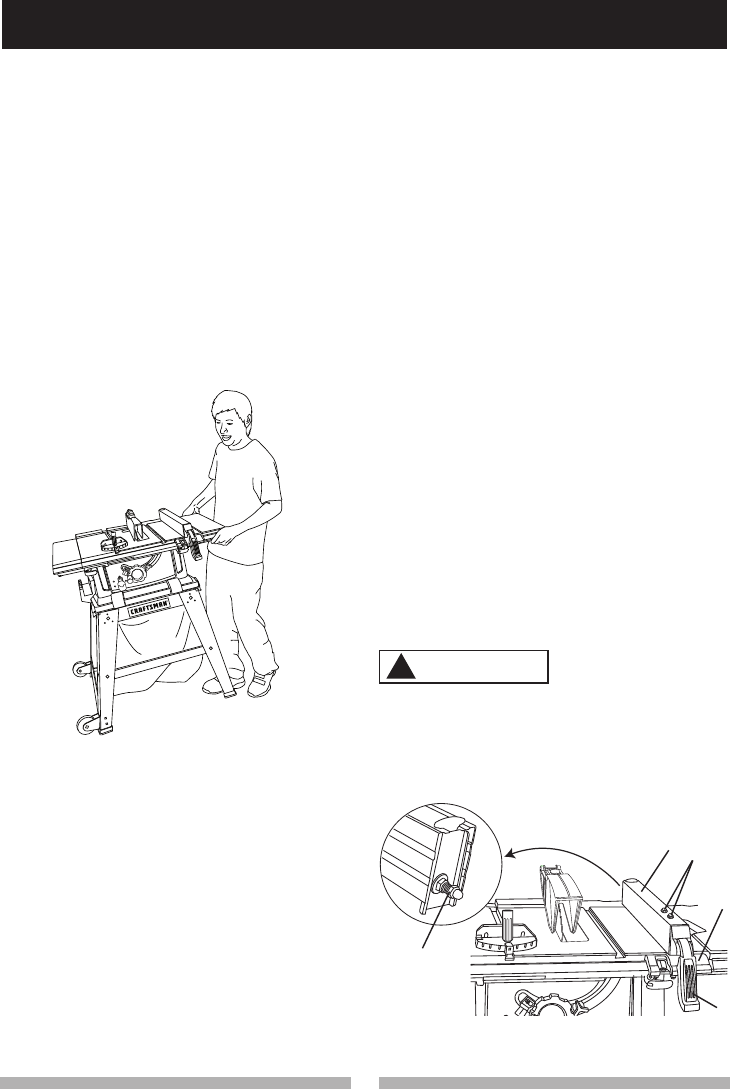
RIP FENCE ADJUSTMENT (FIG. DD)
1. The fence (1) is moved by lifting
up on the handle (2) and sliding
the fence to the desired location.
Pushing down on the handle locks
the fence in position.
2. Position the fence on the right side
of the table and along the edge
miter gauge groove.
3. Lock the fence handle. The fence
should be parallel with the miter
gauge groove.
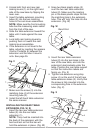
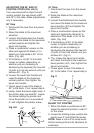
4. If adjustment is needed to make the
fence parallel to the groove, do the
following:
● Loosen the two bolts (3) and lift
up on the handle (2).
● Hold the fence bracket (4) firmly
against the front of the saw table.
Move the fence until it is parallel
with the miter gauge groove.
● Push the handle down and
tighten both bolts.
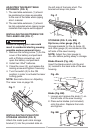
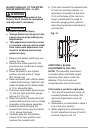
5. If fence is loose when the handle is
in the locked (downward) position,
do the following:
● Move the handle (2) upward
and turn the adjusting nut (5)
clockwise until the rear clamp is
snug.
● Over-tightening the adjusting
bolts will cause the fence to come
out of alignment.
Failure to properly align fence can
cause “kickback” and serious injury.
Fig. DD
1
3
2
4
5
ADJUSTMENTS
WARNING
!