


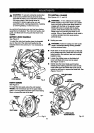
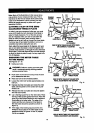

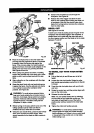
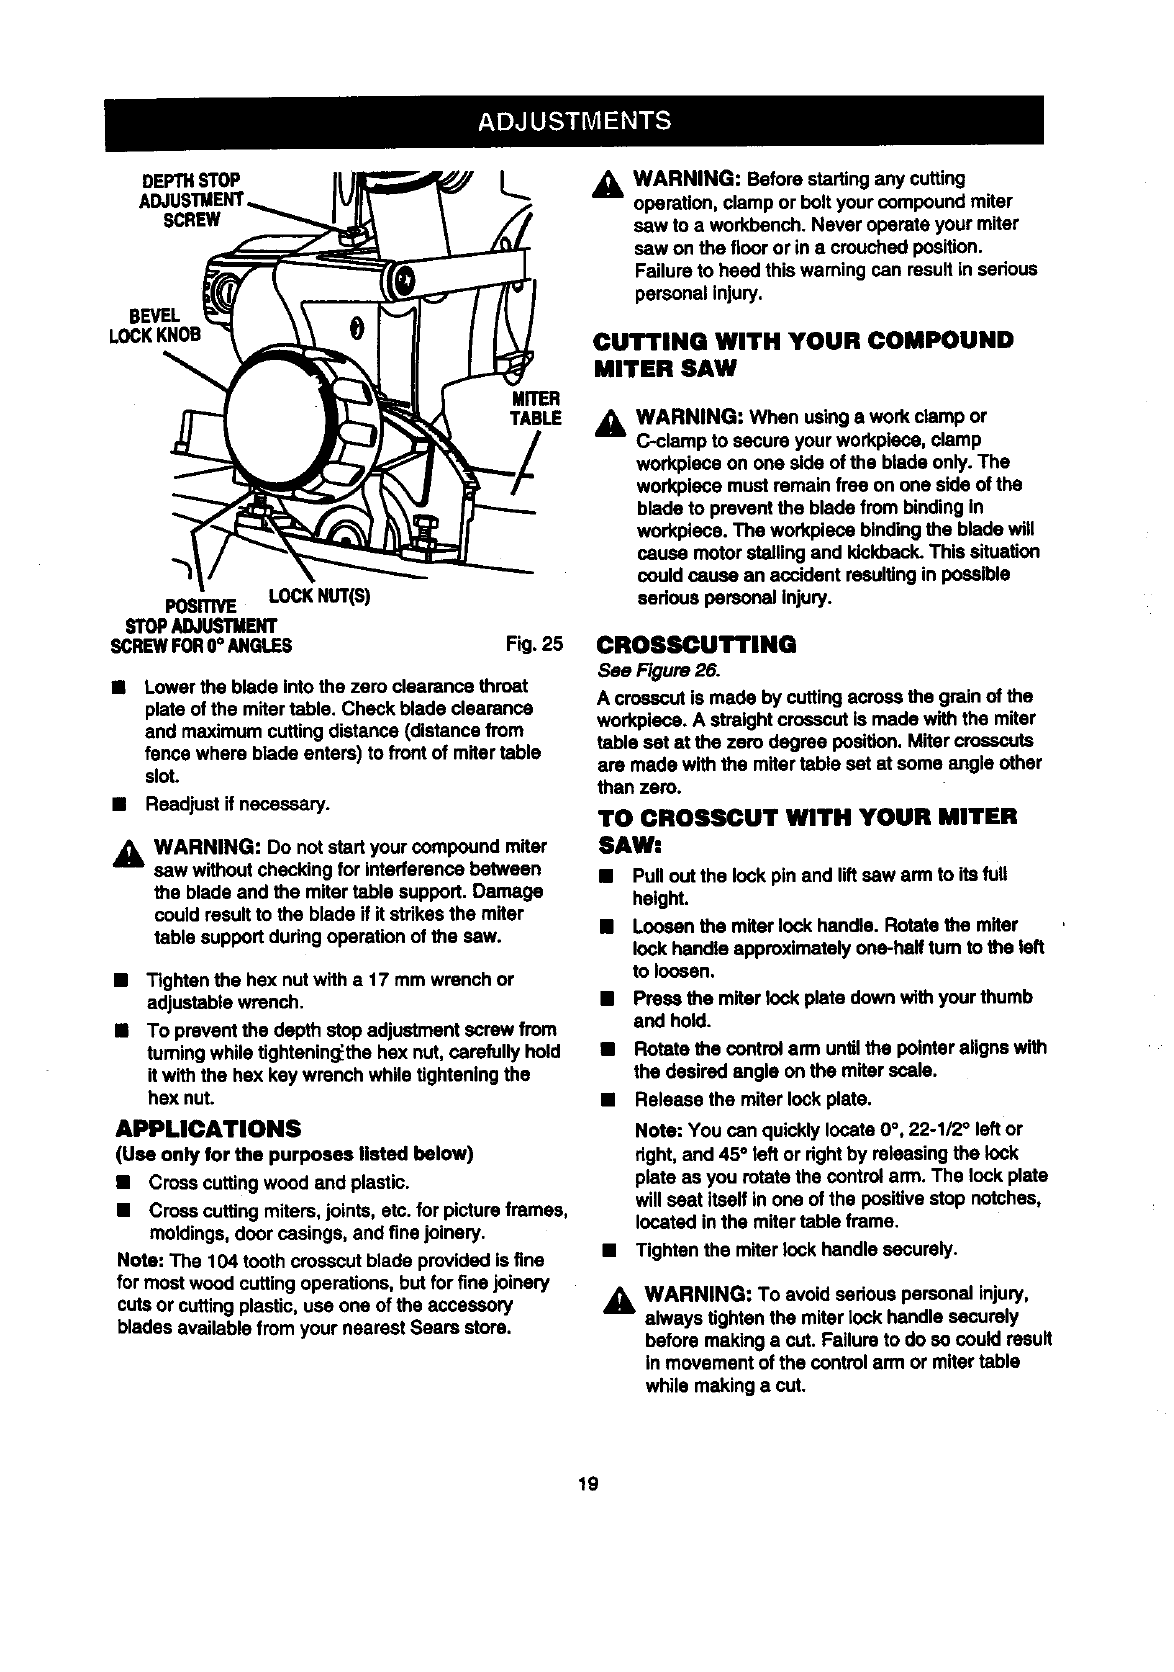
DEPTHSTOP L...
SCREW
BEVEL
MITER
TABLE
POSITIVE LOCKNUT(S)
STOPADJUSTMENT
SCREWFOR0°ANGLES Fig,25
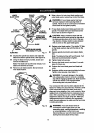
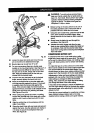
Lowerthe blade intothe zero clearancethroat
plate ofthe mitertable. Check blade clearance
and maximumcuttingdistance(distancefrom
fencewhere blade enters) to front ofmitertable
slot.
• Readjustif necessary.
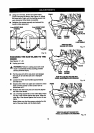
_k WARNING: Do not startyourcompound miter
sew withoutcheckingfor interferencebetween
the bladeand the mitertable support.Damage
couldresultto the blade if it strikesthe miter
table supportduringoperationofthe saw.
• Tightenthe hex nutwith a 17 mm wrench or
adjustablewrench.
• To preventthe depth stop adjustmentscrew from
tumingwhiletightening_thehexnut,carefullyhold
itwiththe hex key wrenchwhiletighteningthe
hsx nut.
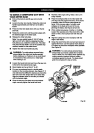
APPLICATIONS
(Use only for the purposes nsted below)
• Crosscuttingwood and plastic.
• Crosscuffingmiters,joints,etc. for pictureframes,
moldings,doorcasings, and fine joinery.
Note: The 104 toothcrosscutblade providedis fine
for mostwoodcuttingoperations,but for fine joinery
cutsor cuffingplastic,use one of the accessory
bladesavailable from your nearest Sears store.
WARNING: Beforestartingany cutting
operation,clamp or bolt yourcompoundmiter
saw to a workbench. Never operate yourmiter
sew on the flooror in a crouchedposition.
Failureto heed this warningcan resultin serious
personalinjury.
CUTTING WITH YOUR COMPOUND
MITER SAW
_, WARNING: When usinga work clamp or
C-clamp tosecure yourworkpieca,clamp
workpieceon one side ofthe blade only.The
workpiscemust remainfree on one side ofthe
blade to preventthe blade frombindingin
workplece. The workpiecebindingthe bladewill
cause motorstallingand kickback.This situation
could cause an accident resultingin possible
sedous personalInjury.
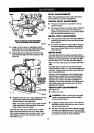
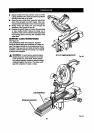
CROSSCUTTING
See Figure26.
A crosscutis made bycuttingacrossthe grain of the
workplace.A straightcrosscutis made with the miter
table set at the zero degree position. Mitercrosscuts
are made withthe mitertable set at some angleother
then zero.
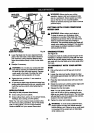
TO CROSSCUT WITH YOUR MITER
SAW:
• Pullout the lockpin and liftsew arm to itsfull
height.
• Loosenthe miterlockhandle. Rotate the miter
lock handle approximatelyone-half tum tothe left
to loosen.
• Pressthe miter lockplate down with yourthumb
and hold.
• Rotate the controlarm untilthe pointer alignswith
the desiredangle on the miterscale,
• Release the miter lockplate.
Note: You can quicklylocate 0°, 22-1/2° leftor
dght, and 45' left or rightby releasingthe lock
plate as you rotatethe control arm. The lock plate
willseat itselfin one of the positivestop notches,
locatedinthe mitertable frame.
• Tighten the miter lock handlesecurely.
WARNING: To avoidsedous personalinjury,
always tightenthe miterlock handle securely
before makinga cut. Failuretodo so couldresult
in movementofthe controlarm or mitertable
while makinga cut.
19