


B-3
OPERATION
B-3
SYNERGIC 7 & 7H
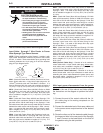
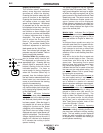
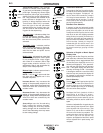
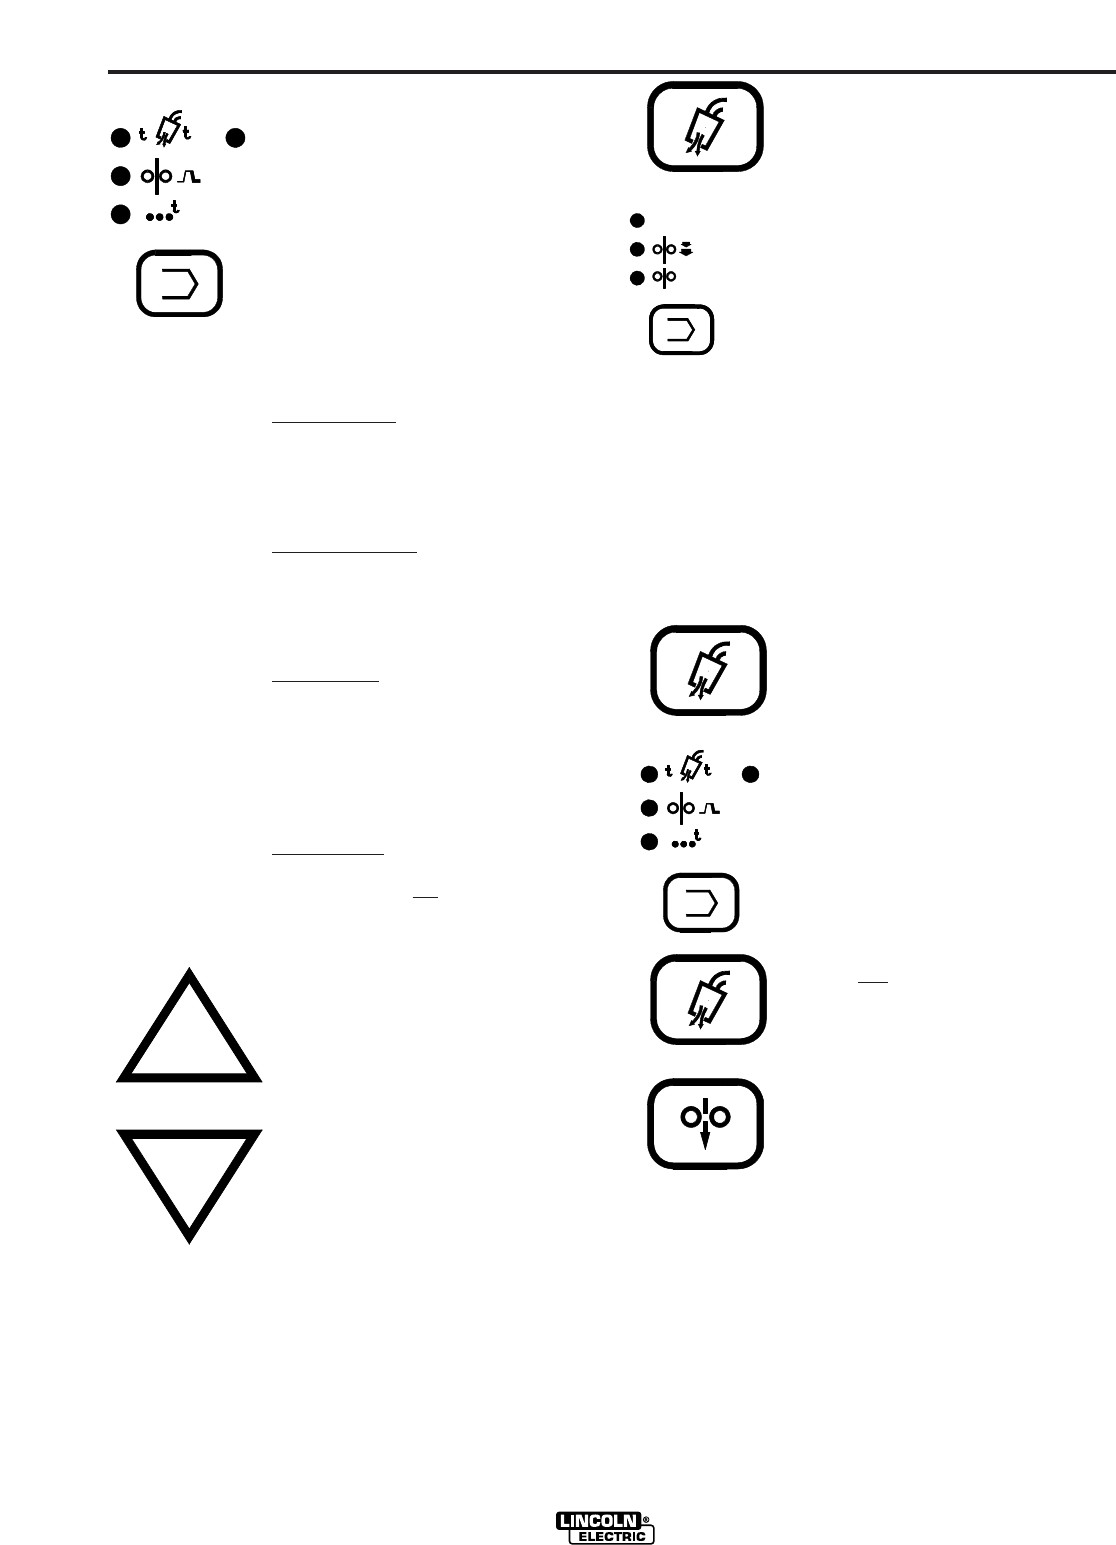
Timer/Crater Select - key enables
operator to choose crater speed, spot
or gas timers as indicated by the appro-
priate light. Pressing key causes lights
to sequence (left to right, top to bottom)
starting from the current indicated posi-
tion. Any parameter not available in the
mode selected is skipped over. If a
function is being displayed when the
Timer/Crater Select key is pressed,
then the light of the last parameter
selected before the function was cho-
sen will come on and become the start-
ing point for the sequencing.
Top Left Light
- indicates preflow time
is being displayed in seconds. This is
the time the shielding gas flows before
the wire feed and power source are
activated.
Top Right Light
- indicates postflow
time is being displayed in seconds.
This is the time the shielding gas flows
after the wire feed and power source
are deactivated.
Middle Light
- indicates that crater feed
speed is being displayed. Crater speed
is only available when 4-step trigger
with crater fill is selected. (See 4-step
trigger mode selection section). It is
activated by Step 3 and deactivated by
Step 4 of the 4-step sequence.
Bottom Light
- indicates spot on time is
being displayed in seconds.
NOTE: if unit is not
in spot mode then
this light will be skipped over in the
selection sequence.
Increase Arrow - key increases the
setting of the parameter selected to be
displayed, except Wire Feed Speed and
Volts/Trim which are controlled by the
encoder knobs.
Decrease Arrow - key decreases the
setting of the parameter selected to be
displayed, except Wire Feed Speed and
Volts/Trim which are controlled by the
encoder knobs.
Arrow Keys use the “Accelerating
Digit” method for setting changes,
where holding the arrow key causes
setting change rate to accelerate from
slow to fast. Releasing arrow key resets
to slow setting change.
Acceleration Selection
Pressing both the “Gas Purge” key and then the func-
tion select key at the same time causes the accelera-
tion setting to be displayed. The display will indi-
cate “A-X” where X will be a number from 1 through 5
with 5 being the fastest acceleration. This number
can be adjusted using the arrow keys. To exit this
function, press any other key except the arrow key,
gas purge or function select key.
Burnback Time Selection
If necessary, for higher wire feed speeds, burnback
time maybe selected to prevent the electrode from
sticking in the weld puddle a the end of the weld.
Pressing both the Gas Purge Key then the function
select key at the same time, displaying acceleration
setting per above, then pressing the function key a
second time, while holding gas purge pressed, dis-
plays the burnback time selection. Default is “b0"
which is zero delay. Selecting “b1" through “b5"
increases delay from 10 m sec to 50 m sec in 10 m
sec increments. To exit this function press any other
key except the arrow keys, gas purge or function
select key.
Selection of English or Metric Speed
Display Units
Pressing both the Gas Purge key and then
timer select key at the same time causes the
speed display units to toggle between IPM
(no decimal point displayed) and m/m (a
decimal point displayed). If the speed dis-
play units were IPM, then they will change to
m/m. If the speed display units were m/m,
then they will change to IPM. If the display
is showing the volts/trim or one of the timers
when the keys are pressed, the display will
be changed to weld speed to indicate the
selected speed display units.
Run-In Selection
Pressing both the Gas Purge key then the Cold
Feed key at the same time causes Run-In
function to toggle on or off, as indicated by the
Run-In indicator light turning on or remaining
off in the function select sequence.
As shipped, the Run-In function is off with a
fixed setting of 50 IPM (1.27 m/min.).
Therefore, the Run-In indicator light will not
sequence with the function select key, but the
fixed setting will still be used for actual Run-In
speed.
Activation of adjustable Run-In speed using the
above dual key press will permit Run-In speed
to be adjusted with the arrow keys, (See
Section 3.3.4), and the Run-In indicator light
will return to the function key sequence. Re-
pressing the above dual key again removes
the Run-In light from the function key
sequence, but replaces the fixed Run-In speed
with the adjusted Run-In speed setting, until
readjusted.
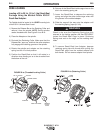
1
2
SPOT
CRATER
V
WFS
RUN-IN
TRIM
/
VOLTS
1
2
SPOT
CRATER
GAS PURGE
GAS PURGE
GAS PURGE
COLD FEED