


10
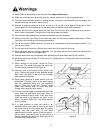
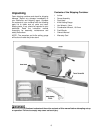
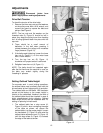
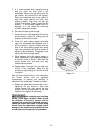
Switch Arm
The arm (Figure 3) on which the push button
switch is located is shipped in the down position.
The arm should be pivoted to upright position as
shown. Tighten the two screws with a 10mm
wrench.
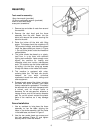
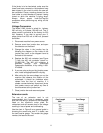
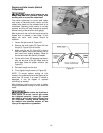
Dust Hood
Before attaching the dust hood, make sure the
hole in the dust chute is concealed by the dust
chute cover, as shown in Figure 4.
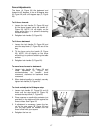
Mount the dust hood to the jointer stand using
the seven 1/4 x 1/2 hex cap screws and seven
1/4 lock washers (Figure 5).
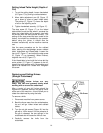
It is recommended that a dust collection system
of at least 800 CFM be connected to the jointer’s
dust hood, via a 6-inch diameter hose.
Grounding Instructions
Electrical connections must
be made by a qualified electrician in
compliance with all relevant codes. This
machine must be properly grounded to help
prevent electrical shock and possible fatal
injury.
This machine must be grounded. Grounding
provides a path of least resistance to help divert
current away from the operator in case of
electrical malfunction.
Make sure the voltage of your power supply
matches the specifications on the motor plate of
the machine.
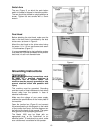
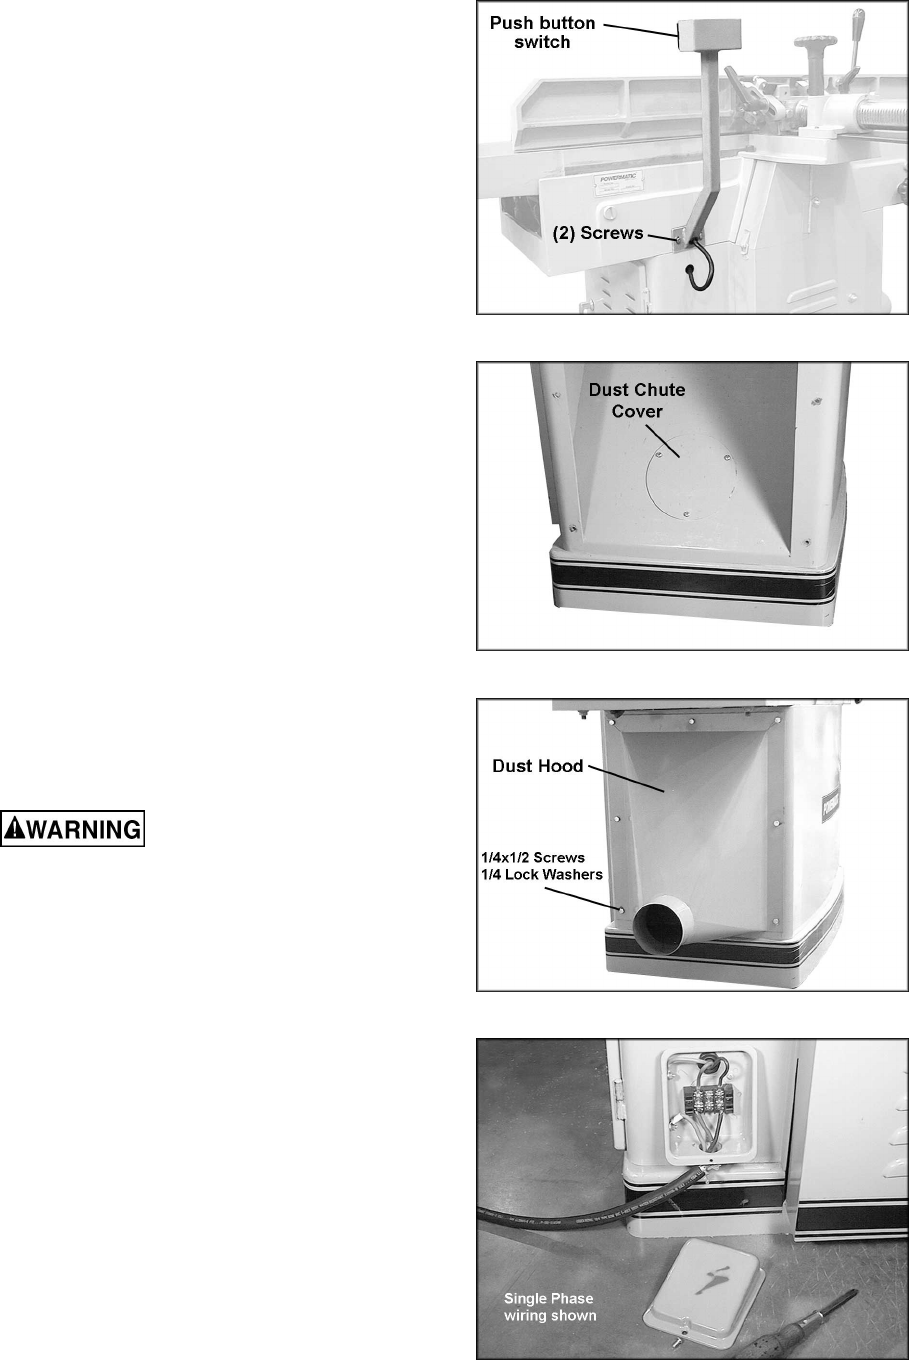
Open the junction box (Figure 6) and connect
the wires according to the diagram on the inside
of the junction box cover. A similar diagram can
be found at the back of this manual. The green
wire (ground) must be properly grounded.
The Model 1285 may be fitted with an
appropriate plug, or be “hard-wired” to an
electrical panel. If hard-wired to a panel, make
sure a disconnect is available for the operator.
Figure 3
Figure 4
Figure 5
Figure 6