


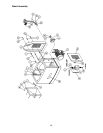
22
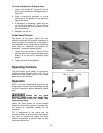
6. Slide the cutterhead out the rabbeting side.
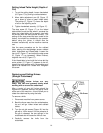
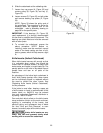
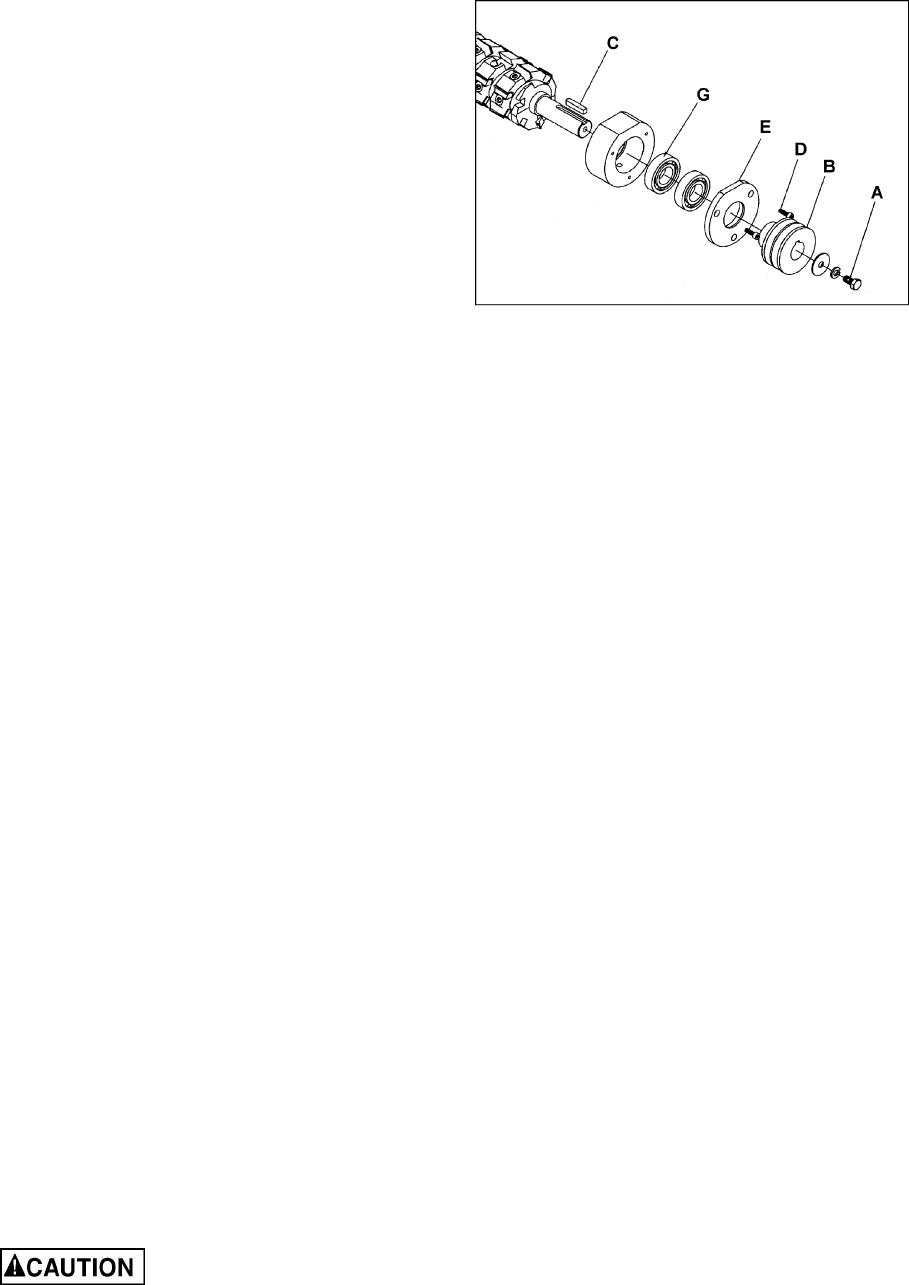
7. Loosen hex cap screw (A, Figure 33) and
remove pulley (B, Figure 33) and key (C,
Figure 33).
8. Loosen screws (D, Figure 33) on both sides
and remove bearing cap plates (E, Figure
33).
NOTE: Figure 33 shows the pulley end of
the cutterhead. The procedure is similar for
breaking down the opposite end of the
cutterhead - refer to assembly drawing on
page 39 for the specific parts.
IMPORTANT: If the bearings (G, Figure 33)
need replacement, it is strongly recommended
this be done by qualified service personnel. The
bearings are press fitted and must be removed
with an arbor press.
9. To re-install the cutterhead, reverse the
above procedure. NOTE: Before re-
installing, make sure the machine’s curved
seats of the base casting are free of dirt,
dust or grease, which will help ensure a tight
fit.
Knife Inserts (Helical Cutterhead)
When knife inserts become dull enough so that
it is noticeable when cutting, they should be
turned over or replaced entirely. A sharp knife
works easier and results in longer blade life. The
penalty paid for a dull knife is less blade life and
greater wear and tear on all parts of the
machine.
An advantage of the helical style cutterhead is
that if knife inserts develop nicks, these inserts
can be individually flipped or replaced without
the need to disturb the other inserts. See
“Replacing Knife Inserts (Helical Cutterhead)”
for this procedure.
If the jointer is used often, keeping a spare set
of knife inserts on hand is recommended. Knife
inserts (stock no. 6400013) may be ordered
from your authorized Powermatic distributor or
by calling 1-800-274-6848.
Gum and pitch which collect on the knife inserts
cause excessive friction as the work continues,
resulting in overheating of the inserts, less
efficient cutting, and consequent loss of blade
life. Use "Gum and Pitch Remover" or oven
cleaner, to carefully wipe off the knife inserts.
Jointer knife inserts are very
sharp. Use care and proceed slowly when
working with or around the cutterhead.
Figure 33