


10
Read and understand all
instructions before attempting assembly or
operation of band saw. Failure to comply may
cause serious injury.
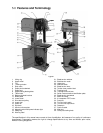
7.0 Setup and assembly
7.1 Unpacking
1. Remove all contents from shipping carton. Do
not discard any shipping material until band
saw is assembled and running satisfactorily.
2. Inspect contents for shipping damage. Report
any damage immediately to your distributor
and shipping agent.
3. Compare contents of shipping carton with the
contents list in this manual. Report shortages,
if any, to your distributor.
Note: Some parts may have come pre-assembled
to the saw.
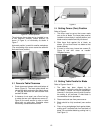
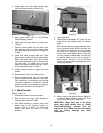
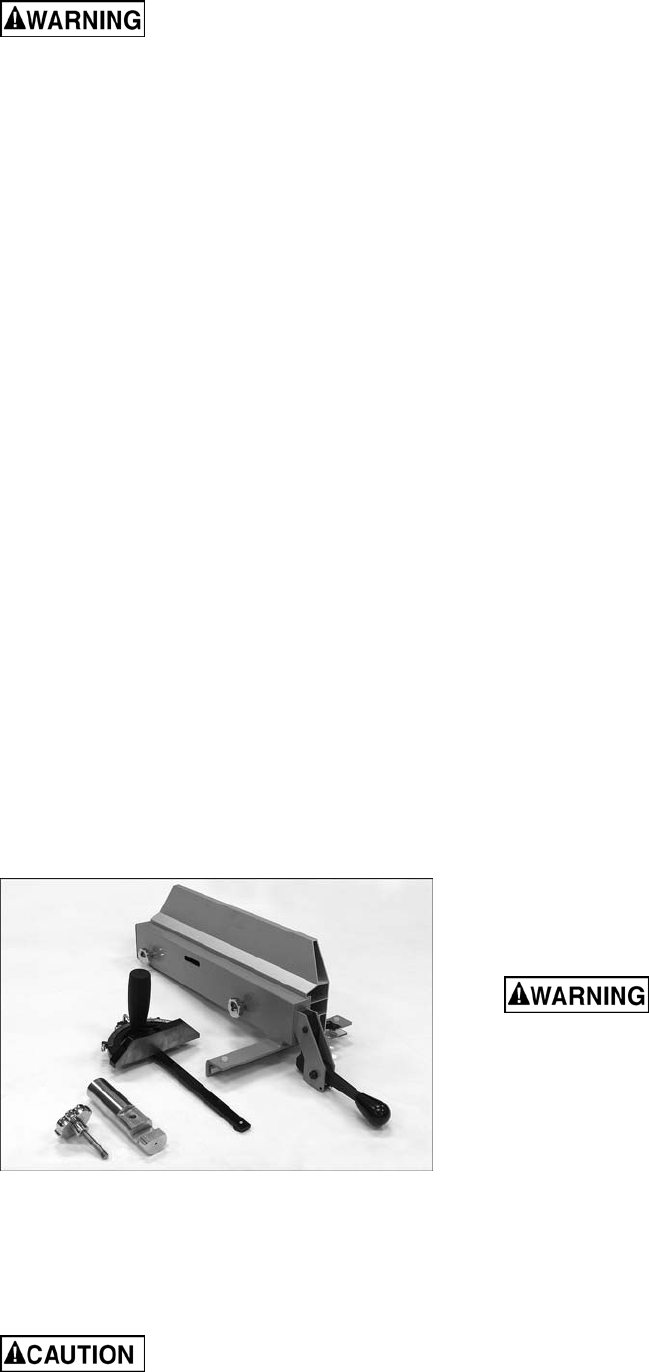
7.2 Shipping contents
Carton contents (see Figure 3):
1 Band saw (not shown)
1 Fence assembly with aluminum fence plate
1 Miter gauge
1 Resaw pin and handle
1 Owner’s manual (not shown)
1 Warranty card (not shown)
Tools required for set up and assembly:
Hoist or forklift, with straps
Machinist square
Figure 3
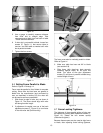
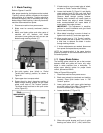
7.3 Location
Remove all crating and plastic from around
machine. Remove any screws or straps holding
band saw to shipping pallet.
Exercise care when removing
machine from shipping pallet.
Use a hoist or forklift with straps to remove band
saw from pallet. The straps used should have a
minimum 500-lb. lifting capacity. Do NOT place
forks or straps directly beneath table or against
handles or levers – use the lifting eye atop the
band saw.
Move band saw to its permanent location, which
should be dry and well lit, with a level floor and
enough space on all sides to handle long stock or
perform routine maintenance on the machine.
Make sure floor is able to support weight of
machine. If desired, band saw can be secured to
floor using lag screws (not provided) through the
four holes in base. See Figure 2 for hole spacing.
Exposed metal surfaces, such as table surface and
blade guides, have been given a protective coating
at the factory. This coating should be removed with
a soft cloth moistened with solvent. Do not get
solvents near plastic or rubber parts; and do not
use an abrasive pad as it may scratch exposed
surfaces.
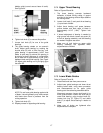
The handle on the front handwheel may be in
reverse position for shipping. Reinstall it in proper
position on the handwheel. Use a wrench on the
flat to tighten it to the handwheel.
7.4 Dust Collection
The use of a dust collection system is strongly
recommended for this band saw. It will help keep
the shop clean, as well as reduce potential health
hazards caused by inhalation of wood dust. The
collector should have a capacity sufficient for this
size machine – 400 CFM is recommended.
Powermatic has a line of dust collection systems
available; see your dealer or visit our website listed
on the cover.
Connect the hoses of your dust collection system
to the saw’s dust ports (4” outside diameter).
Secure tightly with hose clamps (not provided).
7.5 Electrical Connections
Electrical connections must be
made by a qualified electrician in compliance
with all relevant codes. This machine must be
properly grounded to help prevent electrical
shock and possible fatal injury.
The band saw is factory wired for 230 volts. It is
recommended that the band saw be connected to
a grounded and dedicated 20 amp circuit with a 20
amp circuit breaker or time delay fuse. Local codes
take precedence over recommendations.
7.6 Grounding Instructions
1. All grounded, cord-connected tools:
In the event of a malfunction or breakdown,
grounding provides a path of least resistance for
electric current to reduce the risk of electric shock.
This tool is equipped with an electric cord having