


12
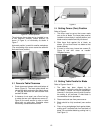
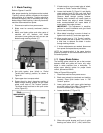
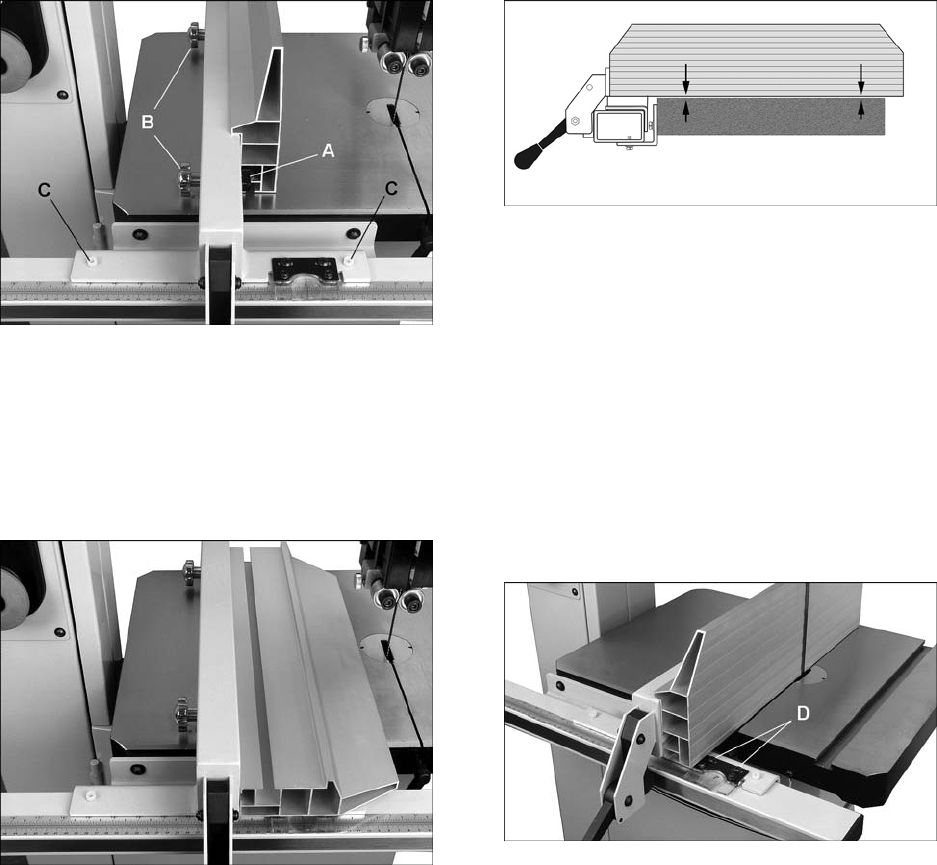
Figure 6 – vertical position
The aluminum fence plate can be installed in one
of two positions; vertically (resaw position), as
shown in Figure 6; or horizontally as shown in
Figure 7.
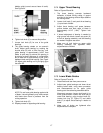
Horizontal position is useful for smaller workpieces.
(The zero setting of the cursor cannot be used with
horizontal fence position.)
Figure 7 – horizontal position
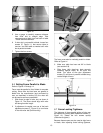
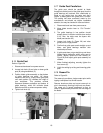
8.3 Fence to Table Clearance
1. Check clearance between table and bottom of
fence (Figure 8). The fence plate should not
rub against table surface but be slightly above
it. This gap should be the same at both front
and back of table.
2. If clearance is not equal, use a 5mm hex key
to rotate the two nylon adjustment screws (C,
Figure 6) the same amount to raise or lower
fence body on guide tube. Clockwise raises
fence body, counterclockwise lowers.
Figure 8
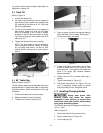
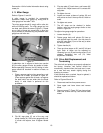
8.4 Setting Cursor (Zero) Position
Refer to Figure 9.
1. The fence must be set so that cursor reads
zero at line of blade. The fence plate must be
installed on fence body in vertical position, and
blade must be installed and fully tensioned.
2. Slide fence flush against flat of blade, as
shown. (Do not force fence into blade so that
blade deflects.)
3. If cursor is not at zero, loosen two screws (D,
Figure 9) and shift cursor as needed.
Retighten screws.
Figure 9
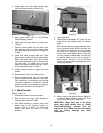
8.5 Setting Table Parallel to Blade
Refer to Figures 10 and 11.
1. The table has been aligned by the
manufacturer so that the miter slot is parallel to
the blade; it should not require adjustment.
However, in the future you may wish to confirm
the setting is still accurate. A wide blade is
recommended for the procedure.
2. Disconnect band saw from power source.
3. Blade should be fully tensioned (see section
8.11).
4. Place a long straightedge flush against blade,
making sure it contacts both front and back of
blade. (Do not deflect blade by pushing into it.)
See Figure 10.