20
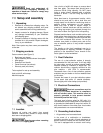
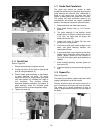
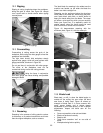
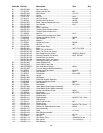
Figure 33
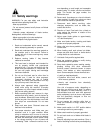
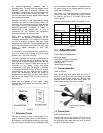
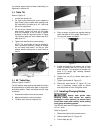
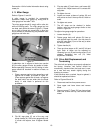
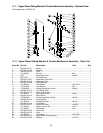
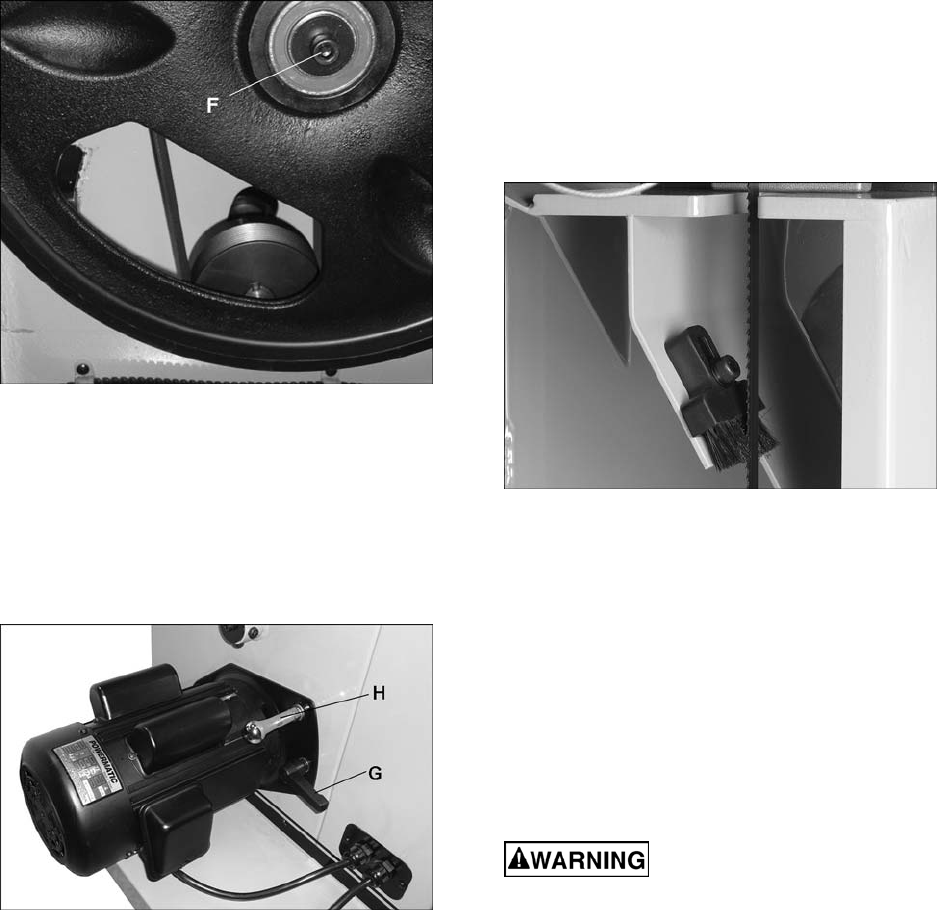
4. Loosen motor lock handle (G, Figure 34).
5. Raise motor lift handle (H) and retighten motor
lock handle to hold motor in raised position.
6. Remove old belt and install new one, making
sure it seats properly in pulley grooves.
7. Loosen motor lock handle (G) and allow motor
to lower.
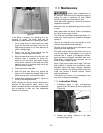
Figure 34
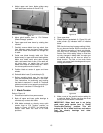
8. The weight of the motor itself should produce
proper tension for the belt. Check tension by
pushing with moderate pressure on the belt
halfway between the pulleys. An adequately
tensioned belt will deflect about 1/2”. If tension
isn’t strong enough, push down on motor.
9. Tighten motor lock handle (G).
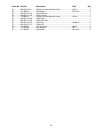
10. Reinstall lower wheel, and tighten screw (F)
securely.
11. Install blade, and verify blade tension and
tracking before operating (sections 8.11 and
8.12).
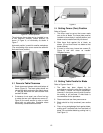
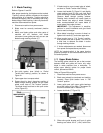
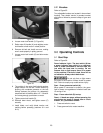
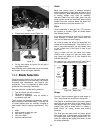
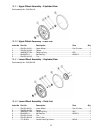
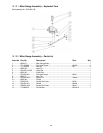
8.21 Brushes
Refer to Figure 35.
Two adjustable brushes are located in lower wheel
housing. They should remain in constant contact
with blade or wheel to prevent buildup of gum and
debris.
Figure 35
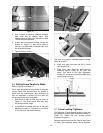
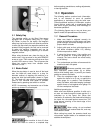
9.0 Operating Controls
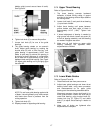
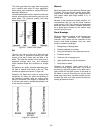
9.1 Start/Stop
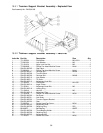
Refer to Figure 36.
Power Indicator Light – The start switch (A) has
a power indicator lamp which is on whenever
there is power connected to the band saw, not
just when the band saw is running. Do not
assume that no light means there is no power
to the machine. If the bulb is bad, there will be
no indication. Always check before use.
Do not rely that no light means
no power to the machine. Always check for power
first. Failure to comply may cause serious injury!
Start – Press green start switch (A).
When power is connected to machine, the green
light is always on regardless of whether band saw
is running or not.
Stop – Press red switch (B) to stop.
Reset – If band saw stops without pressing the
stop button (as result of tripped fuse or circuit
breaker, etc.) proceed as follows:
1. Press red switch to reset.
2. Press green switch to restart machine.