


20
21
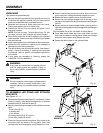
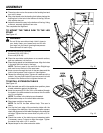
ASSEMBLY
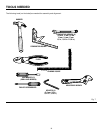
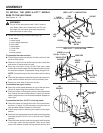
Fig. 19
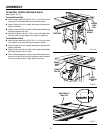
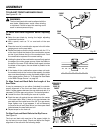
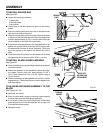
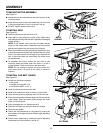
TO INSTALL FRONT AND BACK RAILS
See Figures 19 - 21.
To Install Front Rail:
n Insert square head bolts (5/16-18 x 1 in.) into the holes
on the front of the saw table and extension tables.
n Attach flanged hex nut loosely allowing the square bolt
head to protrude.
n Slide the front rail slot over each of the square head bolts
and finger tighten the nuts.
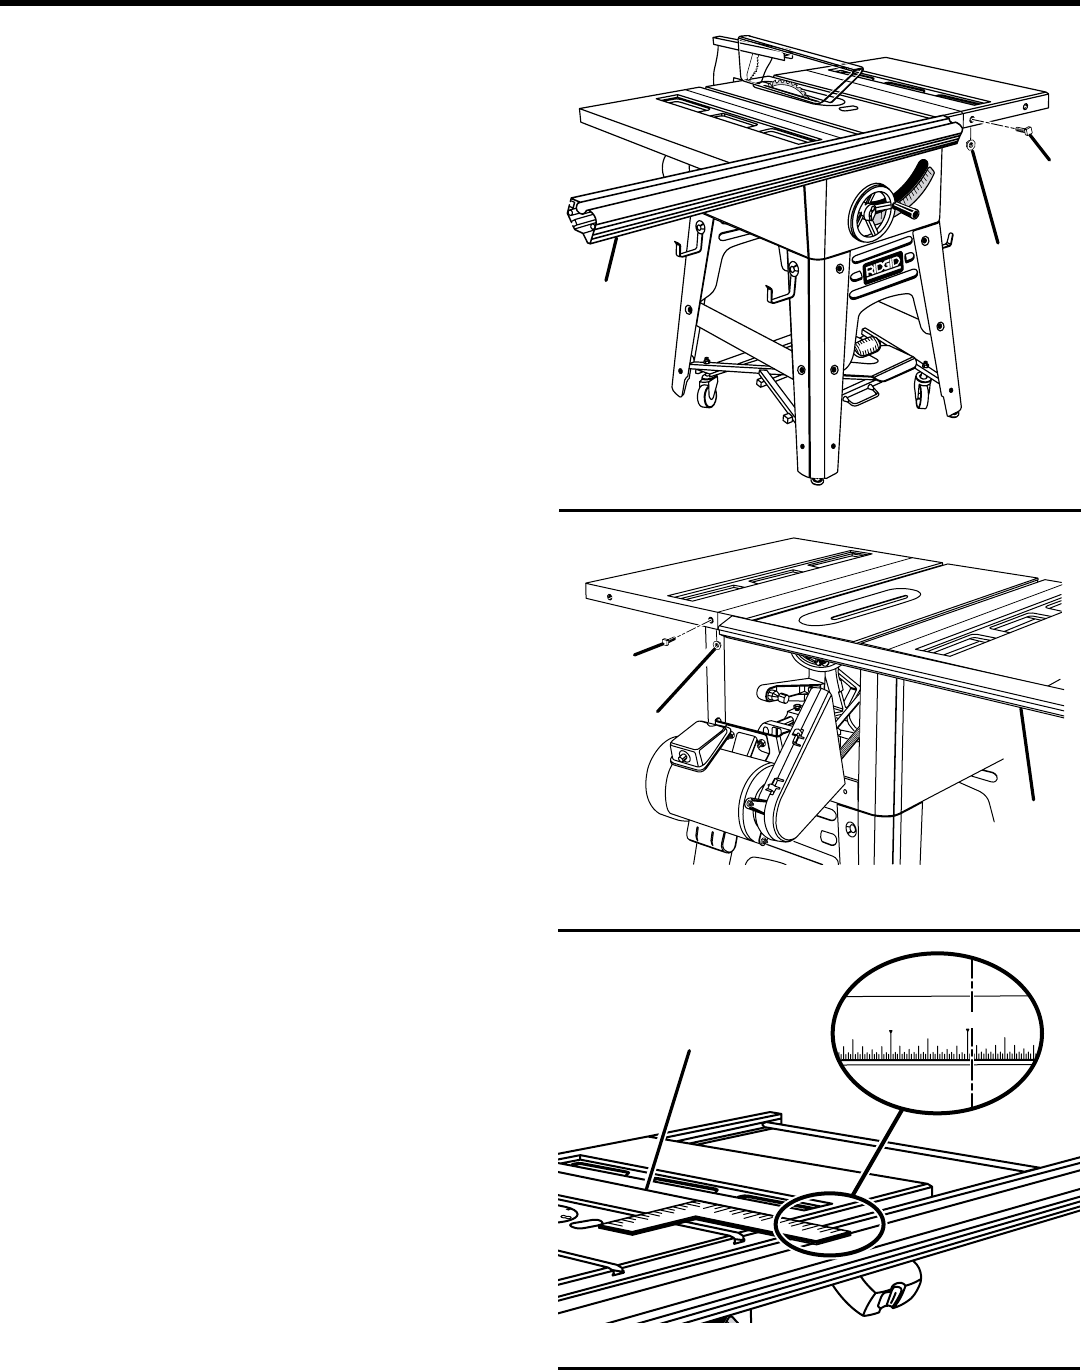
n Align the front rail with the 7-1/8 in. mark on the right side
rip scale with the right edge of the cast iron table top.
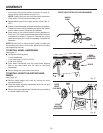
To Install Back Rail:
n Insert square head bolts (5/16-18 x 1 in.) into the holes
on the back of the saw table and extension tables.
n Attach flanged hex nut loosely allowing the square bolt
head to protrude.
n Slide the back rail slot over each of the square head bolts
and finger tighten the four nuts.
n Place a framing square on either side of the blade. Move
the back rail right or left until the indicator mark is aligned
with the framing square. Finger tighten the nuts.
Fig. 20
®
Fig. 21
SQUARE
HEAD
BOLT
FLANGED
HEX NUT
FRONT RAIL
SQUARE
HEAD
BOLT
FLANGED
HEX NUT
REAR
EXTENTION
RAIL
®
6
7
RIGHT EDGE OF
TABLE TOP