


CC1800XL Concrete Saw Manual 23
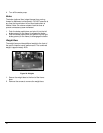
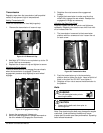
7. Place a set collar, washer, new wheel, and another
washer (in this order) onto the end of the axle. Slide
the axle back into the axle hole on the right, and
then push the assembly parts to the right. Note: The
axle should not protrude from either side of the
frame base
8. Raise the saw and retighten the rear axle setscrews
to secure the rear axle; lower the saw again.
.
9. Push the group of items from step 5 tightly up
against the left side of the saw, and tighten the set
collar setscrew to secure the wheel assembly.
10. Push the group of items from step 7 tightly up
against the right side of the saw, and tighten the set
collar setscrew to secure the wheel assembly.
Battery (Gas Model)
WARNING
• Ignitable explosive gases are emitted from the
battery. DO NOT expose the battery to sparks
or open flames.
• Disconnect the battery prior to servicing all
saw components (unless stated otherwise).
• Always keep the battery cable clamps
away from the battery terminals when
the battery is disconnected to avoid
accidental connections while servicing.
CAUTION
• Use a proper battery tester when testing the
battery strength.
• Use protective eyewear or a face shield, and
avoid contact with the skin when
handling/servicing the battery.
Battery Type
12 Volt, Group U1
Servicing the Battery
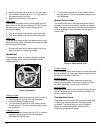
1. Turn off the master disconnect.
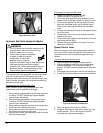
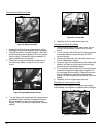
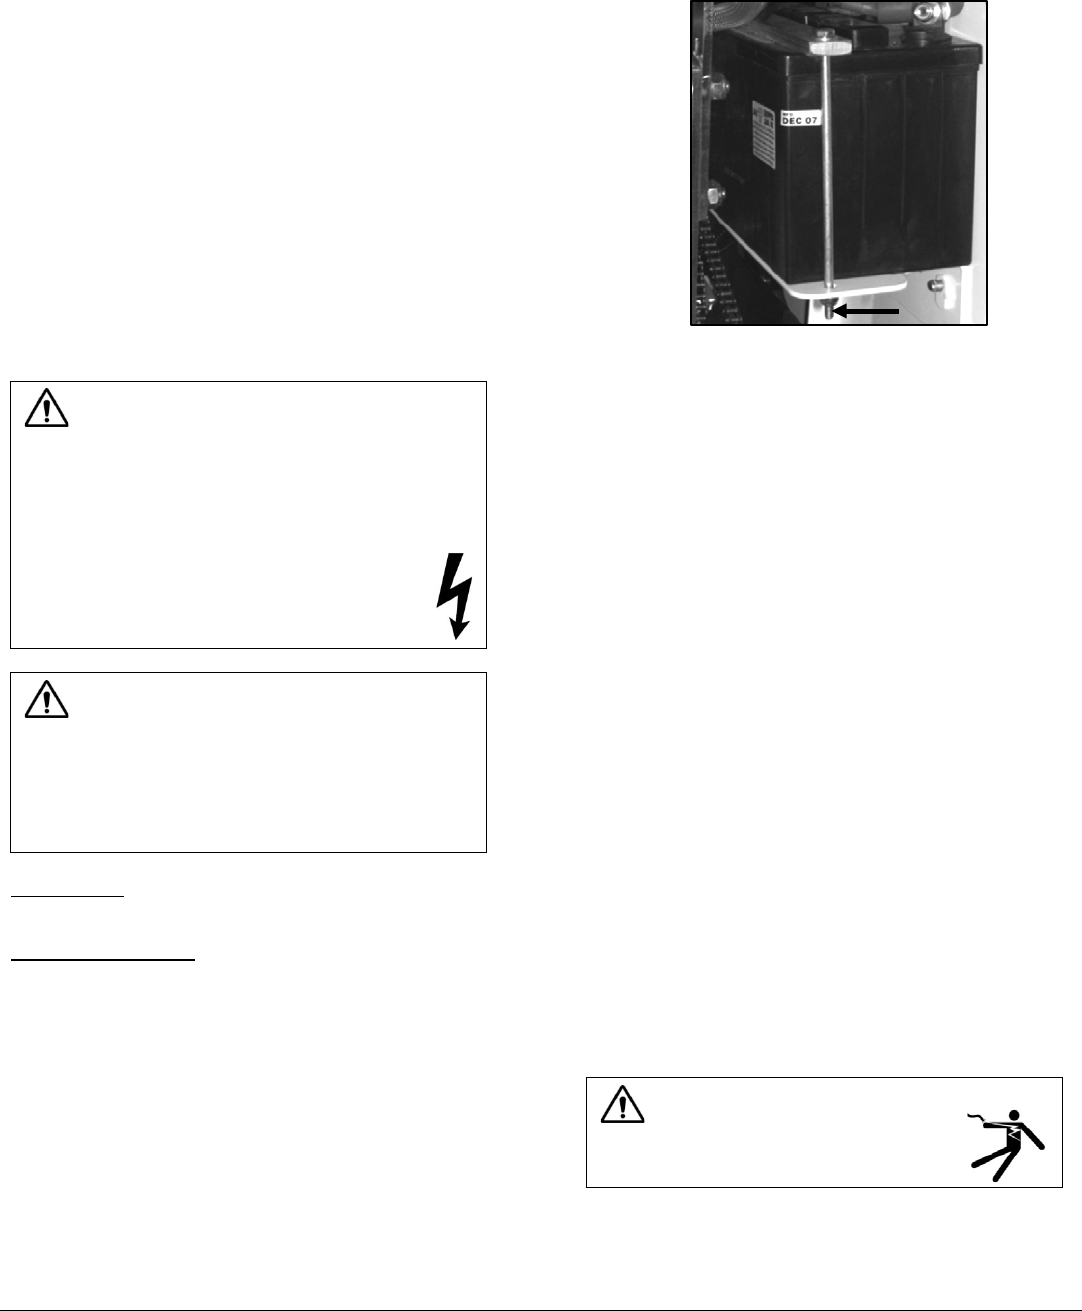
2. Remove the battery support brace nuts and the
support brace.
Figure 28: Battery Support Brace
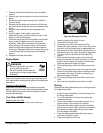
3. Remove the negative battery boot and disconnect
the negative battery cable lead from the negative
battery terminal.
4. Remove the positive battery boot and disconnect the
positive battery cable lead from the positive battery
terminal.
5. Slide the battery off the battery platform, keeping it
level.
6. When replacing the battery, place a new battery
onto the battery platform, keeping it level. Bring the
old battery to a recycling facility; many battery
retailers also accept old batteries.
7. When cleaning the battery, inspect its terminals,
clamps, and cables for damages and corrosion.
Clean the terminals and clamps using a wire brush,
or use another approved technique for cleaning. Use
acid-free, acid-resistant grease to grease the battery
clamps and terminals.
8. Reconnect the positive battery cable lead to the
positive battery terminal and replace the battery
boot.
9. Reconnect the negative battery cable lead to the
negative battery terminal and replace the battery
boot.
10. Fit the battery support brace over the battery and
retighten the nuts to secure the brace.
11. Turn on the master disconnect (as necessary).
Electrical System
WARNING
• Always use the correct size fuses
(amps) to prevent fires.
Check the in-line fuse (applicable models) below the
control panel if the engine does not start when actuating
the ignition key, and replace the fuse as necessary.