


Repair
313289S 35
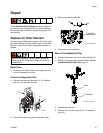
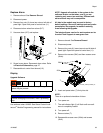
Replace Alarm
1. Remove shroud. See Remove Shroud.
2. Disconnect power.
3. Remove four nuts (4); leave two nuts on left side of
panel tight. Open front panel of control box (11).
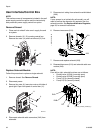
4. Disconnect alarm wires from alarm (217).
5. Unscrew alarm (217) and replace.
6. Screw in new alarm. Reconnect alarm wires. Refer
to Electrical Schematics, page 47.
7. Reassemble air control front shroud (12).
Display
Upgrade Software
Use software token 16A265. See Graco Control Archi-
tecture
™
Module Programming manual for instructions.
NOTE: Upgrade all modules in the system to the
software version on the token, even if you are
replacing only one or two modules. Different soft-
ware versions may not be compatible.
All data in the module may be reset to factory
default settings. Record all settings and user prefer-
ences before the upgrade, for ease of restoring
them following the upgrade.
The latest software version for each system can be
found at Tech Support at www.graco.com.
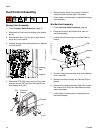
1. Remove shroud. See Remove Shroud.
2. Disconnect power.
3. Remove four nuts (4); leave two nuts on left side of
panel tight. Open front panel of control box (11).
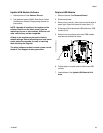
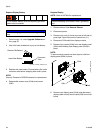
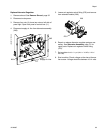
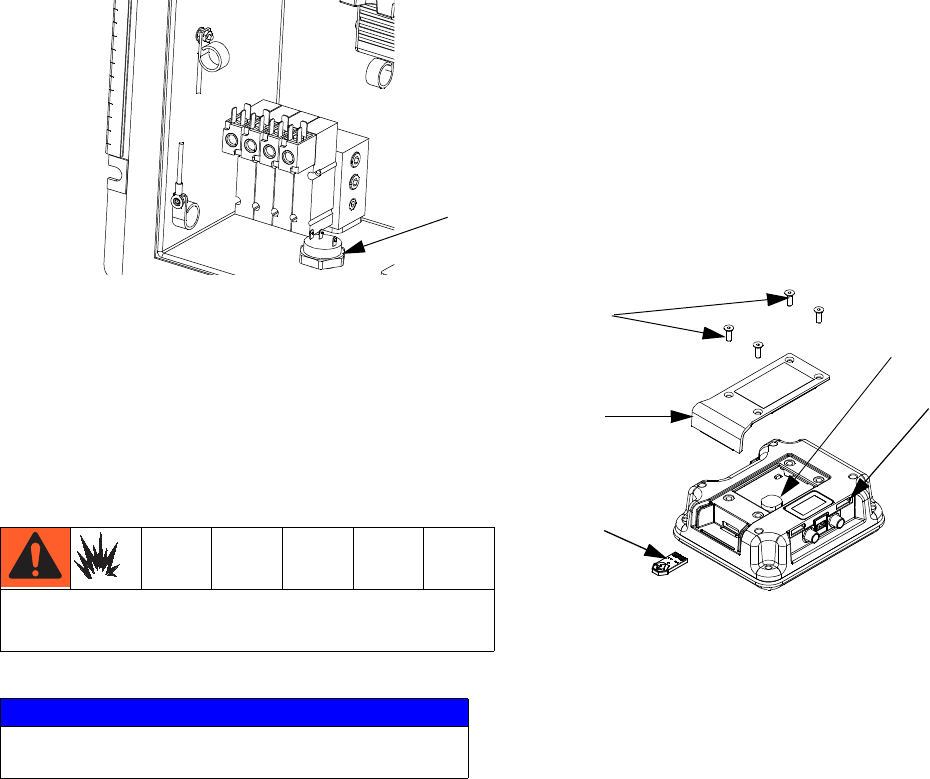
4. Remove four screws (204f) and then access cover
(204e).
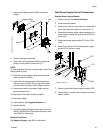
5. Insert and press token (T) firmly into slot.
NOTE:
There is no preferred orientation of token.
6. Turn power on.
7. The red indicator light (L) will flash until new soft-
ware is completely loaded.
8. Turn power off.
9. Remove token (T).
10. Reassemble access cover (204e) and screws
(204f).
Do not upgrade software when an explosive gas atmo-
sphere may be present.
NOTICE
To avoid damaging circuit board, wear a grounding
strap.
217
r_312359_313289_22
L
T
204f
204e
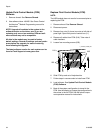
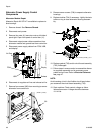
Battery
r_xm1a00_312359_313289_2a