


-34-
Model G0602/G0752 (Mfg. Since 11/12)
This is an essential adjustment that should be ver-
ified or performed each time the tailstock is used
to turn concentric workpieces between centers
or immediately after offsetting the tailstock when
turning a taper. If the tailstock is not aligned with
the spindle centerline when it is supposed to be,
turning results will be inaccurate along the length
of the workpiece.
Items Needed Qty
Hex Wrench 4mm .............................................. 1
Open-End Wrench 19mm .................................. 1
Round Stock 2" x 6" .......................................... 2
Precision Level .................................................. 1
Precision Calipers ............................................. 1
Dial Indicator ..................................................... 1
To align the tailstock to the spindle center-
line:
1. Use the precision level to make sure the
bedway is level from side-to-side and from
front-to-back.
— If the bedway is not level, correct this con-
dition before continuing (refer to Leveling
& Mounting on Page 21).
2. Center drill both ends of one piece of round
stock, then set it aside for use in Step 5.
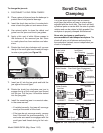
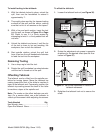
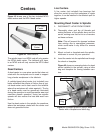
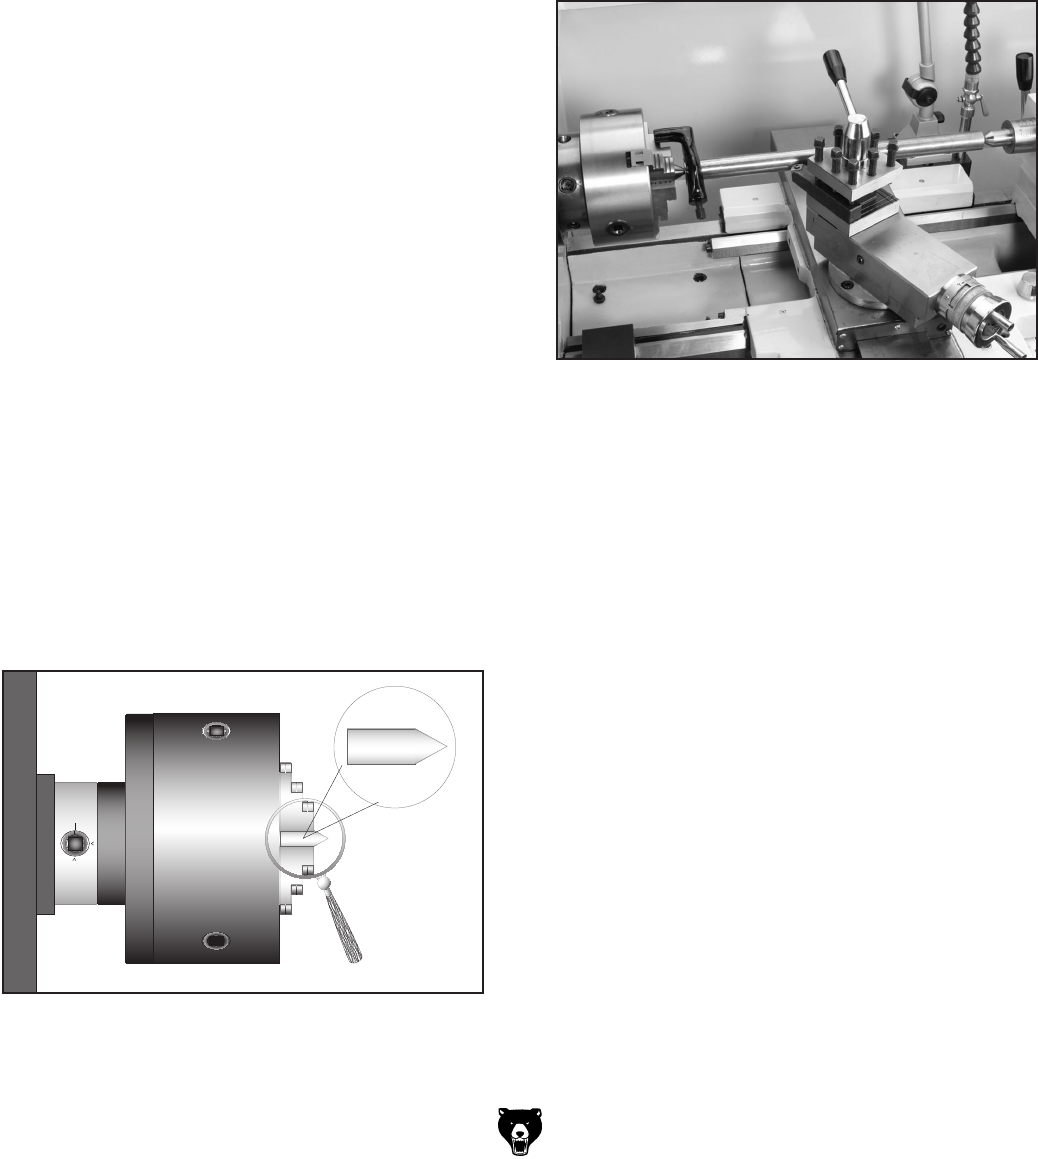
3. Use the other piece of round stock to make
a dead center, and turn it to a 60° point, as
illustrated in Figure 38.
Figure 38. Turning a dead center.
Aligning Tailstock to Spindle
Centerline
Note: As long as this dead center remains in
the chuck, the point of the center will remain
true to the spindle centerline. The point will
have to be refinished whenever the center is
removed and then returned to the chuck.
4. Install a center in the tailstock.
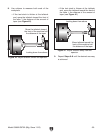
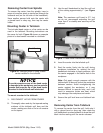
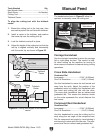
5. Attach a lathe dog to the test stock from Step
2, then mount it between the centers (see
Figure 39 for an example).
Figure 39. Example photo of stock mounted
between the centers.
6. Turn 0.010" off the stock diameter.
7. Mount a test or dial indicator so that the
plunger is on the tailstock quill.
Note: If necessary in the following step,
refer to Offsetting Tailstock on Page 33 for
detailed instructions.