12
Infeed Roller
The function of the infeed roller is to feed the
material into the machine. To provide proper
drive, it should be set so that the bottom of its
arc is 1/16" (1.6mm) below the arc of the
cutterhead knives. The infeed roller is under
spring tension and this tension must be
sufficient to feed the stock uniformly through the
planer without slipping but should not be so tight
that it causes damage to the rubber coating on
the rolls, or damage to the boards. Adjustment
of height and spring tension should be done in
conjunction with one another as follows.
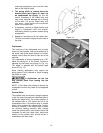
To adjust the HEIGHT of infeed roller:
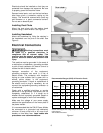
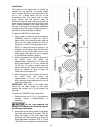
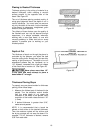
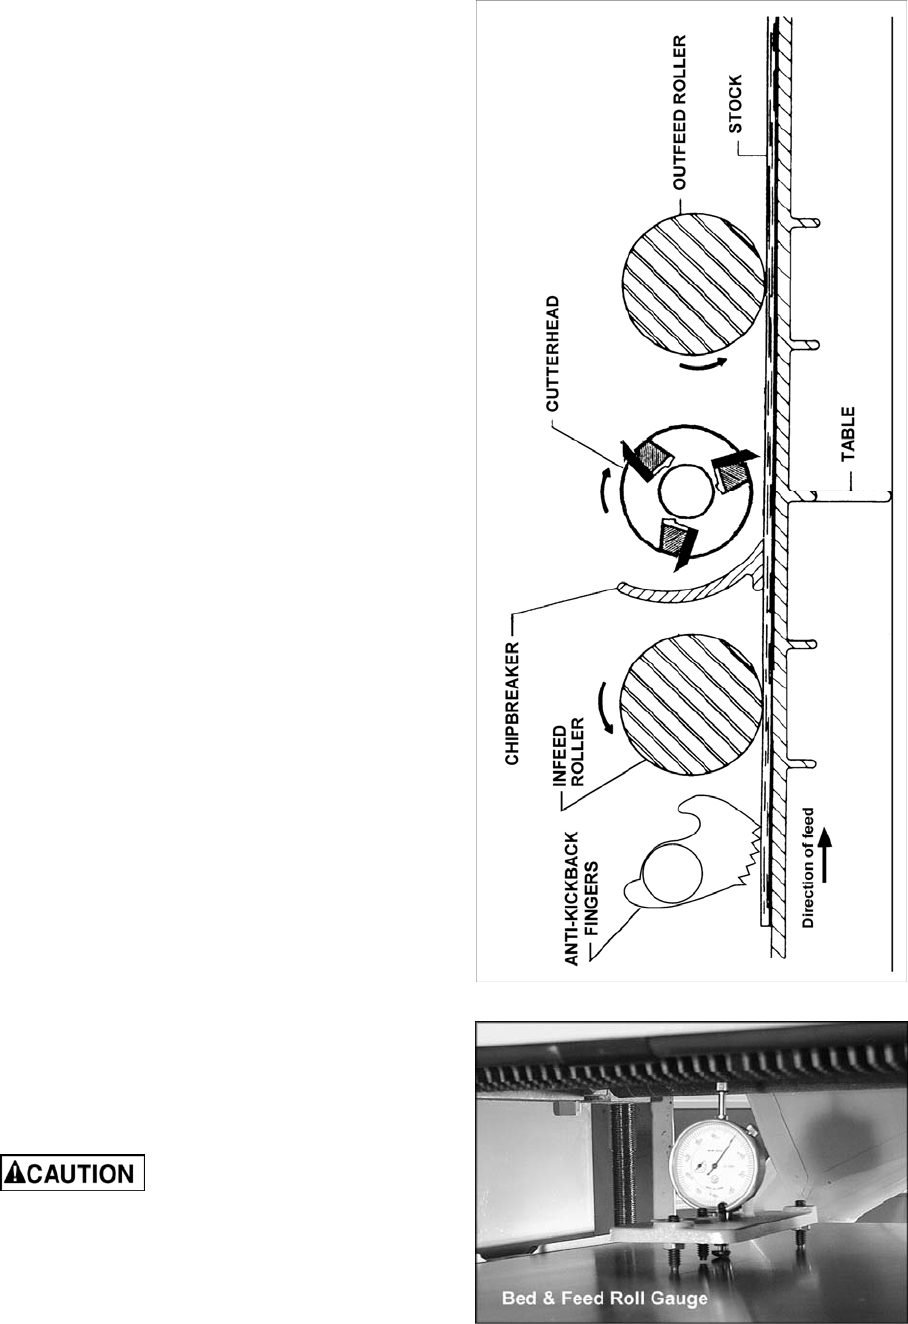
1. Place a bed and feed roll gauge (accessory
#2230002), shown in Figure 13, under a
planer knife in the cutterhead and raise the
table until the gauge contacts the knife at
the apex of its curve. Set the gauge to zero.
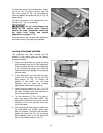
NOTE: If a bed and feed roll gauge is not
available, use a finished block of wood with
notches cut out for the table rollers, and a
feeler gauge. See Figure 14 for an example
of a wood block used as a gauge.)
2. Move the gauge to the extreme right end of
the infeed roller and check the
measurement. It should be 1/16” below the
knife measurement. If it is not, loosen the
nut (B, Fig. 15), place a wrench upon the
flats of the screw (C, Figure 15) and turn the
screw as needed, to raise or lower the
infeed roller at the right end.
3. Move the gauge to the extreme left end of
the infeed roller and check the
measurement. If it is not 1/16” below the
knife, make the same adjustment for the left
end of the infeed roller.
IMPORTANT: Both ends of the infeed roller
should be the same height to help avoid
skewing the material as it is fed through the
machine.
To adjust the TENSION of the infeed roller:
1. Rotate the lock nut (A, Fig. 14), clockwise to
increase tension, counterclockwise to
decrease.
Do not over-compress the
spring on the infeed roller! Carefully observe
the following instructions.
2. Notice that as the spring tension is adjusted,
the infeed roller moves up or down. This will
affect the height of the roller which was
previously set. After tensioning is done, the
height adjustment elements (B & C, Figure
15) should be re-adjusted to counteract the
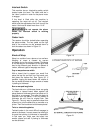
Figure 12
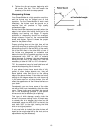
Figure 13


