


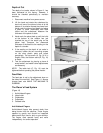


18
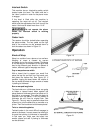
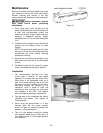
Homemade Bedboard
A homemade bedboard can be made as shown
in Figure 26. Permanent guide rails are mounted
as shown.
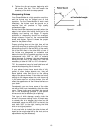
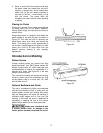
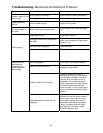
Homemade Featherboard
For face molding, a homemade guide and comb
or featherboard can be combined to position
stock for desired pattern cuts. See Figure 27.
Select a straight piece of hardwood for the
guide. This piece should be 2” x 1/2” and at
least 27-1/4” long. The guide should be exactly
parallel to the milled edge of the planer bed. The
guide can be held in place with C-clamps. You
will have to cut clearances in the guide so the
guide will fit beneath the rollers.
A featherboard can be of great help in guiding
stock. It is quickly made from any piece of 1”
thick stock, approximately 8” long and 3” wide.
Saw the parallel slots about 4” deep and 1/8”
apart. The feather board can be C-clamped at
any position to exert a spring tension to hold the
stock against the guide.
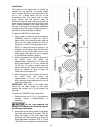
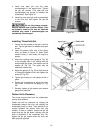
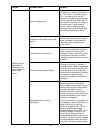
Homemade Guide Set-Up for Edge
Molding
Figure 28 shows a wooden guide set-up for
edge molding. The guides are C-clamped on
each side of the stock and are within 3/4” of the
top edge to provide maximum support so that
the narrow stock will travel beneath the knife.
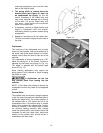
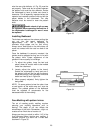
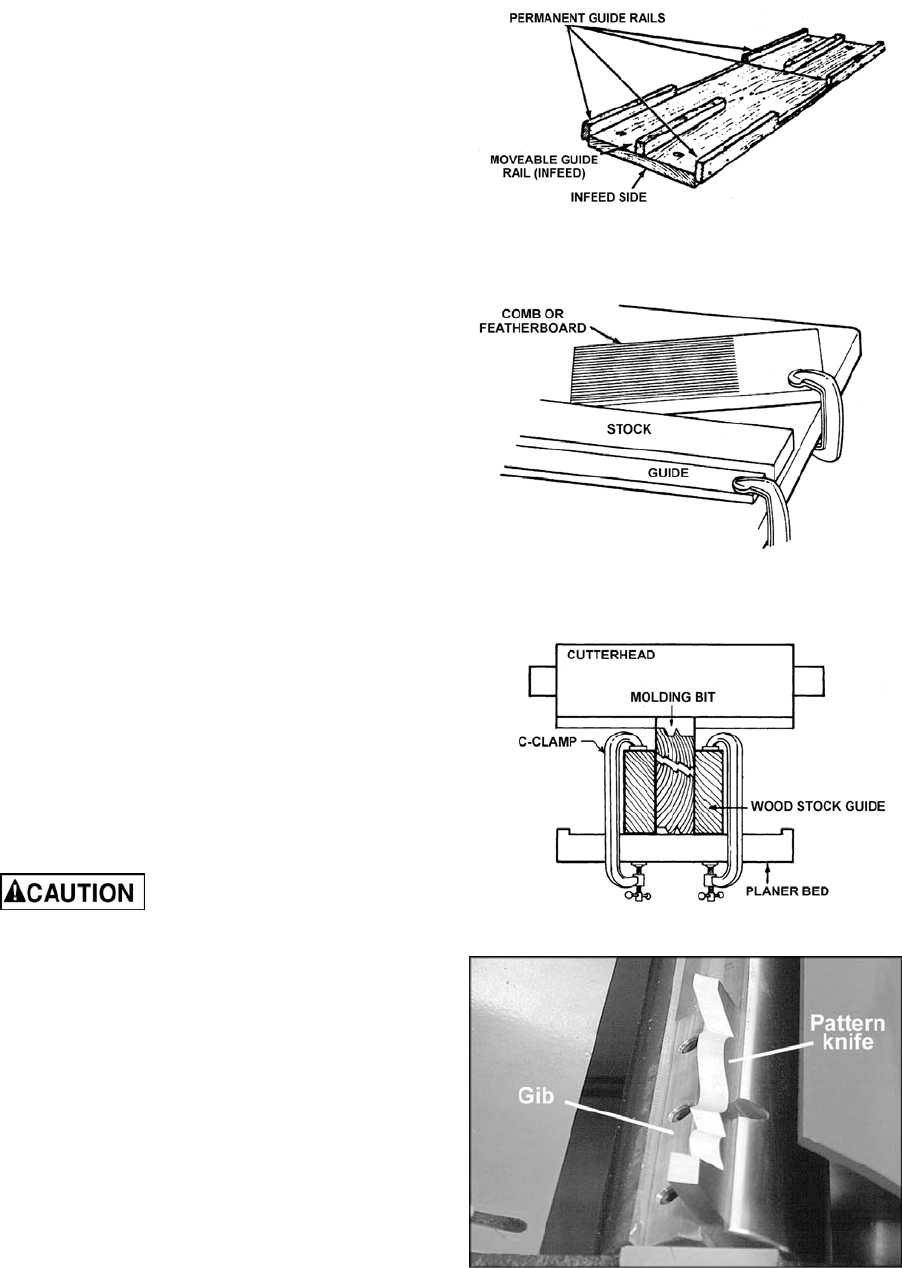
Installing Single Pattern Knives
Pattern knives are easy to install and adjust.
Always disconnect machine
from power source before changing knives
or molding bits. Always use the gib(s)
supplied with a particular molding knife.
1. Loosen the gib set screws and tap all gibs
down to release the planer knives.
2. Remove the planer knives, then the gibs
and jack screws. Clean the cutterhead slots
and the custom pattern knife thoroughly with
a nonflammable solvent to remove all wood,
dust, gum, and any protective coatings.
3. Re-install the jack screws. Install the
aluminum gib and then the pattern knife into
one of the cutterhead slots. See Figure 29.
Tighten the gib set screws. Double check
during this tightening, to insure against the
knife creeping up during the tightening
process. If necessary, tap the knife down
with a hard wood block until it has bottomed
out in the cutterhead slot.
Figure 26
Figure 27
Figure 28
Figure 29