20
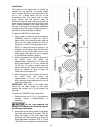
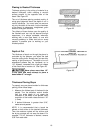
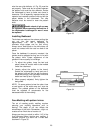
A
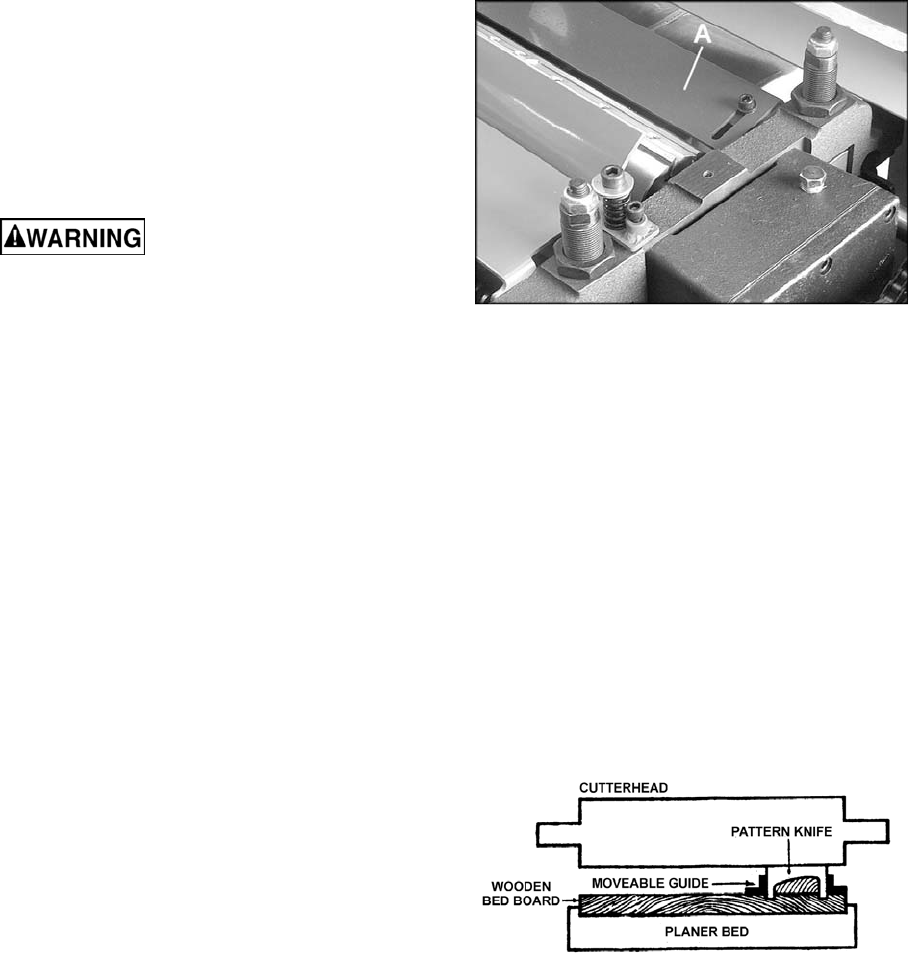
lso the rear chip deflector
(
A, Fi
g
. 33
)
must be
set properly. There must be no contact between
the pattern knife and the chip deflector. Rotate
the cutterhead by hand to make sure there is
clearance. This is especially important when the
operator has inserted a pattern knife and left the
planer blades in the cutterhead. The chip
deflector must be moved to clear the pattern
knife.
Double check all gib screws
for tightness before operating the machine. If
the chipbreaker is damaged or worn it must
be replaced.
Installing Bedboard
The knives are made so the extreme cutting tips
can cut into the wood bedboard by
approximately 1/16”. This is necessary to
eliminate rough edges and for final sizing.
Always use a bed board so the knife does not
come into contact with the cast iron bed of the
planer.
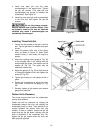
Once the bedboard is securely mounted, the
guides must be adjusted so they are in line with
the pattern knife. Proper adjustment of the
guides will insure quality cut moldings.
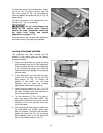
1. To adjust the guides, lower the bed and
place a board of correct width to be molded
under the cutterhead.
2. Loosely adjust the guides to the board.
Rotate the cutterhead by hand and see if
the pattern knife will line up with the board.
Adjust accordingly until the pattern knife and
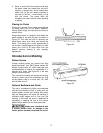
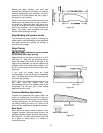
board are lined up as in Figure 34.
3. When properly adjusted, firmly tighten the
bed guides.
NOTE: On some pattern knives the cutter trims
a small portion of the width away as it cuts the
pattern. The outfeed guides on the bedboard
must be adjusted to compensate for the
decreased width of the molding.
Face Molding with pattern knives
The art of creating quality molding requires
planning your molding operations prior to
starting. The depth of cut can dictate the
smoothness of the finish. Remember, a light cut
creates a finer finish than a heavier cut.
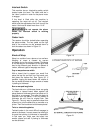
Always pre-size your stock to within 1/16” of the
final thickness before running your molding. If
possible, pre-size it to within 1/8” in width also
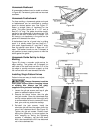
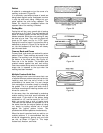
as shown in Figure 35.
Figure 33
Figure 34


