9
Extension Cords
If an extension cord is necessary, make sure the
cord rating is suitable for the amperage listed on
the machine’s motor plate. An under sized cord
will cause a drop in line voltage resulting in loss
of power and overheating.
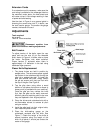
Use the chart in Figure 4 as a general guide in
choosing the correct size cord. If in doubt, use
the next heavier gauge. The smaller the gauge
number, the heavier the cord.
Adjustments
Tools required:
hex wrench
12mm & 14mm wrenches
Disconnect machine from
power source before making adjustments.
Belt Tension
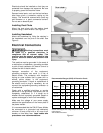
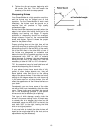
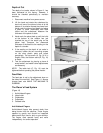
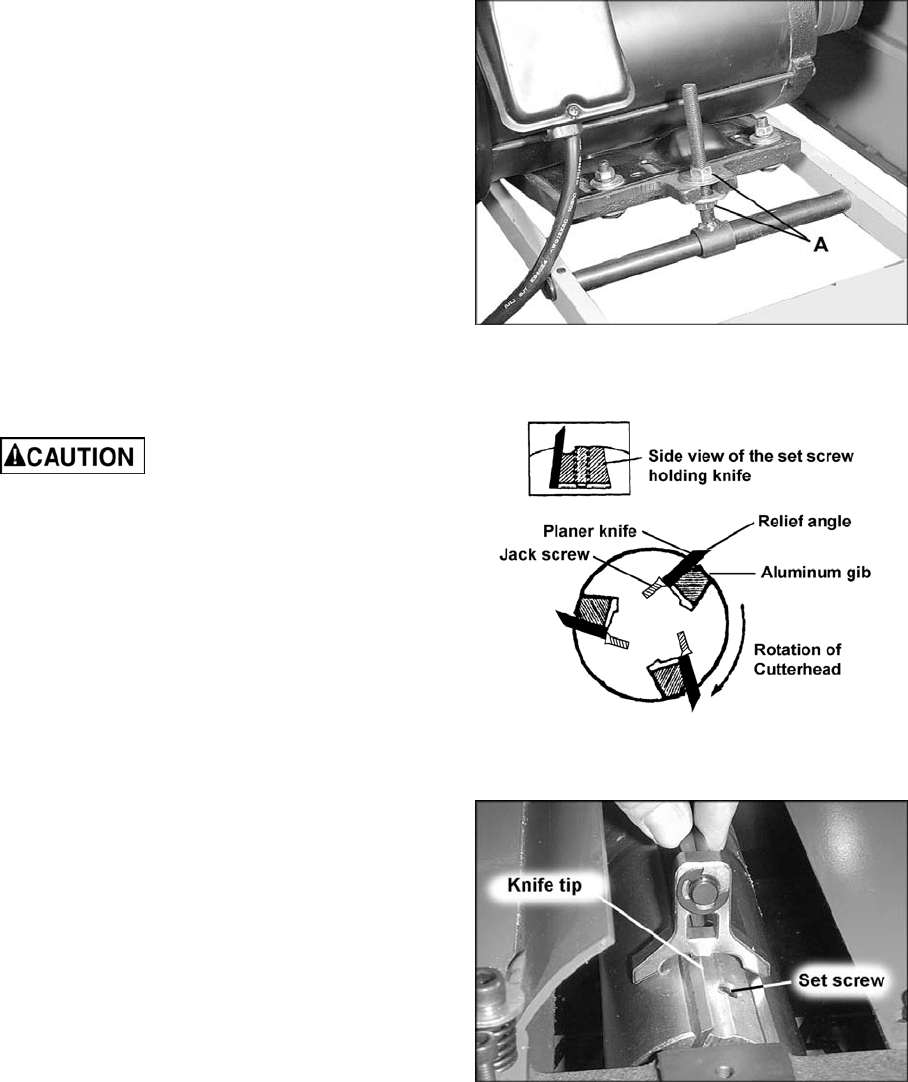
To adjust tension of the belts, open the rear
panel and use the nuts (A) on the threaded
shaft, shown in Figure 4, to either raise or lower
the motor. Re-tighten nuts when satisfied.
Proper tension is achieved when there is
approximately 1/4” deflection in the belt using
moderate finger pressure.
Planer Knife Replacement
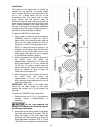
1. The planer knives are held in position by
wedge action. The set screws press against
the bottom of the cutterhead slot forcing the
gibs into a wedge type seal. To break this
seal and remove the knife, simply loosen
the gib set screws until they are flush with
the top of the gibs. See Figure 6.
2. Tap the gibs down using either a wood
block or a soft piece of aluminum or brass (a
brass punch is provided with your machine).
Once the gibs are free, remove the knife
first, then the gibs can be easily removed.
Mark all gibs and matching slots to be sure
they are replaced in their original position.
3. Clean the knives and cutterhead slot with a
non-flammable solvent to remove all pitch
and gum residue.
4. Install the gibs back into their original slots,
then install the planer knives.
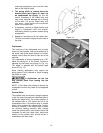
5. Place the knife-setting gauge on the
cutterhead, centered over the knife. See
Figure 7. Check the height of the knife at
several locations along the length of the
knife. At all points, it should just contact the
center of the gauge.
Figure 5
Figure 6
Figure 7


