


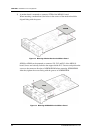
CHAPTER 2. Ошибка! Стиль не определен.
2-6
© SAMSUNG Electronics Co., Ltd.
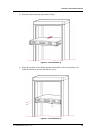
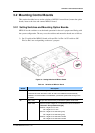
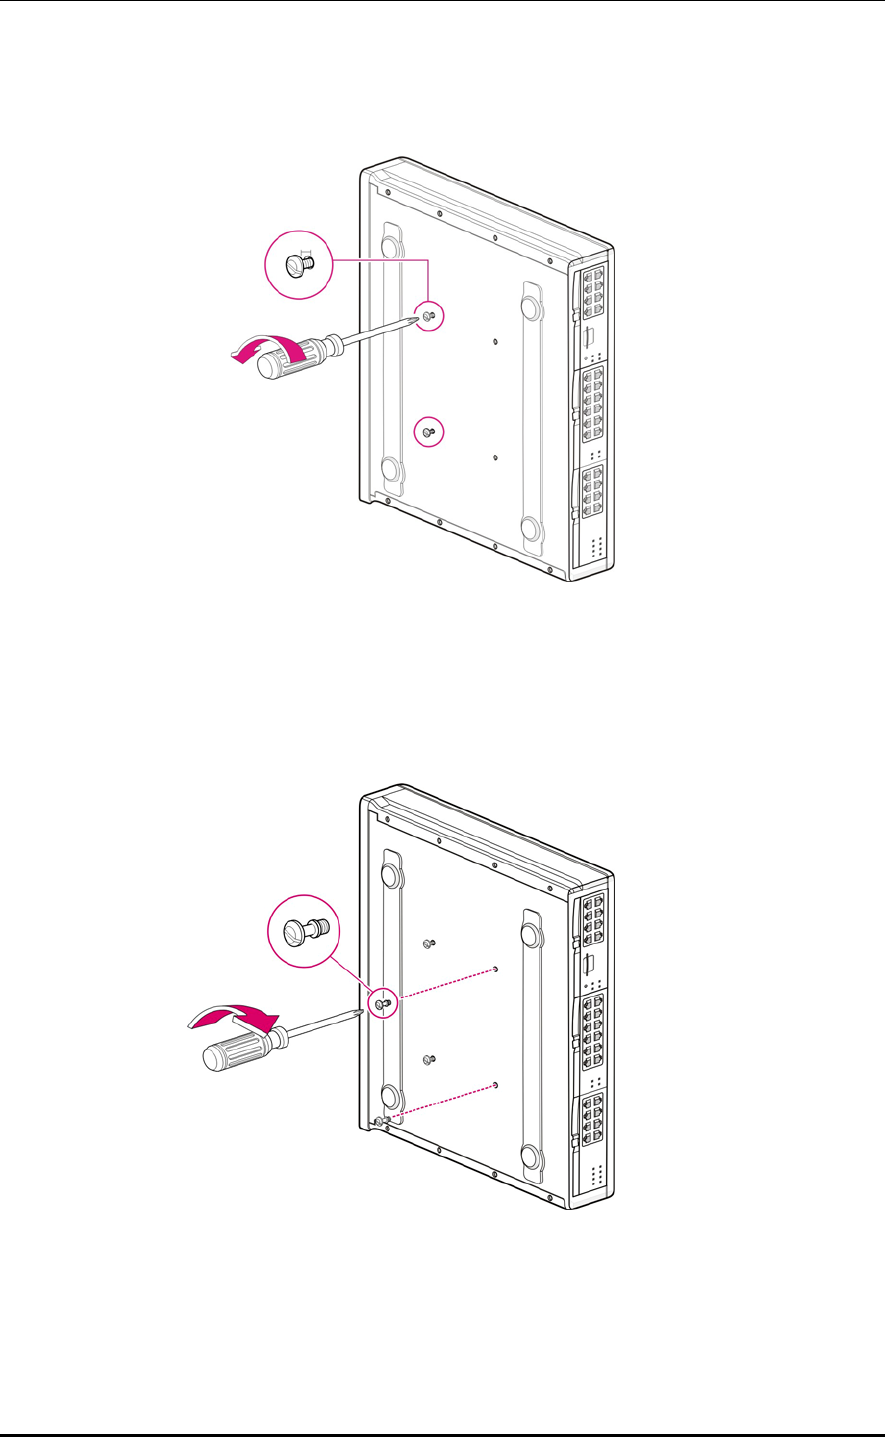
5) Two screws exists into the two screw holes among the four screw holes on the bottom side
of the OfficeServ 7100 cabinet. Unscrew two screws with a screw driver about 2 mm.
Figure 2.10 Installation on a Wall (5)
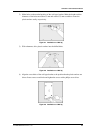
6) Tighten the mount locking screws into the remained two holes among the four screw
holes on the bottom of the OfficeServ 7100 cabinet. At this point, do not tighten
completely, but remain the untightened part about 2 mm.
Figure 2.11 Installation on a Wall (6)
2 mm