Assembly
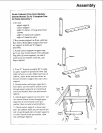
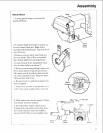
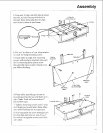
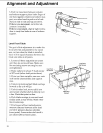
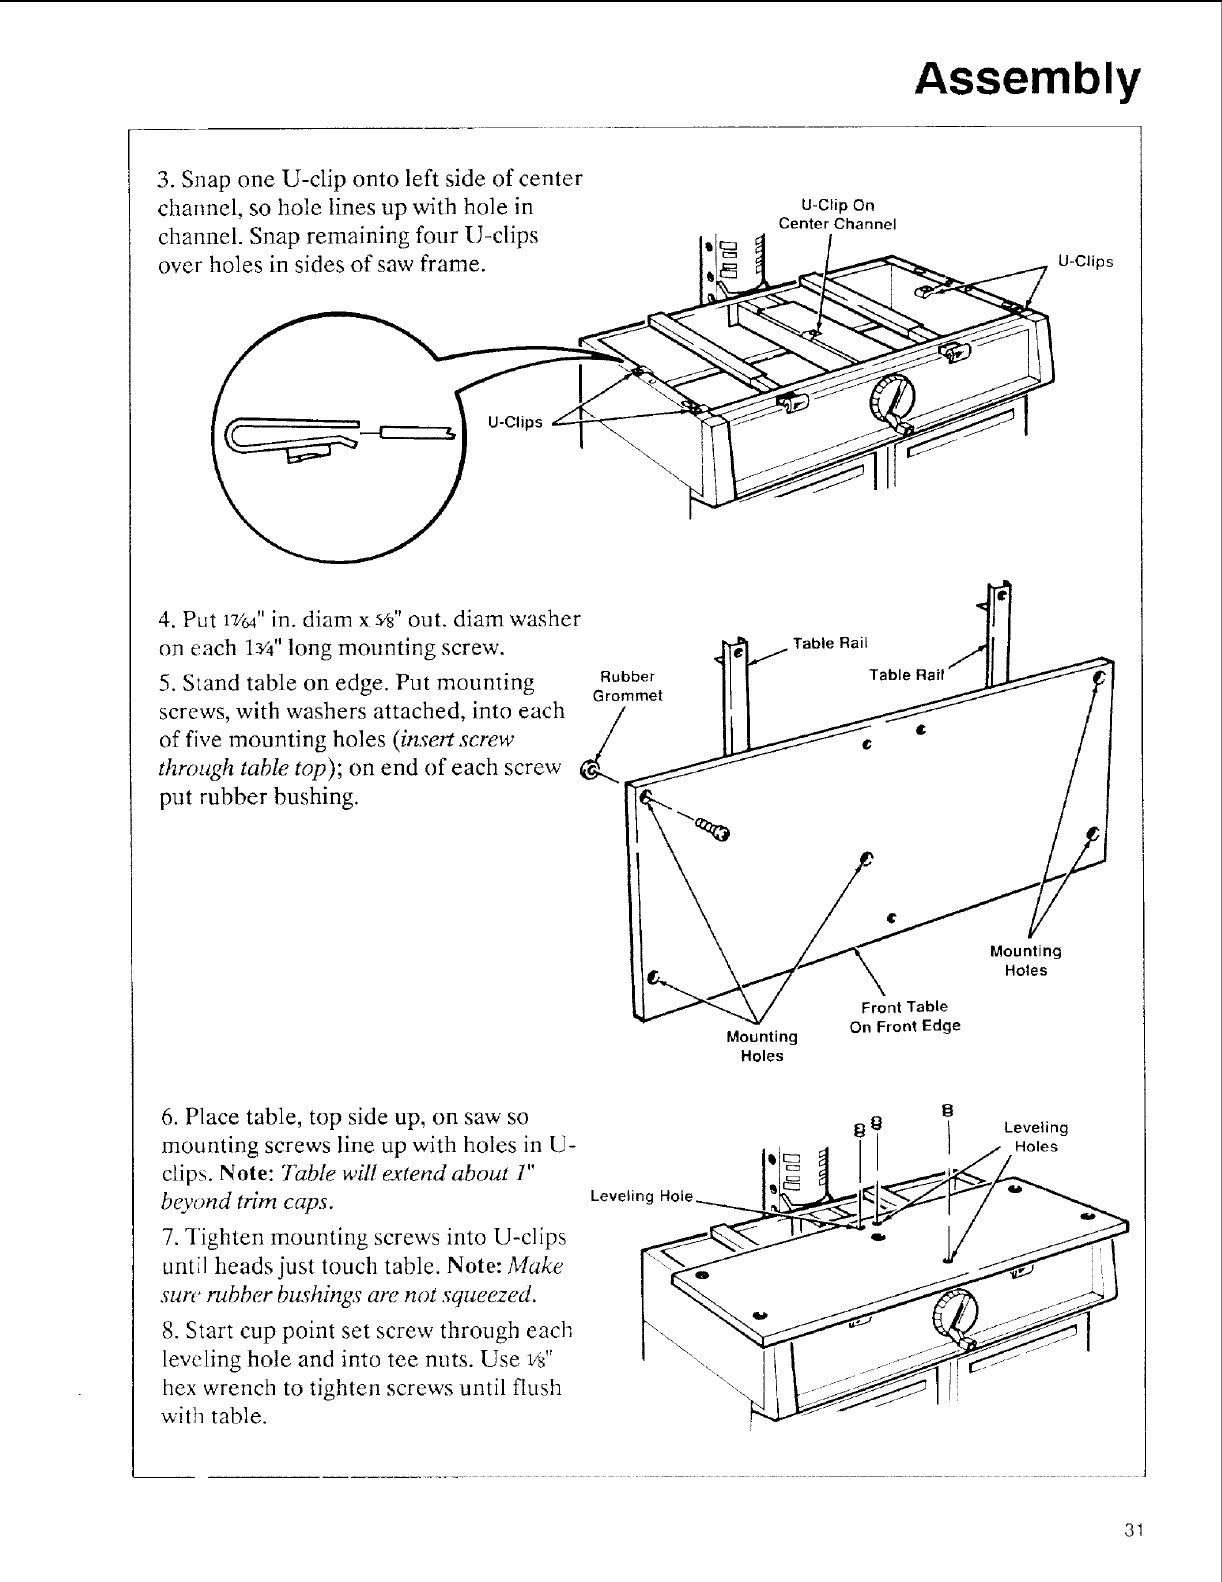
3. Snap one U-clip onto left side of center
channel, so hole lines up with hole in
channel. Snap remaining four U-clips
over holes in sides of saw frame.
U-Clip On
Center Channel
U-Clips
U-Clips
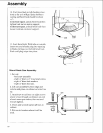
4. Put 17/64"in. diam x s_s'' out. diam washer
on each W4" long mounting screw.
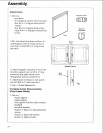
5. Stand table on edge. Put mounting
screws, with washers attached, into each
of five mounting holes (insert screw
through table top); on end of each screw
put rubber bushing.
Rubber
Grommet
Table Rail
€
Mounting
Holes
Front Table
On Front Edge
Mounting
Holes
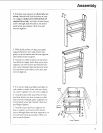
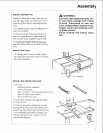
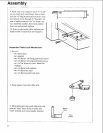
6. Place table, top side up, on saw so
mounting screws line up with holes in U-
clips. Note: Table will extend about 1"
beyond trim caps.
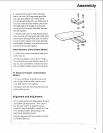
7. Tighten mounting screws into U-clips
until heads just touch table. Note: Make
sun" rubber bushings are not squeezed.
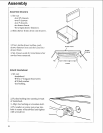
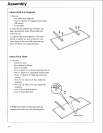
8. Start cup point set screw through each
leveling hole and into tee nuts. Use v_"
hex wrench to tighten screws until flush
with table.
Leveling
Leveling
Holes
31


