Alignment and Adjustment
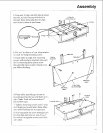
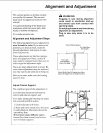
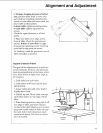
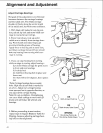
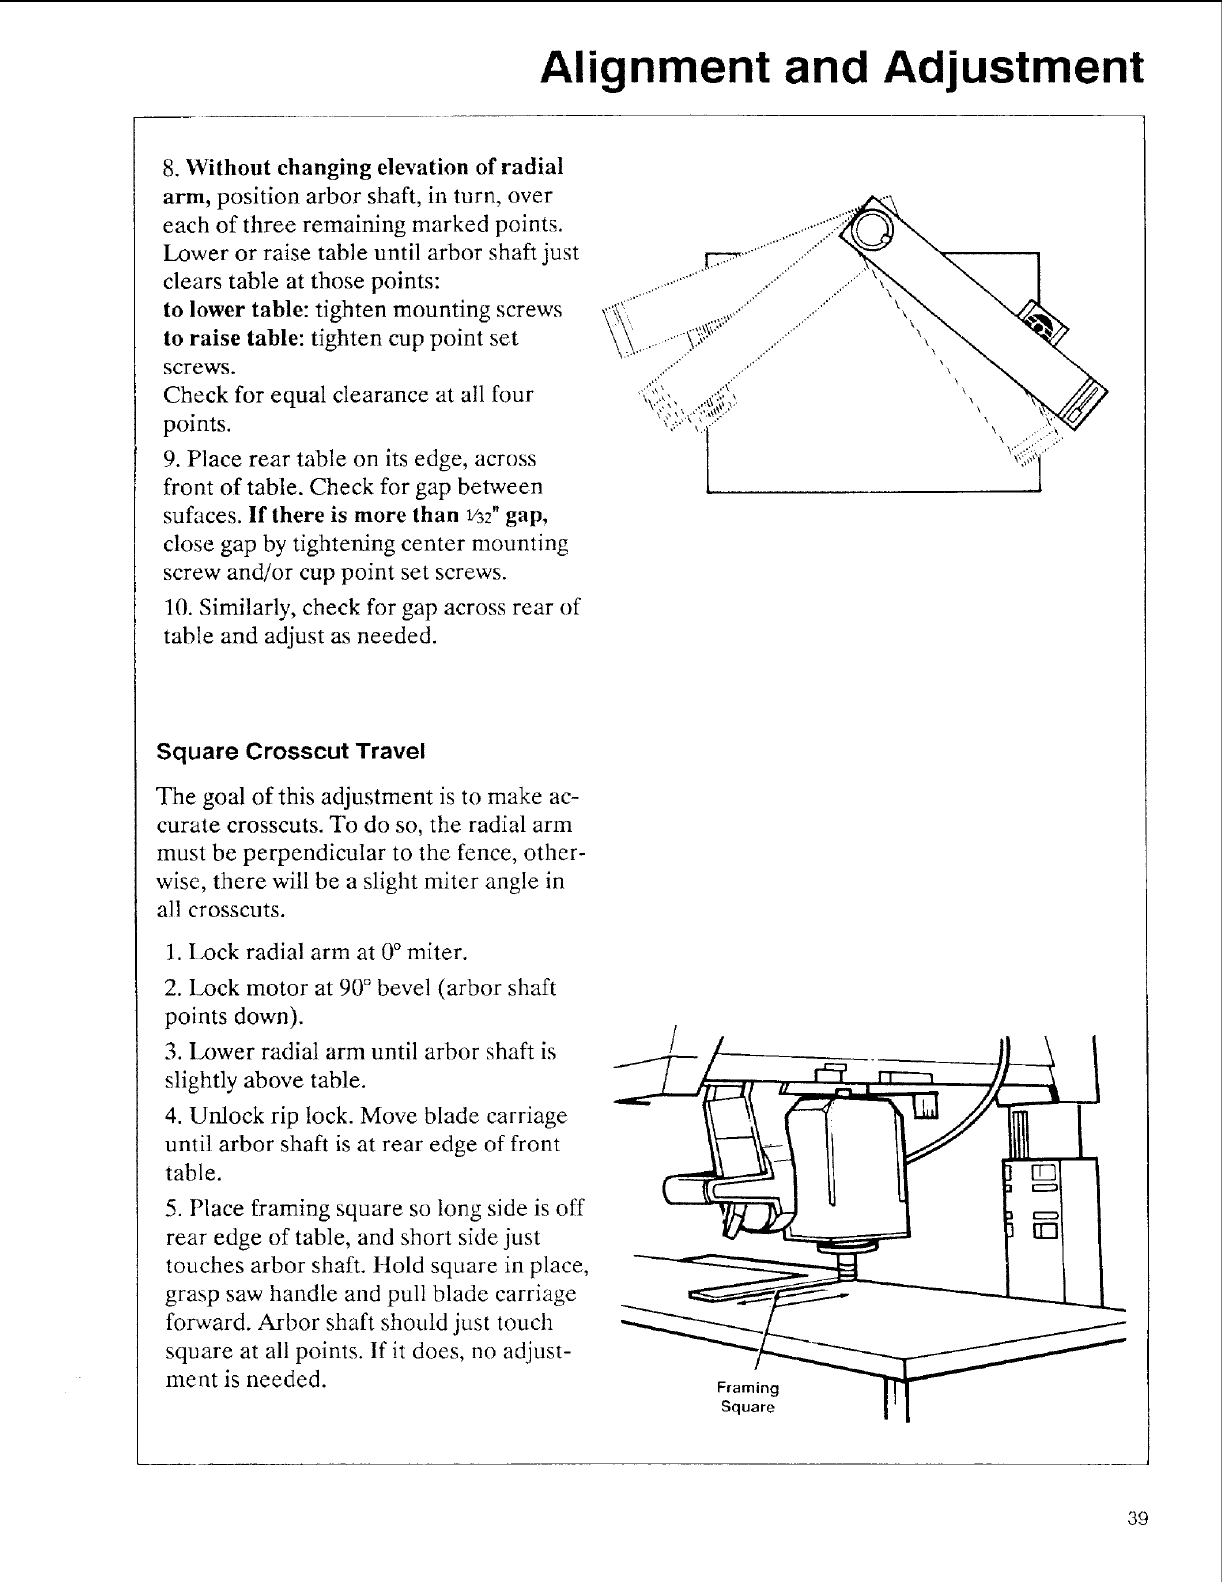
8. Without changing elevation of radial
arm, position arbor shaft, in turn, over
each of three remaining marked points.
Lower or raise table until arbor shaft just
clears table at those points:
to lower table: tighten mounting screws
to raise table: tighten cup point set
screws.
Check for equal clearance at all four
points.
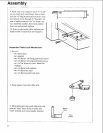
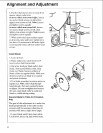
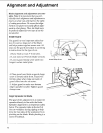
9. Place rear table on its edge, across
front of table. Check for gap between
sufaces. If there is more than 1/32"gap,
close gap by tightening center mounting
screw and/or cup point set screws.
10. Similarly, check for gap across rear of
table and adjust as needed.
\
\
k
\
\
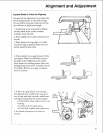
Square Crosscut Travel
The goal of this adjustment is to make ac-
curate crosscuts. To do so, the radial arm
must be perpendicular to the fence, other-
wise, there will be a slight miter angle in
all crosscuts.
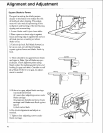
I. I_ock radial arm at 0° miter.
2. Lock motor at 90 ° bevel (arbor shaft
points down).
3. Lower radial arm until arbor shaft is
slightly above table.
4. Unlock rip lock. Move blade carriage
until arbor shaft is at rear edge of front
table.
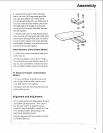
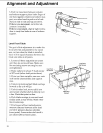
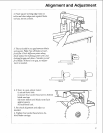
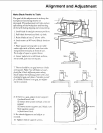
5. Place framing square so long side is off
rear edge of table, and short side just
touches arbor shaft. Hold square in place,
grasp saw handle and pull blade carriage
forward. Arbor shaft should just touch
square at all points. If it does, no adjust-
merit is needed.
Framing
Square
39


