38 Configuring Your Control Panel
Creating Templates
To create a template and specify custom rules for interface elements:
1 Go to Server > Interface Management > Interface Templates tab and click Add
Interface Template.
2 On the next page, enter the name for the new template. This field is
required.
3 Select the Default check box to make this template default.
Remember that the default template is applied to all user accounts for which no
other template is explicitly defined.
4 Click Show Toolbar to customize the rules for interface elements.
The toolbar serves to customize the appearance of buttons on Plesk screens for
user accounts. The toolbar appears at the bottom of a Plesk screen. When the
toolbar is on, you can navigate through Plesk interface screens and define rules for
separate buttons.
5 Navigate to a Plesk screen on which you want to customize interface
elements.
6 On the toolbar, click the Customize button to switch on the
customization mode.
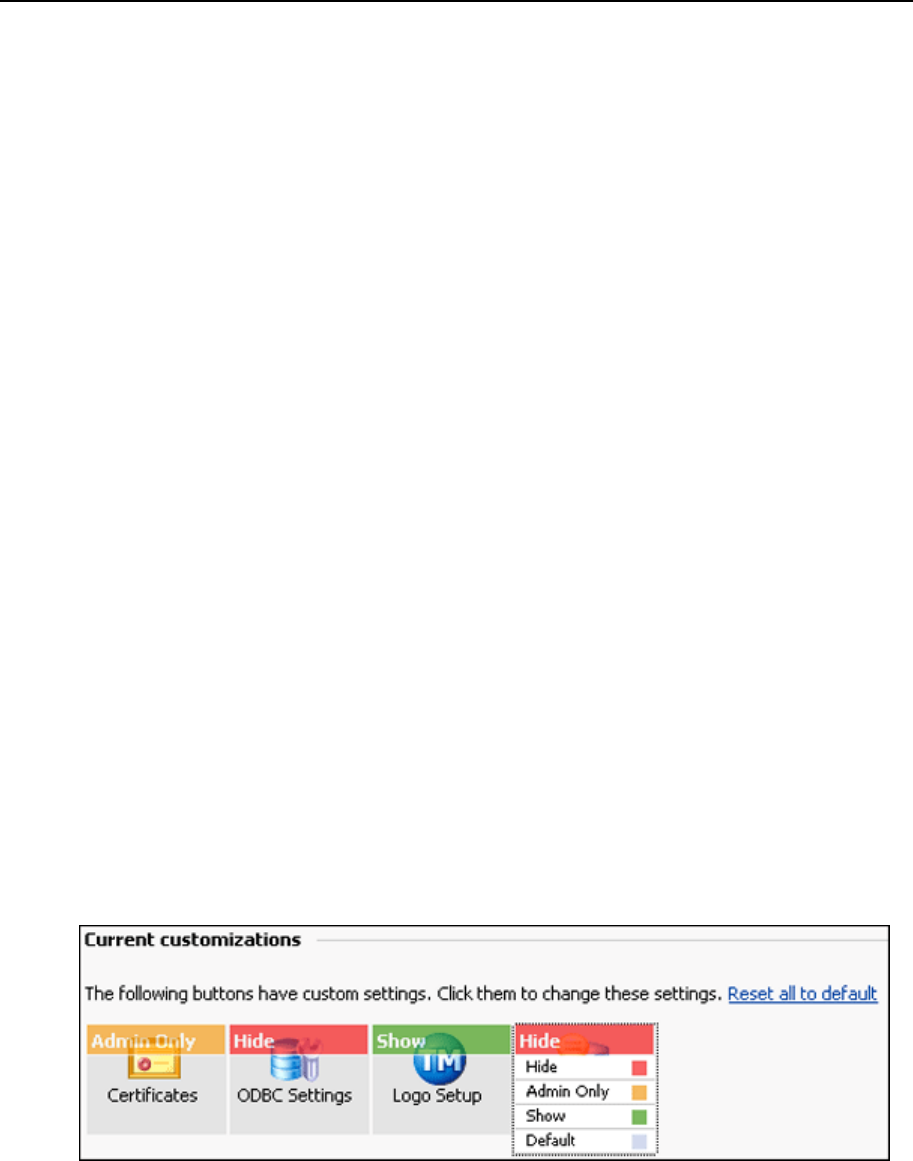
7 Click the transparent screen over a button you want to customize and
select one of the following options in the drop-down menu:
Hide – Hide this button from all users, including the administrator
Admin Only – Hide this button from all users, but show for the administrator
Show – Always show this button for all users
Default – Reset previous customizations you have made for this button to the
default settings.
8 When you finish customizing buttons, click OK on the toolbar.
9 Click Hide toolbar to exit the customization mode.
10 Return to the list of interface customization templates (Server > Interface
Management > Interface templates).
The template you have just created is added to the list of customization templates.
You can now assign the template to user accounts.


