


-28-
$"&&('&&
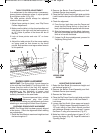
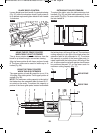
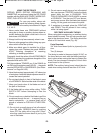
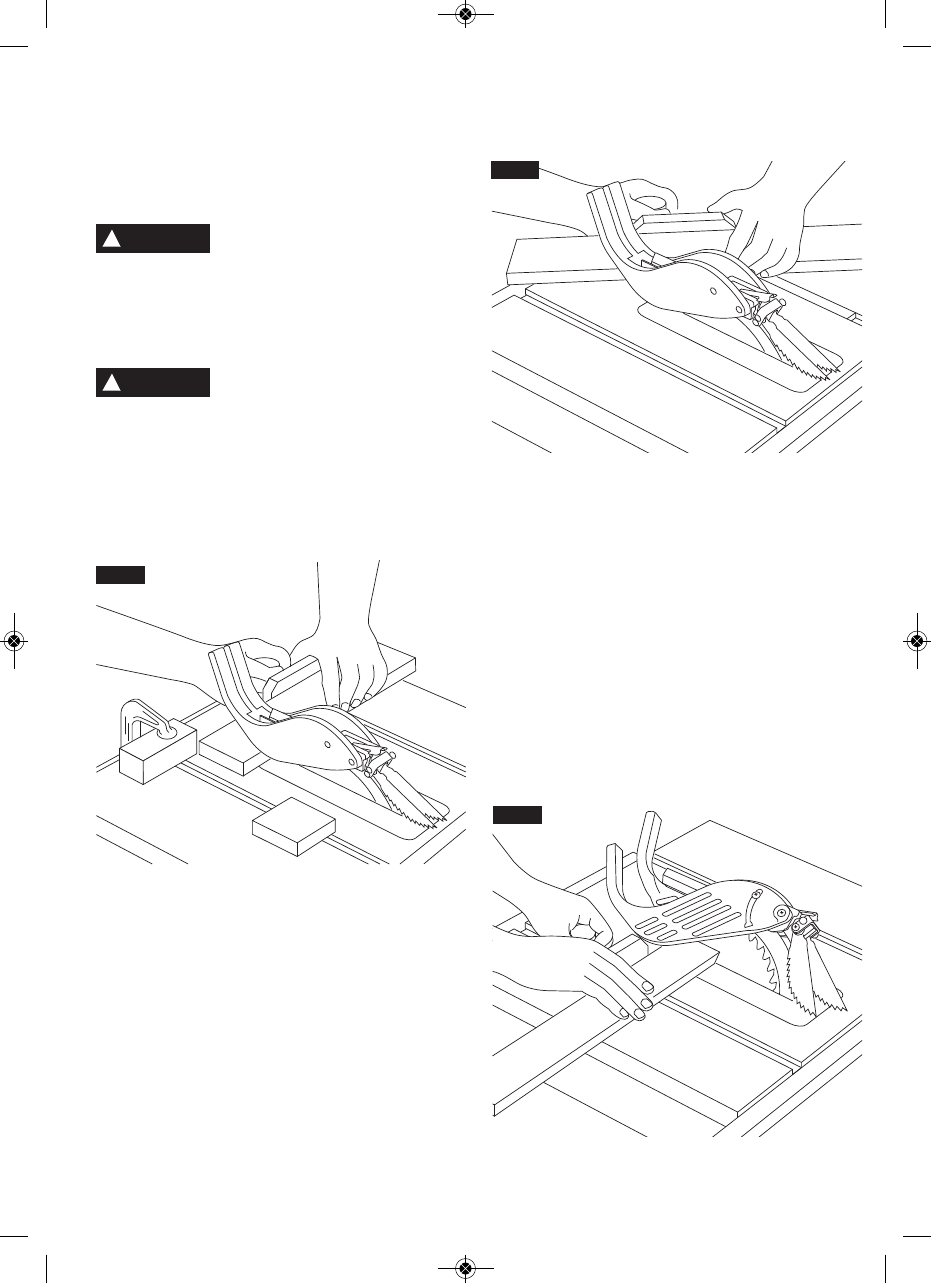
REPETITIVE CUTTING is known as cutting a quantity
of pieces the same length without having to mark each
piece (Fig. 45).
When making repetitive cuts from a long workpiece,
make sure it is supported.
Never use the rip fence as a length
stop because the cutoff piece could
bind between the fence and the blade causing a kick-
back.
1. When making repetitive cuts, clamp a block of wood
3" long to the table at desired length to act as a length
stop.
When clamping the block, make sure
that the end of the block is well in
front of the sawblade. Be sure it is clamped securely.
2. Slide the workpiece along the miter gauge until it
touches the block … hold it securely.
3. Make the cut … pull the workpiece back … push the
cut-off piece off the table with a long Push Stick …
DO NOT ATTEMPT TO PICK IT UP AS THIS
COULD ENDANGER YOUR HANDS.
&$'&&
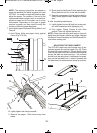
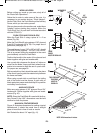
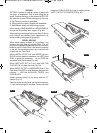
MITER CUTTING is known as cutting wood at an
angle other than 90° with the edge of the wood. Fol-
low the same procedure as you would for crosscut-
ting (Fig. 46).
Adjust the miter gauge to the desired angle, and lock
it.
The miter gauge may be used in either of the
grooves in the table.
When using the miter gauge in the LEFT hand
groove, hold the workpiece firmly against the miter
gauge head with your left hand, and grip the lock
knob with your right hand.
When using the RIGHT hand groove, hold the work-
piece with your right hand and the lock knob with
your left hand.
($!%%'&&
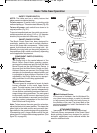
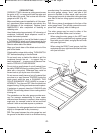
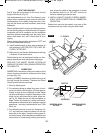
BEVEL CROSSCUTTING is the same as crosscut-
ting ex cept that the wood is also cut at a bevel angle
(Fig. 47) … other than 90° with the flat side of the
wood.
Adjust the blade to the desired angle.
Use the Miter Gauge in the groove to the RIGHT or
the LEFT of the blade.
!"!' &$'&&
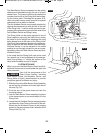
COMPOUND MITER CUTTING is a combination of
miter cutting and bevel crosscutting. The cut is made
at an angle other than 90° to both the edge and the
flat side of the wood (Fig. 47).
Adjust the miter gauge and the blade to the desired
angle and make sure miter gauge is locked.
FIG. 45
FIG. 46
FIG. 47
!
WARNING
!
WARNING
BM 2610014415 01-11 E:BM 2610012089 12-10 E 1/10/11 7:17 AM Page 28