


-33-
&; >10A/1 @41 >5?7 ;2 5:6A>E
:1B1>A?1-?5:3810-0;.8-01
2;>:;>9-8?-C@4>A/A@@5:3 1B1>A?1/45<<1>?
C5@4;A@.;@4;A@?501/A@@1>?$1-0-:02;88;C-88
!<1>-@5;:%-21@E:?@>A/@5;:?5:/8A010C5@4@41
0-0;?1@
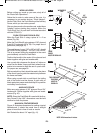
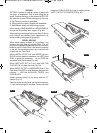
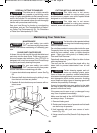
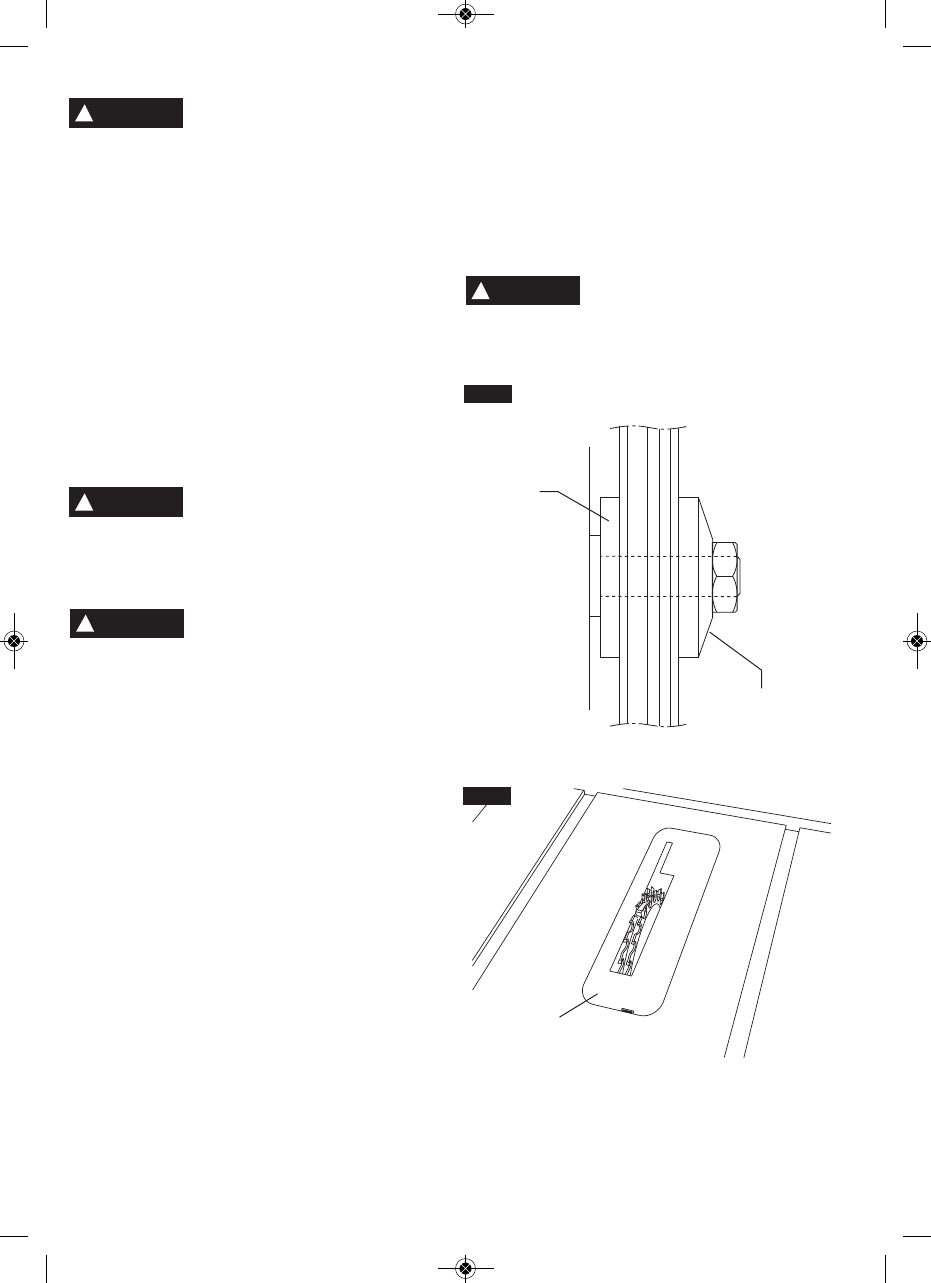
!& With this saw, do not exceed a stacked width
greater than 1/2”. Use combination nut/washer sup-
plied with the TS1013
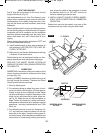
7. Lower the blades below the table top and insert
the Bosch Dado Table Insert (TS1013) (Fig. 57).
Raise the cutters to the desired depth of cut
(above the insert). Check that the tool is not
plugged into a power source; then carefully rotate
the cutters by hand to make sure all components
are tightly held and no interferences exist.
8. Plug saw into power source. Using scrap wood,
make practice dado cuts and adjust height ac-
cordingly.
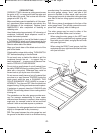
&; >10A/1 @41 >5?7 ;2 5:6A>E
:1B1><-??E;A>4-:0?;B1>@41
/A@@5:30-0;.8-01? Dado cuts are non-thru (blind)
cuts. Many times the cutters cannot be seen during
cutting. See page 31 for instructions on Non Thru-
sawing.
&; >10A/1 @41 >5?7 ;2 5:6A>E
:1B1>9-712>114-:0/A@? The
work piece must be held against the saw's fence or
miter gauge as it is being fed. Whenever possible,
use push sticks and push blocks for cutting (see
page 30). Always use feather boards, attached to
the table or fence, when rip cutting (See page 31).
When cross cutting, firmly hold work piece against
the miter gauge (see page 27).
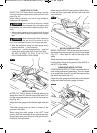
!& Because dado cuts are non-thru cuts, the
miter gauge can be used with the fence locked in
place. This is helpful when making repeat dado
cross-cuts from the ends of more than one work
piece. Each piece is held against the miter gauge
and its end slides along the fence at a preset dis-
tance.
Depending on the final depth of cut and/or the den-
sity of the material, it may be required to make mul-
tiple cuts starting with small depths of 1/4” to 1/2”
and progressing to final depth. When performing ex-
tensive repetitive dado cutting, periodically check the
work pieces to see that the depth of cut is main-
tained.
$&'$ %)&! !$
&$''&&
After completing your Dado cutting, be sure to return
the inner and outer washers to the original positions
(see page15 for details). It is important that the orig-
inal equipment washers are in the proper positions
so that the saw blade always aligns with the perma-
nently installed riving knife.
'%&!$)!!%&%
&;>10A/1@41>5?7;25:6A>E0;
:;@A?1-06A?@-.81;>HC;..81I
0-0;?1@?;:@45??-C Adjustable dado sets can
be easily set to positions that may interfere with
working components of this saw.
!
WARNING
!
WARNING
!
WARNING
!
WARNING
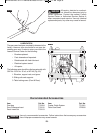
FIG. 56
FIG. 57
USE INNER
WASHER
DADO TABLE
INSERT
USE ACCESSORY
COMBINATION
NUT/WASHER
BM 2610014415 01-11 E:BM 2610012089 12-10 E 1/10/11 7:17 AM Page 33