ALL MODELS
INSTALLING THE BLADE
WARNING: TO AVOID INJURY FROM ACCIDENTAL
STARTING, MAKE SURE THE POWER CORD IS
UNPLUGGED BEFORE REMOVING ANY PART
FROM THE SAW.
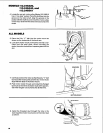
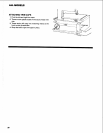
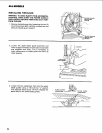
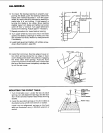
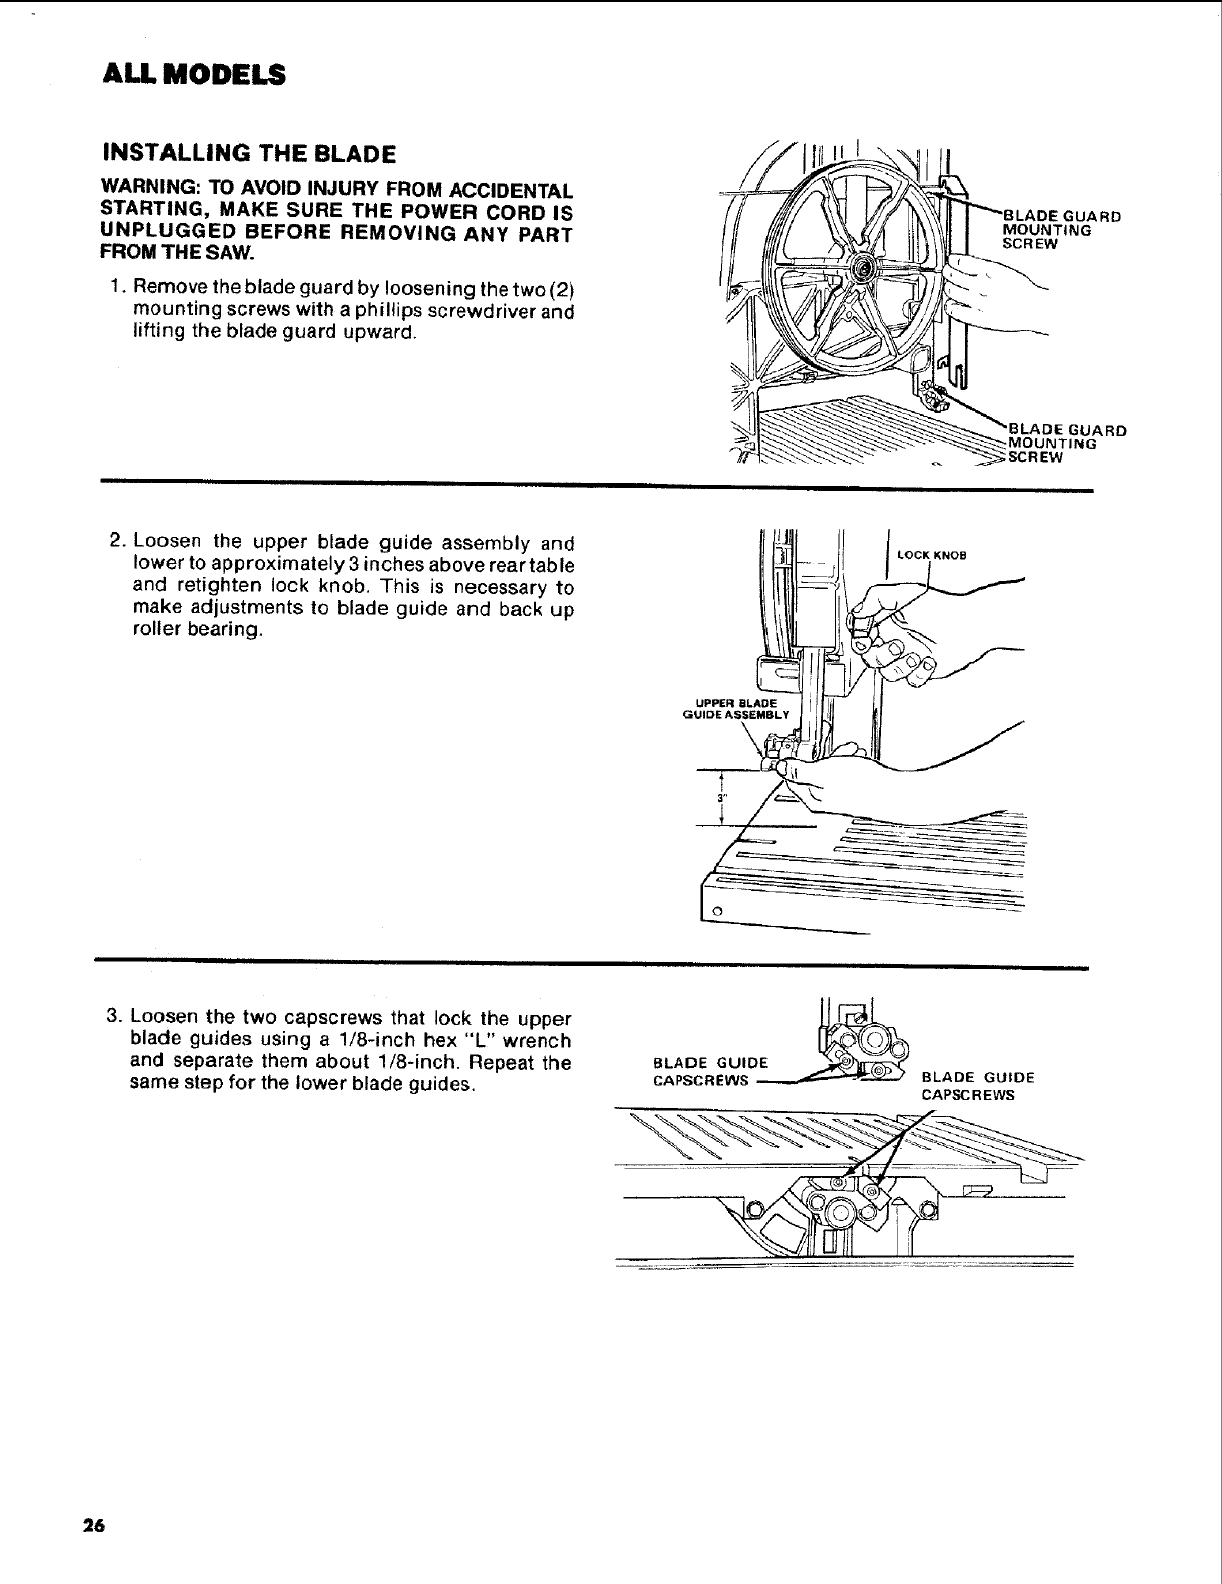
1. Remove the blade guard by loosening the two (2)
mounting screws with a phillips screwdriver and
lifting the blade guard upward.
. IGNUGARD
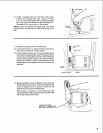
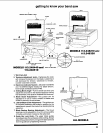
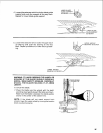
2. Loosen the upper blade guide assembly and
lower to approximately 3 inches above rear table
and retighten lock knob. This is necessary to
make adjustments to blade guide and back up
roller bearing.
| _.j LOCK KNOB
Jrt[,t] I
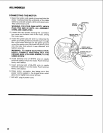
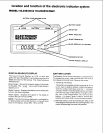
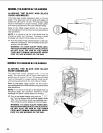
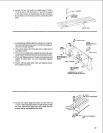
3. Loosen the two capscrews that lock the upper
blade guides using a 1/8-inch hex "L,' wrench
and separate them about 1/8-inch. Repeat the
same step for the lower blade guides.
BLADE GUIDE
CAPSCREWS
26


