


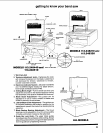

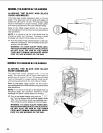
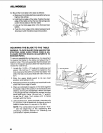

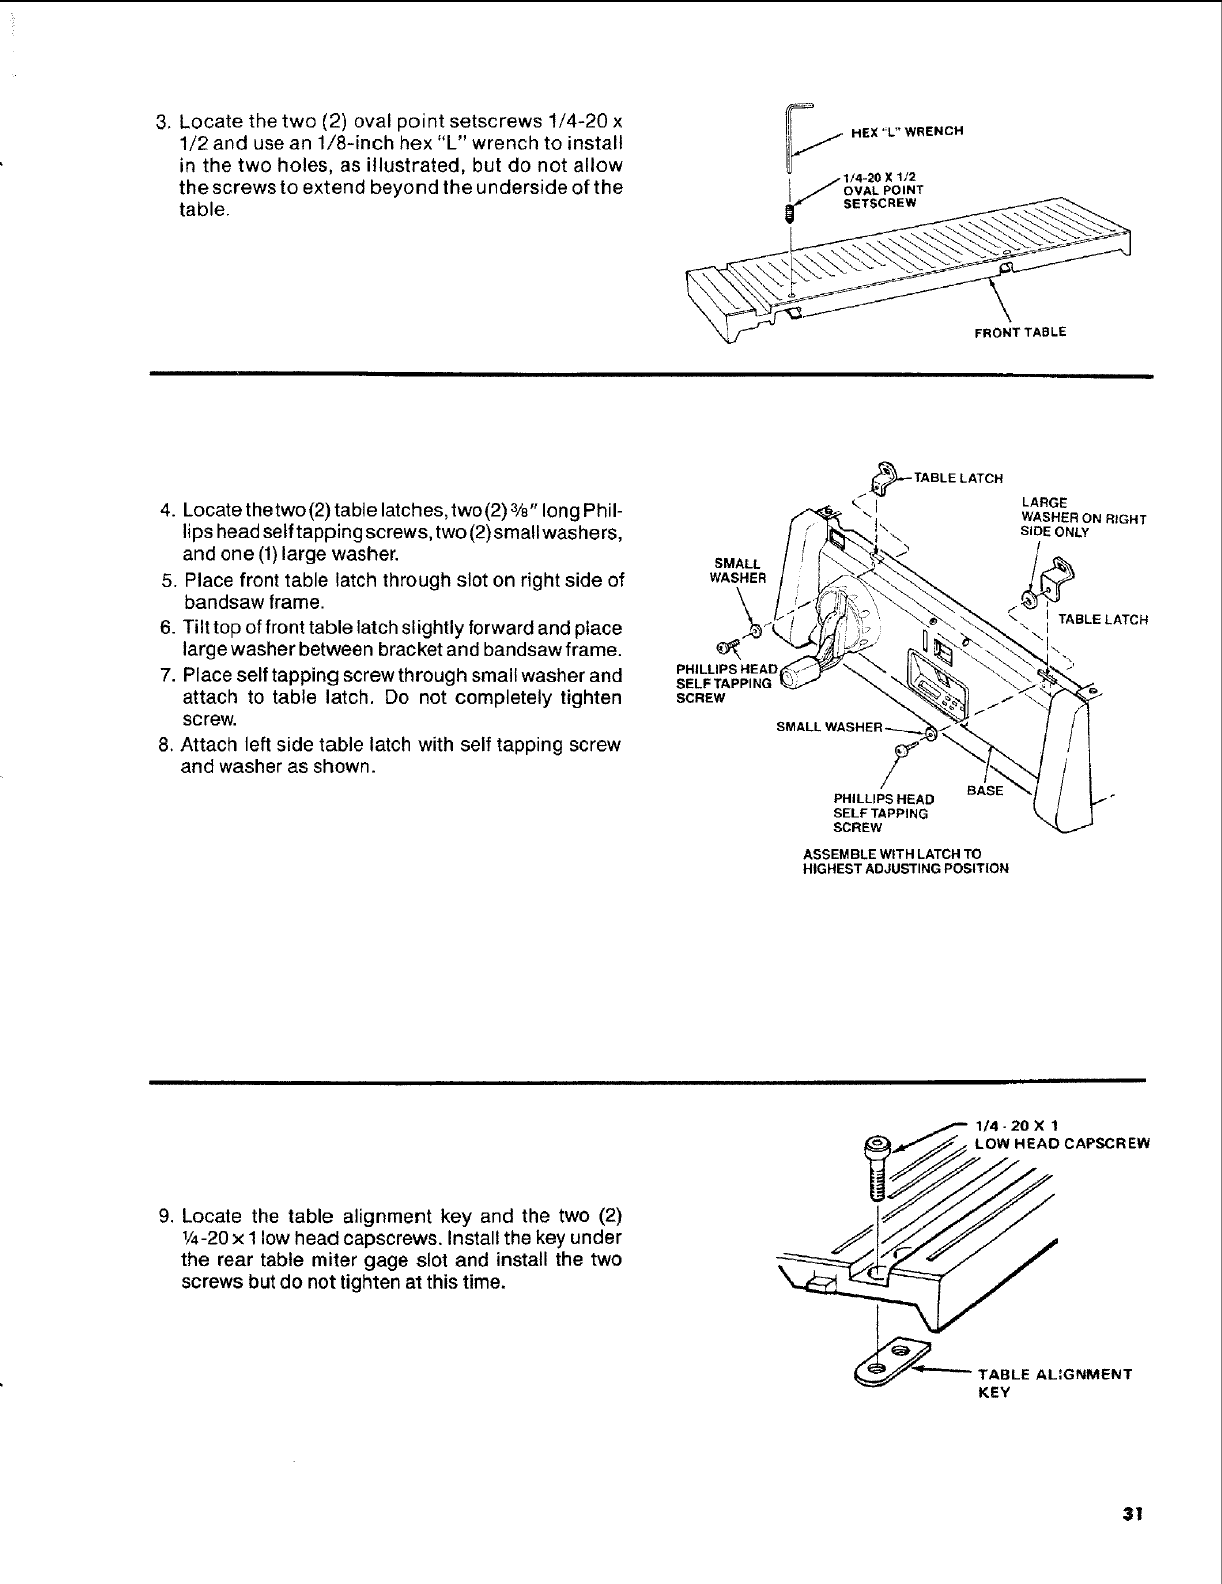
3. Locate the two (2) oval point setscrews 1/4-20 x
1/2 and use an 1/8-inch hex "L" wrench to install
in the two holes, as illustrated, but do not allow
the screws to extend beyond the underside of the
table.
_.//HEX"L"WRENCH
j-1/4-20X1/2
I //OVAL POINT
fSETSCREW
FRONT TABLE
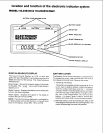
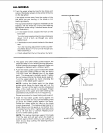
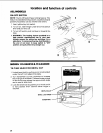
4. Locate thetwo(2)table latches,two(2)3/8 " long Phil-
lips head self tapping screws, two (2)small washers,
and one (1)large washer.
5. Place front table latch through slot on right side of
bandsaw frame.
6. Tilt top of front table latch slightly forward and place
large washer between bracket and bandsaw frame.
7. Place self tapping screw through small washer and
attach to table latch. Do not completely tighten
screw.
8. Attach left side table latch with self tapping screw
and washer as shown.
WASHER
\
PHILLIPS HEAD
SELF TAPPING
SCREW
/_TABLE LATCH
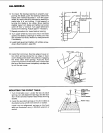
BASE
PHILLIPS HEAD
SELFTAPPING
SCREW
ASSEMBLE WITH LATCH TO
HIGHEST ADJUSTING POSITION
LARGE
WASHER ON RIGHT
SIDE ONLY
I TABLE LATCH
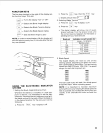
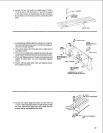
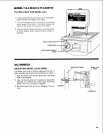
9. Locate the table alignment key and the two (2)
1/4-20x I low head capscrews, Installthe key under
the rear table miter gage slot and install the two
screws but do not tighten at this time.
I- 1/4-20 X 1
_J_ _ HEAD CAPSCREW
TABLE AL:GNMENT
KEY
31