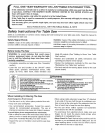
FULL ONE YEAR WARRANTY ON L,RAFTSNIAN STATIONARY TOOL
If this stationary tool fails due to a defect in material or workmanship within one year from the date
of purchase, CONTACT THE NEAREST SEARS SERVICE CENTER IN THE UNITED STATES and
Sears wilt repair it free of charge.
This warranty applies only while this product is in the United States.
If this Table Saw is used for commercial or rental purposes, this warranty will apply for ninety days
from the date of purchase.
This warranty gives you specific legal rights, and you may also have other rights which vary from
state to state.
Sears, Roebuck and Co°, D/817 WA Hoffman Estates, IL 60179 . .._
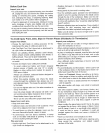
Safety Instructions For Table Saw
Safety is a combination of common sense, staying alert and knowing how your table saw works,, Read this manual to
understand this table saw
Safety Signal Words
DANGER: means if the safety information is not followed
someone will be seriously injured or killed
Before Using The Saw
WARNING: to avoid mistakes that could cause
serious, permanent injury, do not plug the table
saw in until the following steps have been satis-
factorily completed.
* Completely assemble and align saw (See "Assembly"
section)
° Learn the use and function of the ON-OFF switch
blade guard, spreader, anti-kickback device, miter
gauge, rip fence, table insert, blade elevation and
WARNING: means if the safety information is not foUowed
someone could be seriously injured or killed,
CAUTION: means if the safety information is not followed
someone may be injured,
blade tilt controls (See "Getting to Know Your Table
Saw" section),
. Review and understand all safety instructions and
operating procedures in this manual.
, Review the maintenance methods for this saw (See
"Maintaining Your Table Saw" section)),
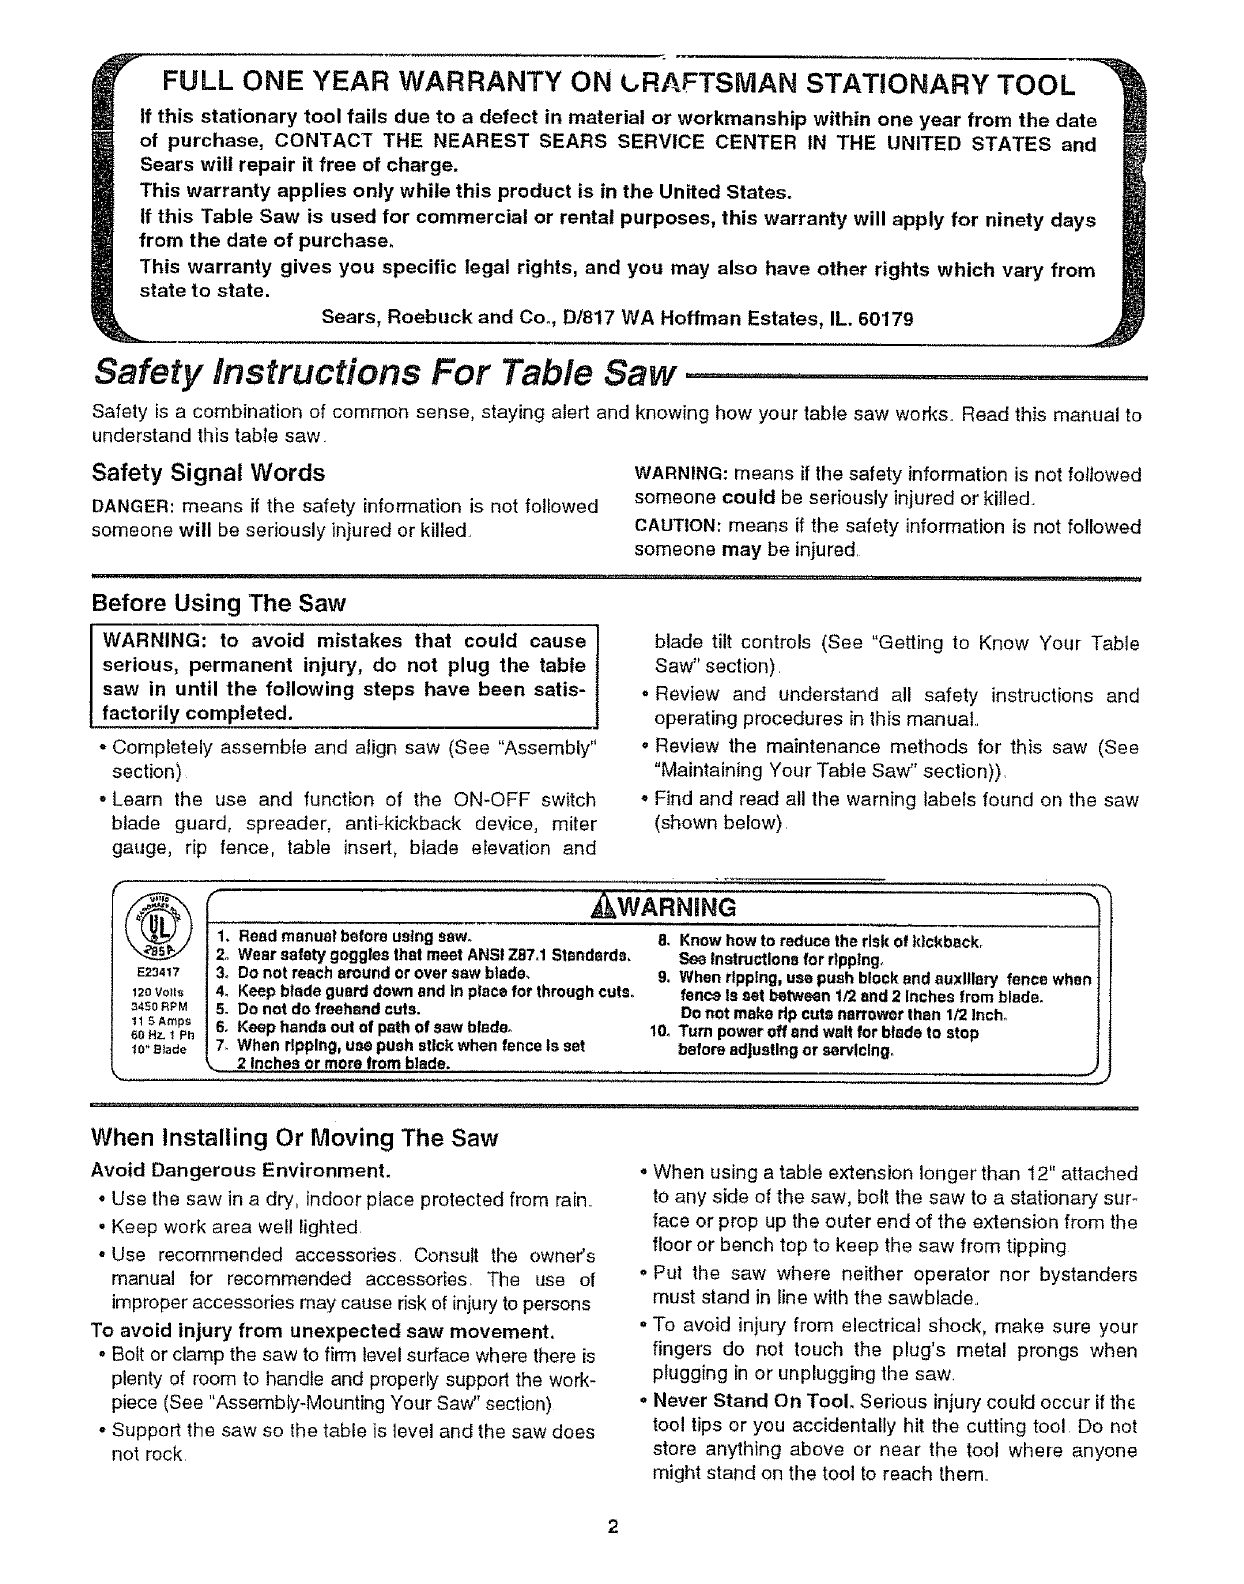
- Find and read all the warning labels found on the saw
(shown below),
m
®
E23417
12o VoIts
3450 RP M
1 t 5 Amp._
60 Hz_I Ph
I0" Blade
, WARNING
1, Readmanual beforeusingsaw.
2. Wearsafety gogglesthat meet ANSI Z87.1Standards,
' 3. DOnot reacharound or oversaw blade.
4. Keepblade guard downend In place for throughcuts.
5. Do notdo freehand cuts.
6. Keephands out ofpath ofsaw blade°
7. When ripping,use push stickwhenfence Is set
2 Inches or more from blade.
8,, Knowhow toreduce therisk ofkickback,
See Instructions forripping,
9. WhenrlpNng, usepush blockand auxiliary fence wher
fenceIsset between1/2end 2 Inches fromblade.
Donot make dp cuts narrowerthan 1/2 ]nch_
l& Turn poweroff endwalt forbladeto stop
before adjustingor servicing.
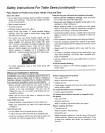
When Installing Or Moving The Saw
Avoid Dangerous Environment.
• Use the saw in a dry, indoor place protected from rain,
• Keep work area well lighted
• Use recommended accessories Consult the owneCs
manual Ior recommended accessories, The use of
improper accessories may cause risk of injuryto persons
To avoid injury from unexpected saw movement.
. Bott or clamp the saw to firm level surface where there is
plenty of room to handle and properly support the work-
piece (See "Assembly-Mounting Your Saw" section)
° Support the saw so the table is level and the saw does
not rock
o When using a table extension longer than t2" attached
to any side of the saw, bolt the saw to a stationary sur_
face or prop up the outer end of the extension from the
floor or bench top to keep the saw from tipping
o Put the saw where neither operator nor bystanders
must stand in line wilh the sawblade,
° To avoid injury from electrical shock, make sure your
fingers do not touch the plug's metal prongs when
plugging in or unplugging the saw,
• Never Stand On Tool Serious injury could occur if the
tool tips or you accidentally hit the cutting tool Do not
store anything above or near the tool where anyone
might stand on the tool to reach them,


