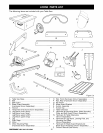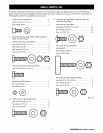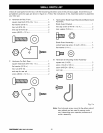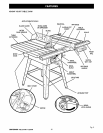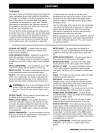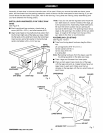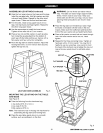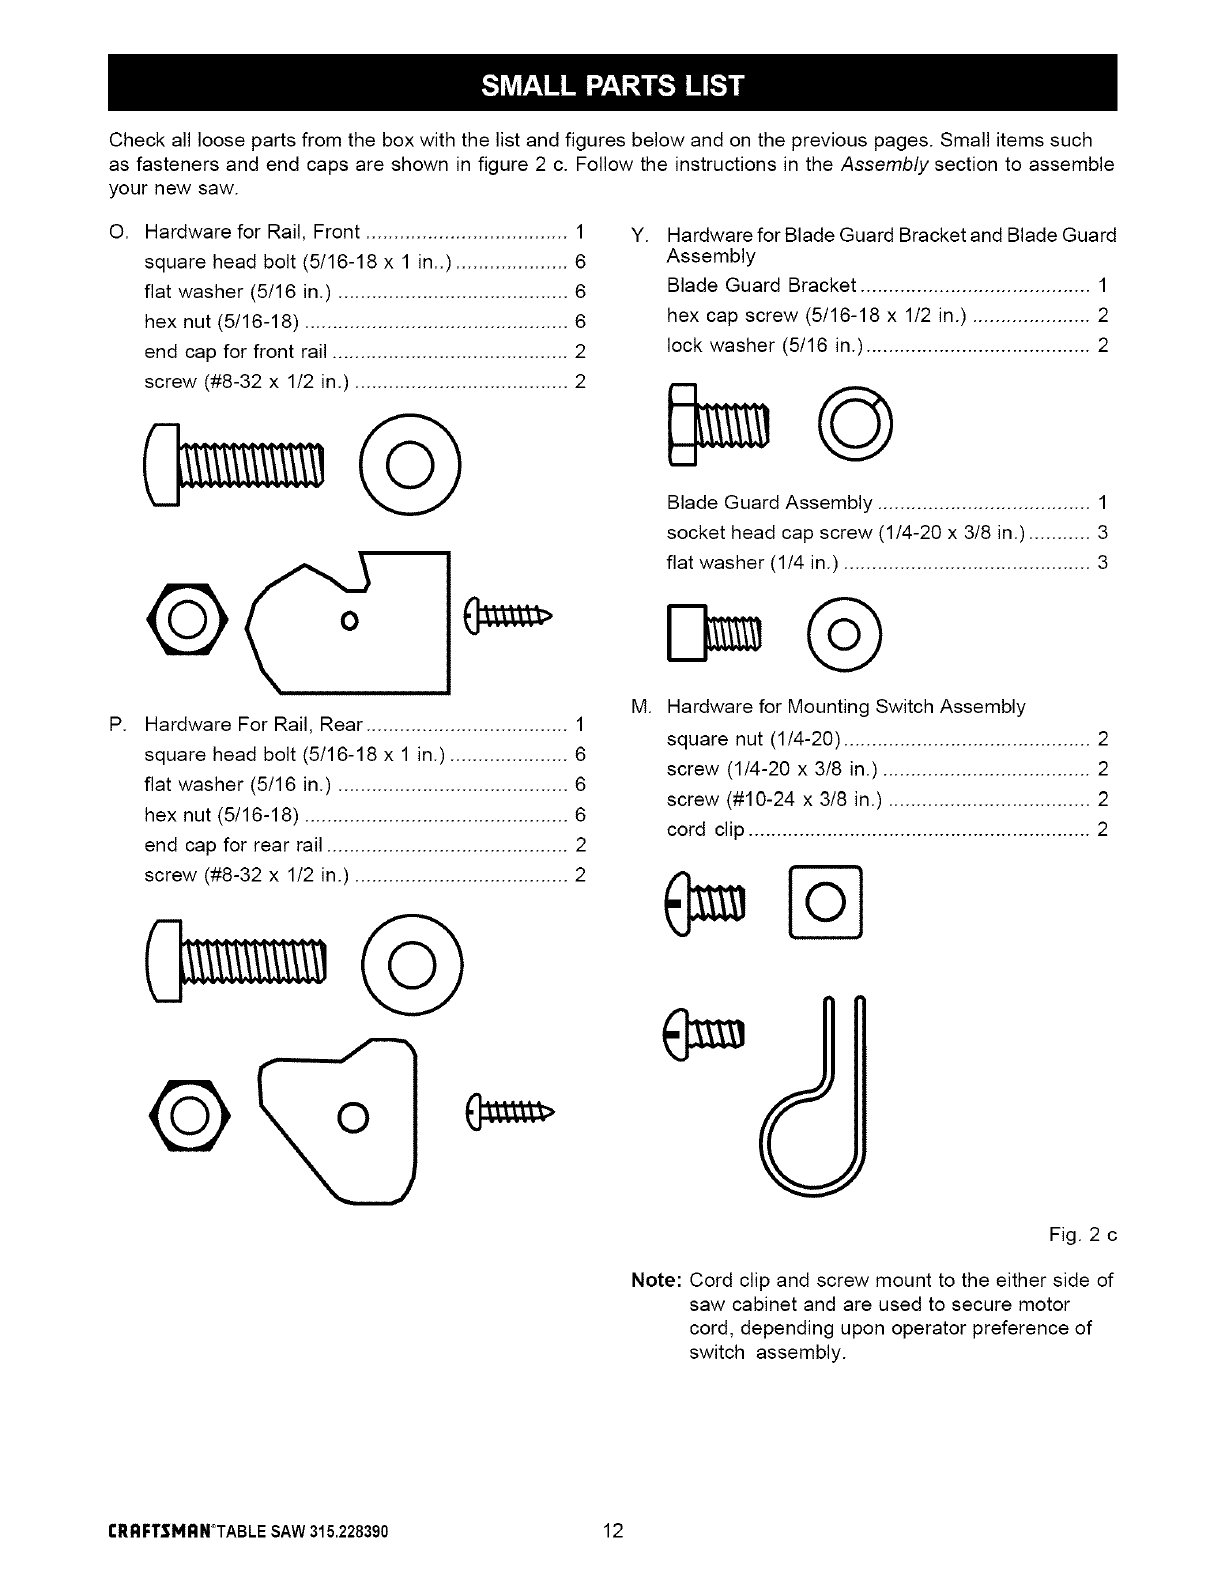
Check all loose parts from the box with the list and figures below and on the previous pages. Small items such
as fasteners and end caps are shown in figure 2 c. Follow the instructions in the Assembly section to assemble
your new saw.
O. Hardware for Rail, Front .................................... 1 y.
square head bolt (5/16-18 x 1 in..) .................... 6
flat washer (5/16 in.) ......................................... 6
hex nut (5/16-18) ............................................... 6
end cap for front rail .......................................... 2
screw (#8-32 x 1/2 in.) ...................................... 2
P.
Hardware For Rail, Rear .................................... 1
square head bolt (5/16-18 x 1 in.) ..................... 6
flat washer (5/16 in.) ......................................... 6
hex nut (5/16-18) ............................................... 6
end cap for rear rail ........................................... 2
screw (#8-32 x 1/2 in.) ...................................... 2
M.
Hardware for Blade Guard Bracket and Blade Guard
Assembly
Blade Guard Bracket ......................................... 1
hex cap screw (5/16-18 x 1/2 in.) ..................... 2
lock washer (5/16 in.) ........................................ 2
Blade Guard Assembly ...................................... 1
socket head cap screw (1/4-20 x 3/8 in.) ........... 3
flat washer (1/4 in.) ............................................ 3
Hardware for Mounting Switch Assembly
square nut (1/4-20) ............................................ 2
screw (1/4-20 x 3/8 in.) ..................................... 2
screw (#10-24 x 3/8 in.) .................................... 2
cord clip ............................................................. 2
Fig. 2 c
Note: Cord clip and screw mount to the either side of
saw cabinet and are used to secure motor
cord, depending upon operator preference of
switch assembly.
rRAFTSMAN°TABLE SAW315.228390 12


