


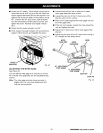

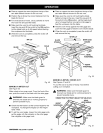


MAKING A LARGE PANEL CUT
See Figure 55.
Make sure the saw is properly secured to a work
surface to avoid tipping from the weight of a large
panel.
,_ WARNING: Make sure the blade guard is
lowered over blade and is working properly to
prevent possible injury.
• Place a support the same height as the top of the
saw table behind the saw for the cut work. Add
supports to the sides as needed.
• Depending on the shape of the panel, use the rip
fence or miter gage. tf the panel is too large to use
either the rip fence or the miter gage, it is too large
for this saw.
,_ WARNING: Never make freehand cuts (cuts
without the miter gage or rip fence), which can
result in serious injury.
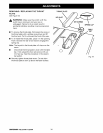
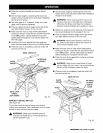
MAKING A NON-THROUGH CUT
See Figure 56.
This is the only type of cut made without the blade
guard.
,_ WARNING: Unplug the saw while removing or
replacing the blade guard to prevent accidental
starting and injury.
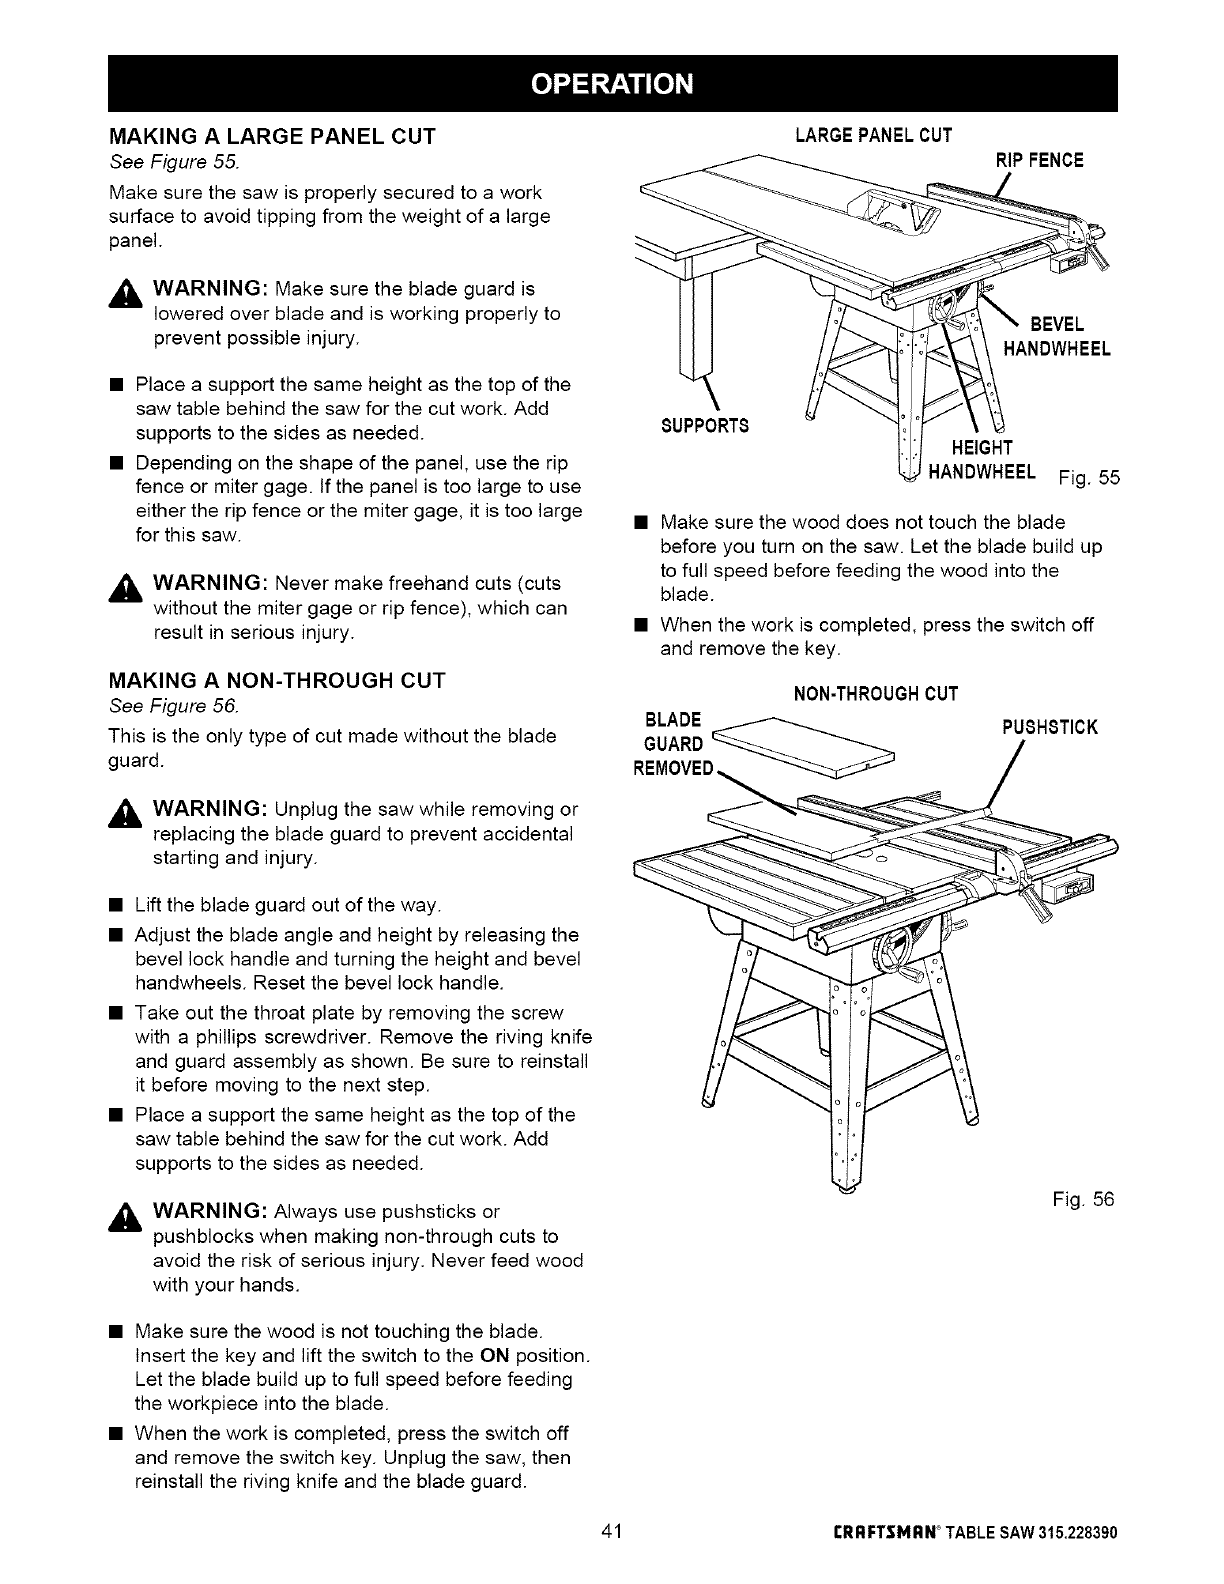
LARGEPANELCUT
RIP FENCE
BEVEL
HANDWHEEL
SUPPORTS
HEIGHT
HANDWHEEL Fig. 55
• Make sure the wood does not touch the blade
before you turn on the saw. Let the blade build up
to full speed before feeding the wood into the
blade.
• When the work is completed, press the switch off
and remove the key.
NON-THROUGHCUT
BLADE _
GUARD
PUSHSTICK
• Lift the blade guard out of the way.
• Adjust the blade angle and height by releasing the
bevel lock handle and turning the height and bevel
handwheels. Reset the bevel lock handle.
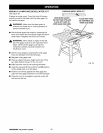
• Take out the throat plate by removing the screw
with a phillips screwdriver. Remove the riving knife
and guard assembly as shown. Be sure to reinstall
it before moving to the next step.
• Place a support the same height as the top of the
saw table behind the saw for the cut work. Add
supports to the sides as needed.
,_ WARNING: Always use pushsticks or
pushblocks when making non-through cuts to
avoid the risk of serious injury. Never feed wood
with your hands.
Fig. 56
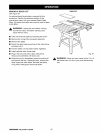
• Make sure the wood is not touching the blade.
Insert the key and lift the switch to the ON position.
Let the blade build up to full speed before feeding
the workpiece into the blade.
• When the work is completed, press the switch off
and remove the switch key. Unplug the saw, then
reinstall the riving knife and the blade guard.
41 rRRF'rSMRN ° TABLESAW315.228390