


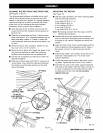
CHECK HEELING (PARALLELING) OF THE
SAWBLADE TO THE MITER GAGE GROOVE
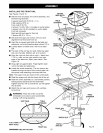
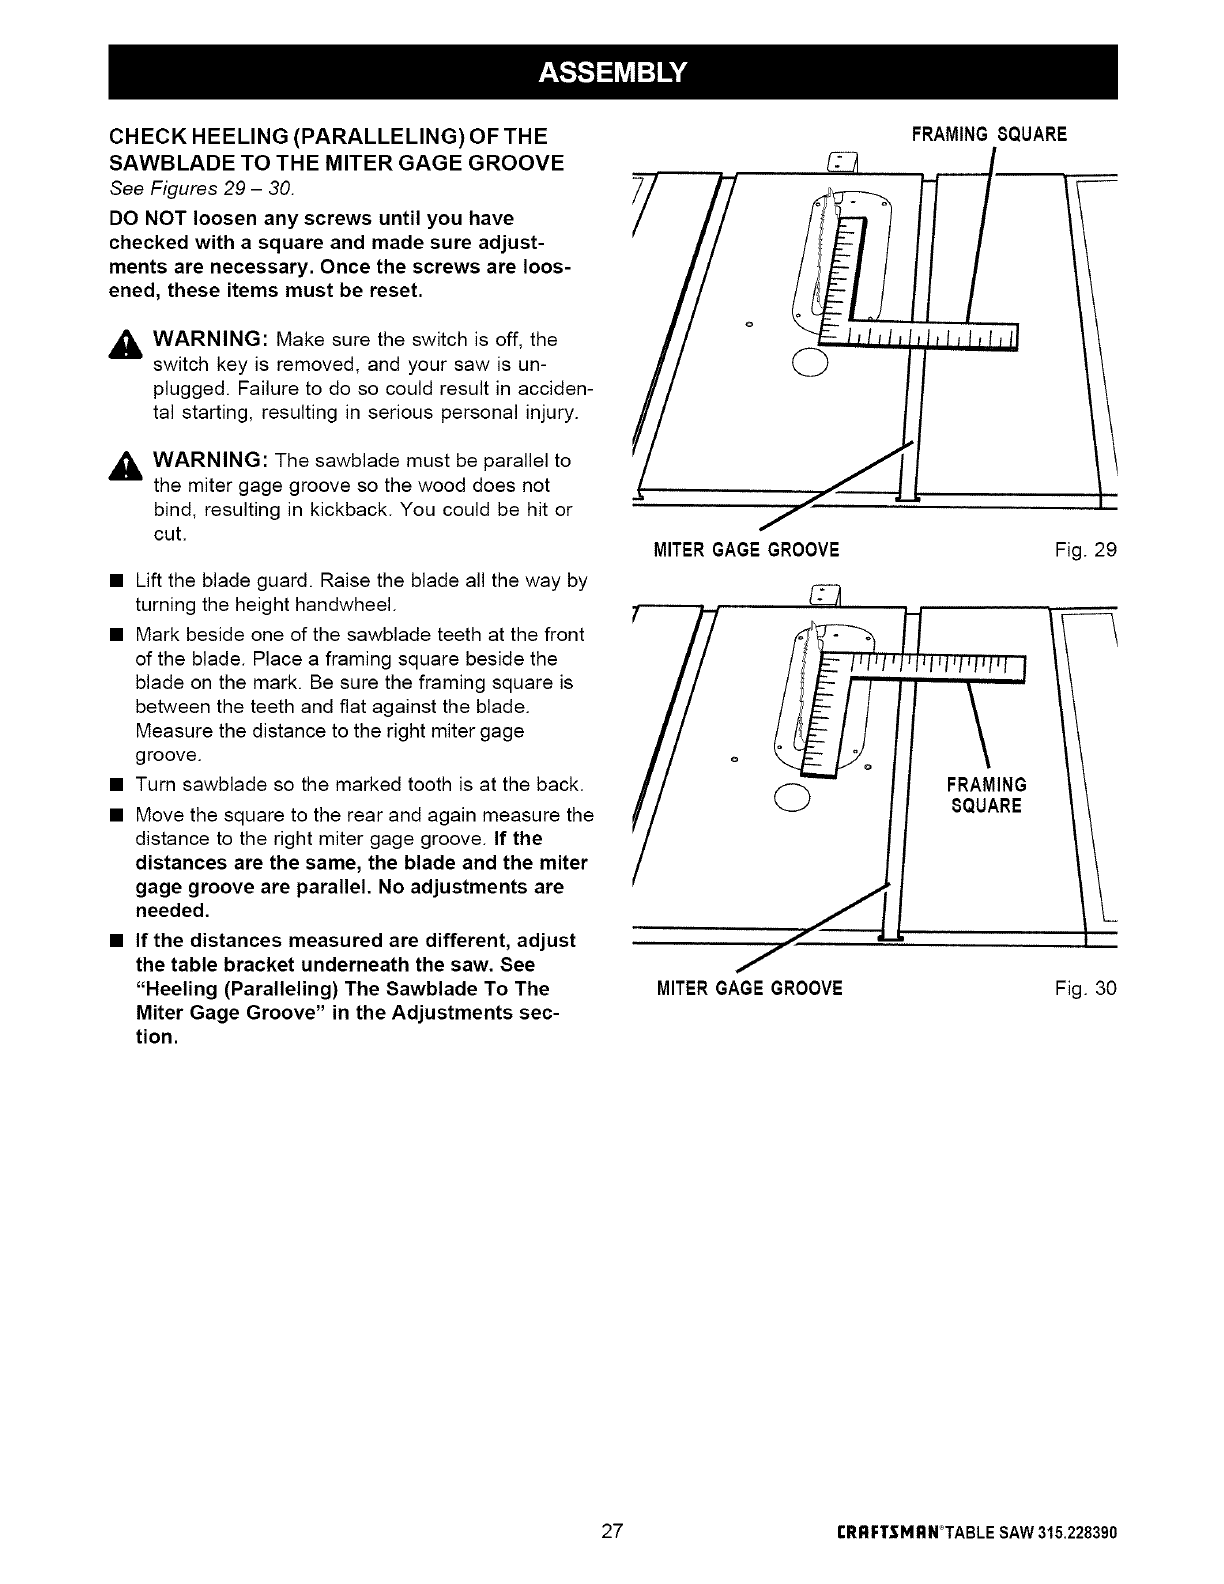
See Figures 29 - 30.
DO NOT loosen any screws until you have
checked with a square and made sure adjust-
ments are necessary. Once the screws are loos-
ened, these items must be reset.
_k WARNING: Make sure the switch is off, the
switch key is removed, and your saw is un-
plugged. Failure to do so could result in acciden-
tal starting, resulting in serious personal injury.
_ WARNING: The sawblade must be parallel to
the miter gage groove so the wood does not
bind, resulting in kickback. You could be hit or
cut.
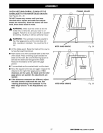
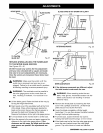
• Lift the blade guard. Raise the blade all the way by
turning the height handwheel.
• Mark beside one of the sawblade teeth at the front
of the blade. Place a framing square beside the
blade on the mark. Be sure the framing square is
between the teeth and fiat against the blade.
Measure the distance to the right miter gage
groove.
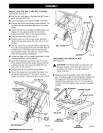
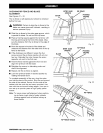
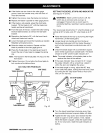
• Turn sawblade so the marked tooth is at the back.
• Move the square to the rear and again measure the
distance to the right miter gage groove. If the
distances are the same, the blade and the miter
gage groove are parallel. No adjustments are
needed.
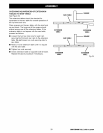
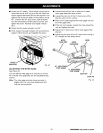
• If the distances measured are different, adjust
the table bracket underneath the saw. See
"Heeling (Paralleling) The Sawblade To The
Miter Gage Groove" in the Adjustments sec-
tion.
I_llll
Q
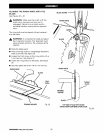
MITERGAGEGROOVE
FRAMINGSQUARE
1/'
Jt*l lfllll
Fig. 29
MITERGAGEGROOVE
Fig. 30
27 rRRFTSMRN°TABLE SAW315.228390