


Copyright© 2006 Digital Spectrum Solutions, Inc. Page 44
12.3 Steps to Create 16:9 Content for MemoryFrame (Portrait)
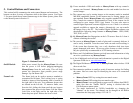
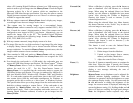
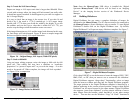
Step 1: Create the 9:16 Source
Image
This time divide the height by the
width to check the dimensions.
The image should be 1.7778
times taller (16 / 9) that it is wide.
The Eiffel tower on the right
shows the correct initial image.
Step 2: Resize to 600x800
That’s 600 pixels wide, 800
pixels tall. The next image shows
the image squished to 3:4 aspect,
ready for sending to a
MemoryFrame.
Step 3: Save as High Quality
JPEG
Step 4: Add to Slideshow and
Send to MemoryFrame
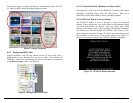
Right off the bat, the biggest
mistake that people make when
preparing portrait slideshows is
not setting the slideshow to
portrait orientation. This is done
through the “View/Switch to
Portrait View” menu option in the
Digital PixMaster. Do not rotate
the images 90 degrees to get a
portrait slideshow – using the
menu option will do it correctly
and show portrait thumbnails at
the same time.
Copyright© 2006 Digital Spectrum Solutions, Inc. Page 9
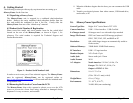
1. Insert the MemoryFrame CD into the optical drive, and connect the
PC to the MemoryFrame with a USB cable.
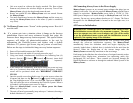
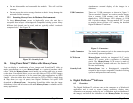
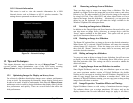
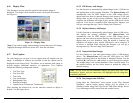
2. Connect the larger “standard USB” connector to the USB port of the
PC. Connect the smaller “mini-USB” connector to the “PC” connector
of the MemoryFrame. Figure 5 shows the location of the connector on
the back of the MemoryFrame and typical PC.
Figure 5 – Connecting a PC to MemoryFrame
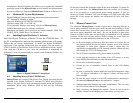
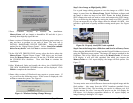
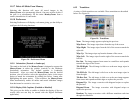
3. After connecting, the Windows® Hardware Wizard will detect the
MemoryFrame. When the Hardware Wizard begins, the following
screen will be displayed:
4. Click Next to begin installation. Since the MemoryFrame USB driver
is not digitally signed, Microsoft Windows® XP users may see the
following screen during the install process:
PC
Rear of
MemoryFrame