


Copyright© 2006 Digital Spectrum Solutions, Inc. Page 36
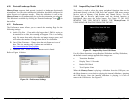
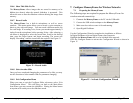
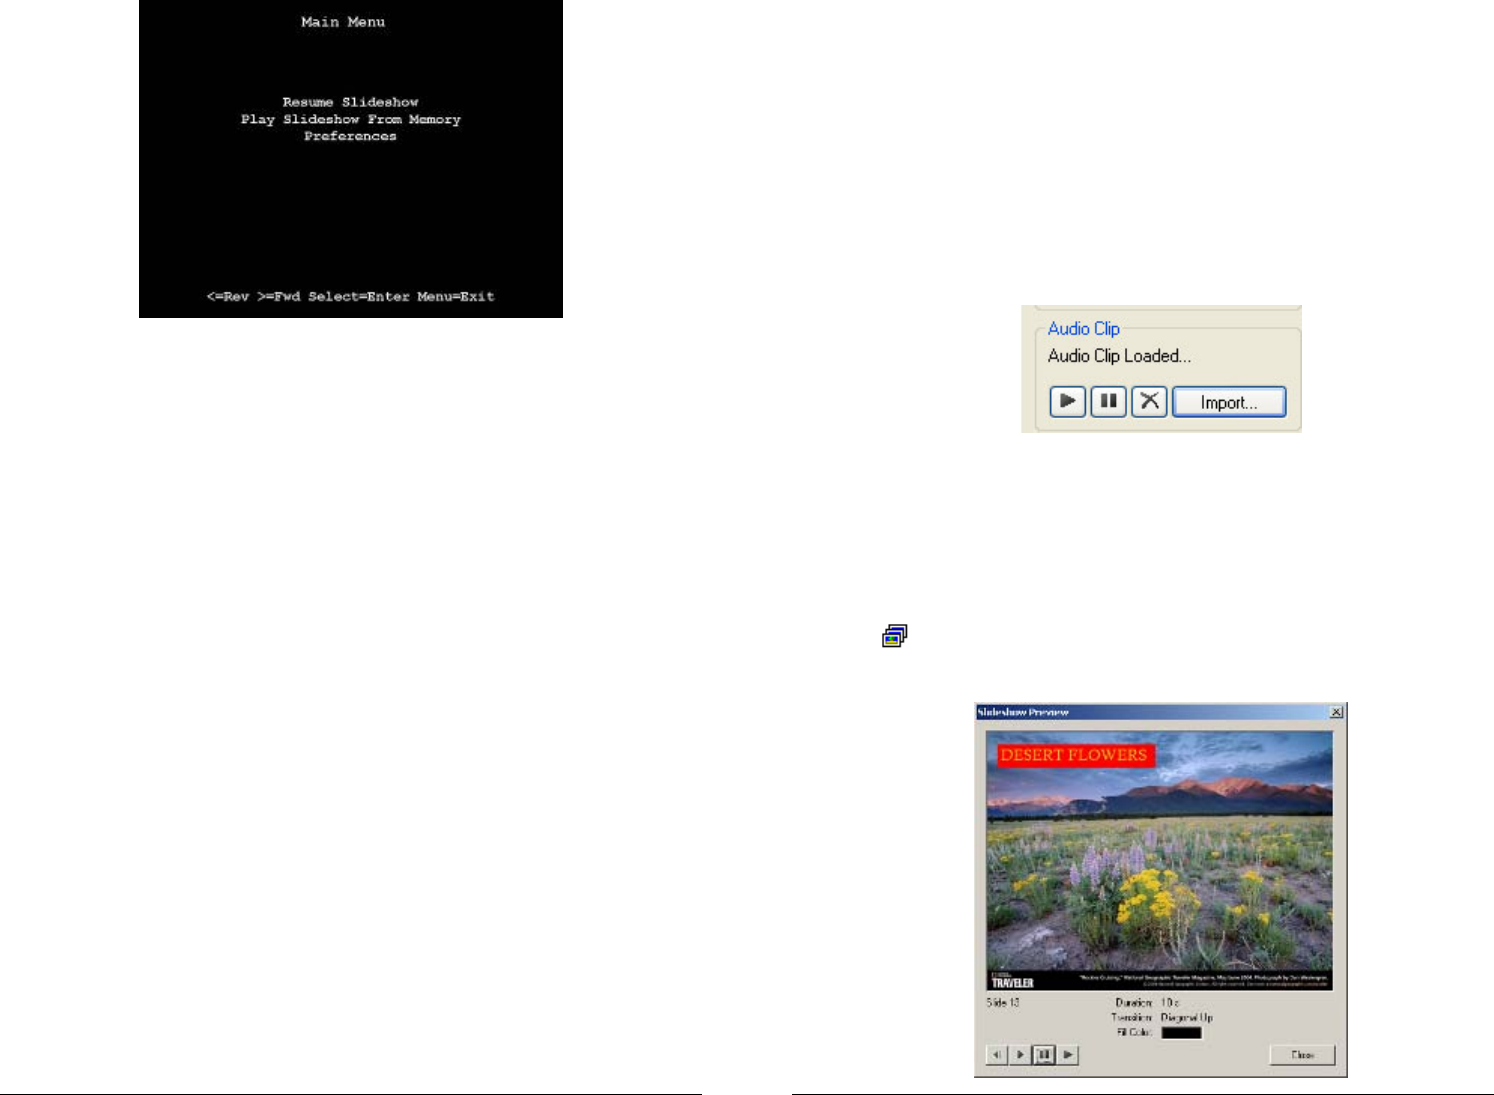
Figure 23 – Revert Back to Internal Slideshow
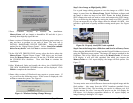
11.5.1 Replace Slideshow
The MemoryFrame will search the USB device for a Digital
PixMaster compatible slideshow (.pd2 extension). If a slideshow is
found, it is uploaded and stored to the onboard permanent memory,
replacing the existing slideshow. The screen will present a progress
bar while the uploading and storing process is underway. When
complete, the new slideshow will begin to play. Once the new
slideshow begins playing, it is safe to remove the USB device. DO
NOT REMOVE THE USB DEVICE WHILE THE MemoryFrame IS
UPLOADING FROM THE DEVICE.
11.5.2 Play Slideshow
The MemoryFrame will search the USB device for a Digital
PixMaster compatible slideshow (.pd2 extension). If a slideshow is
found, the MemoryFrame will play the slideshow directly from the
USB device. To revert to the internal slideshow, depress the Menu
button. Select the “Resume Memory Slideshow” function. The
MemoryFrame will then ignore the USB device and play the
slideshow stored in internal memory. The slideshow already stored in
the MemoryFrame will not be disturbed when a “Play Images from
USB Port” is performed. Note: DO NOT REMOVE THE USB
DEVICE WHILE THE MemoryFrame IS PLAYING FROM THE
DEVICE. Use the Menu Button.
Copyright© 2006 Digital Spectrum Solutions, Inc. Page 17
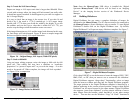
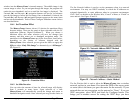
6.18 Attach Audio Clip
For each image you can associate a WAV audio file that will play when
the slide is displayed (WAV is the common term used for uncompressed
audio, because the file extension is “.wav”). The addition of audio adds an
extra dimension to slideshows by allowing annotation for each image with
either voice or music, enabling narrative shows or storybooks. Use the ►
button to preview (listen to) the audio clip. Be aware that when an audio
clip is attached to an image, the display time will be the longer of either
the display time setting or the duration of the audio clip. Also note that the
more audio clips that are attached to a slideshow, the fewer the number of
total images can be in the slideshow. See Figure 13.
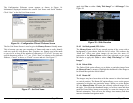
Figure 13 – Attach Audio Clip
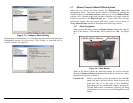
6.19 Preview Slideshow
You can preview how the slideshow will appear before sending. Selecting
“Preview Slideshow” from the View menu will present the slideshow in a
window using the selected transition and timing selections as shown
below. This function is also available by clicking on “preview-slideshow”
icon (
) in the toolbar.
◄| = Previous Slide |► = Next slide || = Pause ► = Play