


Copyright© 2006 Digital Spectrum Solutions, Inc. Page 22
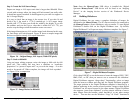
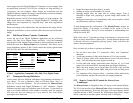
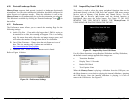
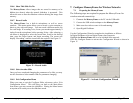
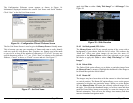
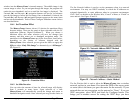
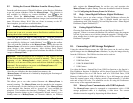
established for your network. When the WEP Keys are set, click “OK”,
and then click “Next” to advance to Register Your Frame, “Cancel” to abort,
or “Finish” to store and exit. See Figure 20 and 21.
Figure 20 – Set Wireless Info
Figure 21 – Set WEP Keys
Copyright© 2006 Digital Spectrum Solutions, Inc. Page 31
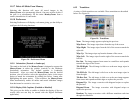
Some items in the main menu execute the listed task, while other items in
the main menu launch a sub-menu for the described function. Each of the
options in the main menu is described below. Once in the Menu system,
selecting the Menu button will return you to the previous menu.
11.3 Resume Slideshow
When you wish to exit the Menu system, you can either push the Menu
button again or alternatively use the appropriate button [Forward (►) or
Reverse (◄)] to highlight the Resume Slideshow menu selection and then
press the Select button. This will resume the slideshow from the last
image that was displayed before entering the Menu system.
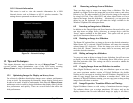
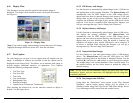
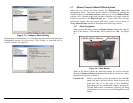
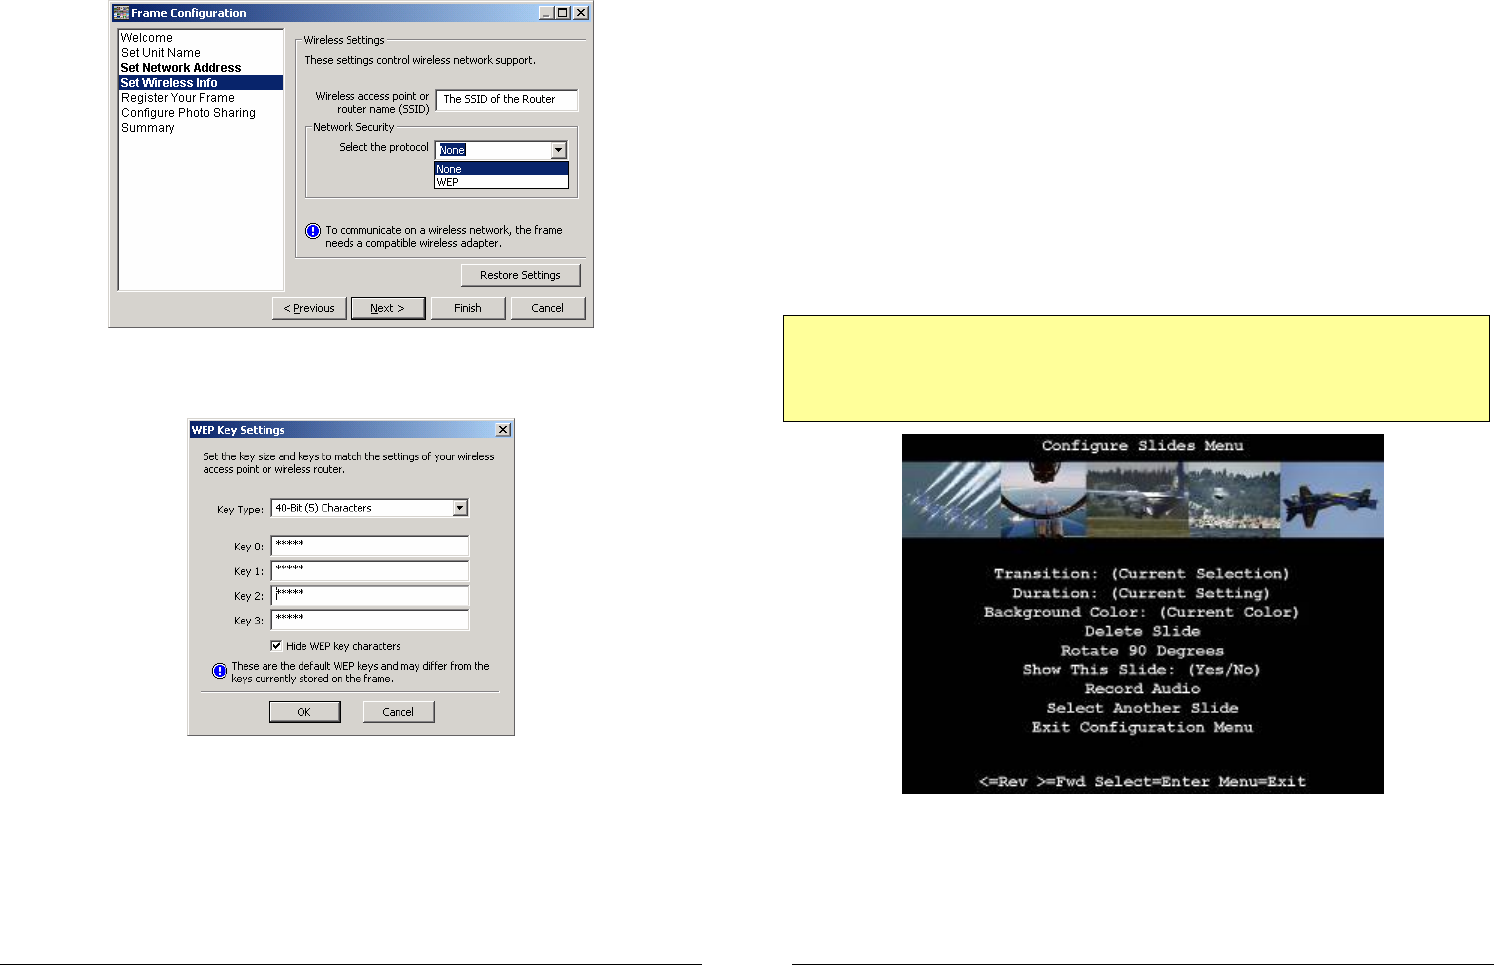
11.4 Configure Slides
This menu lets you set or change the attributes of each image in a
slideshow without a PC. To enter a Configure Slides sub-menu, use the
Forward (►) or Reverse (◄) button until the desired function is
highlighted, then press the Select button. See Figure 18.
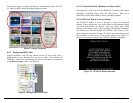
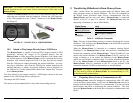
Important! On any menu that has thumbnail images, the thumbnails will
take a few moments to appear, and you will be unable to select an image or
move the highlight until ALL of the thumbnails have appeared in their
entirety.
Figure 18- Configure Slides Menu
In this menu, you are first presented with a thumbnail view of five (5) of many
images stored in the MemoryFrame. You can navigate through the images
using the Forward (►) and Reverse (◄) buttons. Since the MemoryFrame
can hold up to 80 images, this display of three (5) thumbnails serves as a