Installation
Install Optio
nal Accessory Kits
Optional accessory kits are available for purchase
separately, including a pressure transducer kit (PN
24R050), a start/stop switch kit (PN 16U729), and a
controller kit (24V001 ) for a back pressure regulator.
Pressure Transducer Kit
1. To measure fluid pressure, install the pressure
transducer in the fluid line with a tee fitting.
Option
Description
Closed Loop Control
Enabled
If closed loop control
is enabled on Setup
Screen 8 (transducer
1) or Setup Screen 9
(transducer 2), install
the transducer near the
pump outlet, not near
the end of the circulation
line.
Closed Loop Control
Not Enabled
Install
the transducer
where ne
eded.
2. Connec
t the transducer cable to Port 7
(trans
ducer 1) or Port 10 (transducer 2) on the
contro
l module.
Start
/Stop Switch Kit
1. Mount
the switch near the control module, using
the br
acket provided.
2. Conn
ect the switch cable to Port 4 on the control
modu
le.
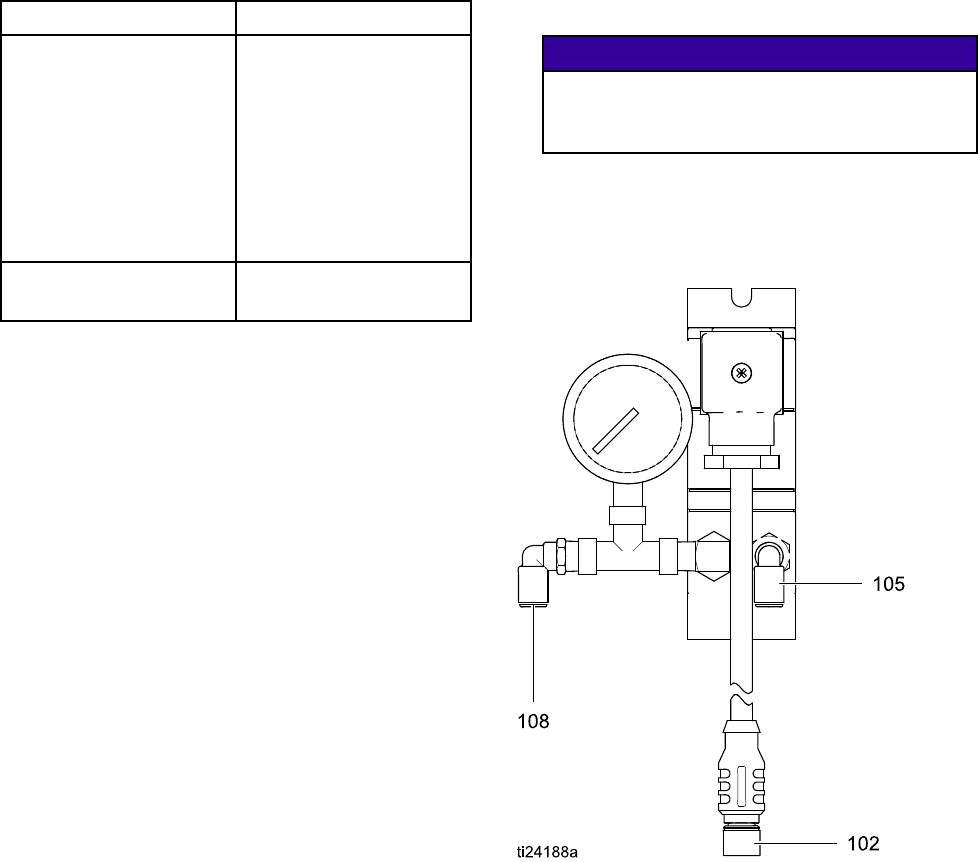
BPR Controller
The BPR (back pressure regulator) controller enables
theusertocontrolthebackfluidpressurefromthe
control module.
1. Mount the BPR
controller using the bracket
provided.
2. Connect a su
pply air line to the BPR controller
air inlet (1
05).
NOTICE
To prevent equipment damage, always apply
air pressure to the BPR controller before
applying power to the system.
3. Connect an air line from the BPR controller air
output (108) to the BPR.
4. Connect the BPR controller input cable (102) to
Port 8 on the control module.
4
3A2527D


