-52-
Model G0757Z (Mfd. Since 02/15)
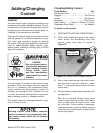
Changing Coolant
Tools Needed Qty
Hex Wrench 5mm .............................................. 1
Catch Pan .......................................................... 1
Empty Bucket 5-Gal. ......................................... 1
Rubber Hose (optional) ..................................... 1
Goggles .......................................... 1 Per Person
Gloves ............................................ 1 Per Person
Respirator ....................................... 1 Per Person
New Coolant ..........Approx. 2 Gallons (7.5 Liters)
Disposable Shop Rags ...................... As Needed
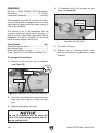
To change coolant:
1. Put on personal protective equipment.
2. Place catch pan on table, position coolant
nozzle into pan, then use coolant pump to
drain reservoir.
Note: When catch pan is near full, empty it
into a 5 gallon bucket, then repeat process
until reservoir is empty.
Tip: Alternately, slide a rubber hose onto
coolant nozzle and point it 5 gallon bucket.
3. DISCONNECT MACHINE FROM POWER!
4. Clean away debris from coolant return screen
and surrounding area, then remove screen
from base.
5. Thoroughly clean out reservoir. Make sure
interior is dry before adding new coolant.
Note: Use a shop vacuum and a cleaning
solution that is compatible with type of cool-
ant. For instance, if you are using a water-
base coolant, then use a water-base cleaning
solvent. Also, use magnets to remove any
metal chips left behind.
6. When reservoir is clean and dry, fill reservoir
with new coolant through hole in the base left
by return screen.
Tip: Place a couple of magnets inside res-
ervoir under return screen to collect metal
particles and keep them out of coolant pump.
7. Re-install return screen before resuming mill-
ing operations.
V-Belt Service
During the first 16 hours of use, the V-belts may
stretch slightly and seat into the pulleys. It is impor-
tant to check and adjust them to compensate for
this initial wear. Check the tension thereafter on a
regular basis. If belts become excessively worn or
damaged, replace them.
All V-belts can be replaced by releasing the ten-
sion and rolling them off the pulleys, then rolling
the new belts back onto the pulleys.
Tensioning Lower Horizontal Spindle
V-Belts
Tools Needed Qty
Open-End Wrench 24mm .................................. 1
Dead Blow Hammer .......................................... 1
Hex Wrench 8mm .............................................. 1
To tension lower horizontal spindle V-belts:
1. DISCONNECT MACHINE FROM POWER!
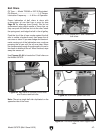
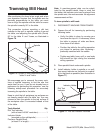
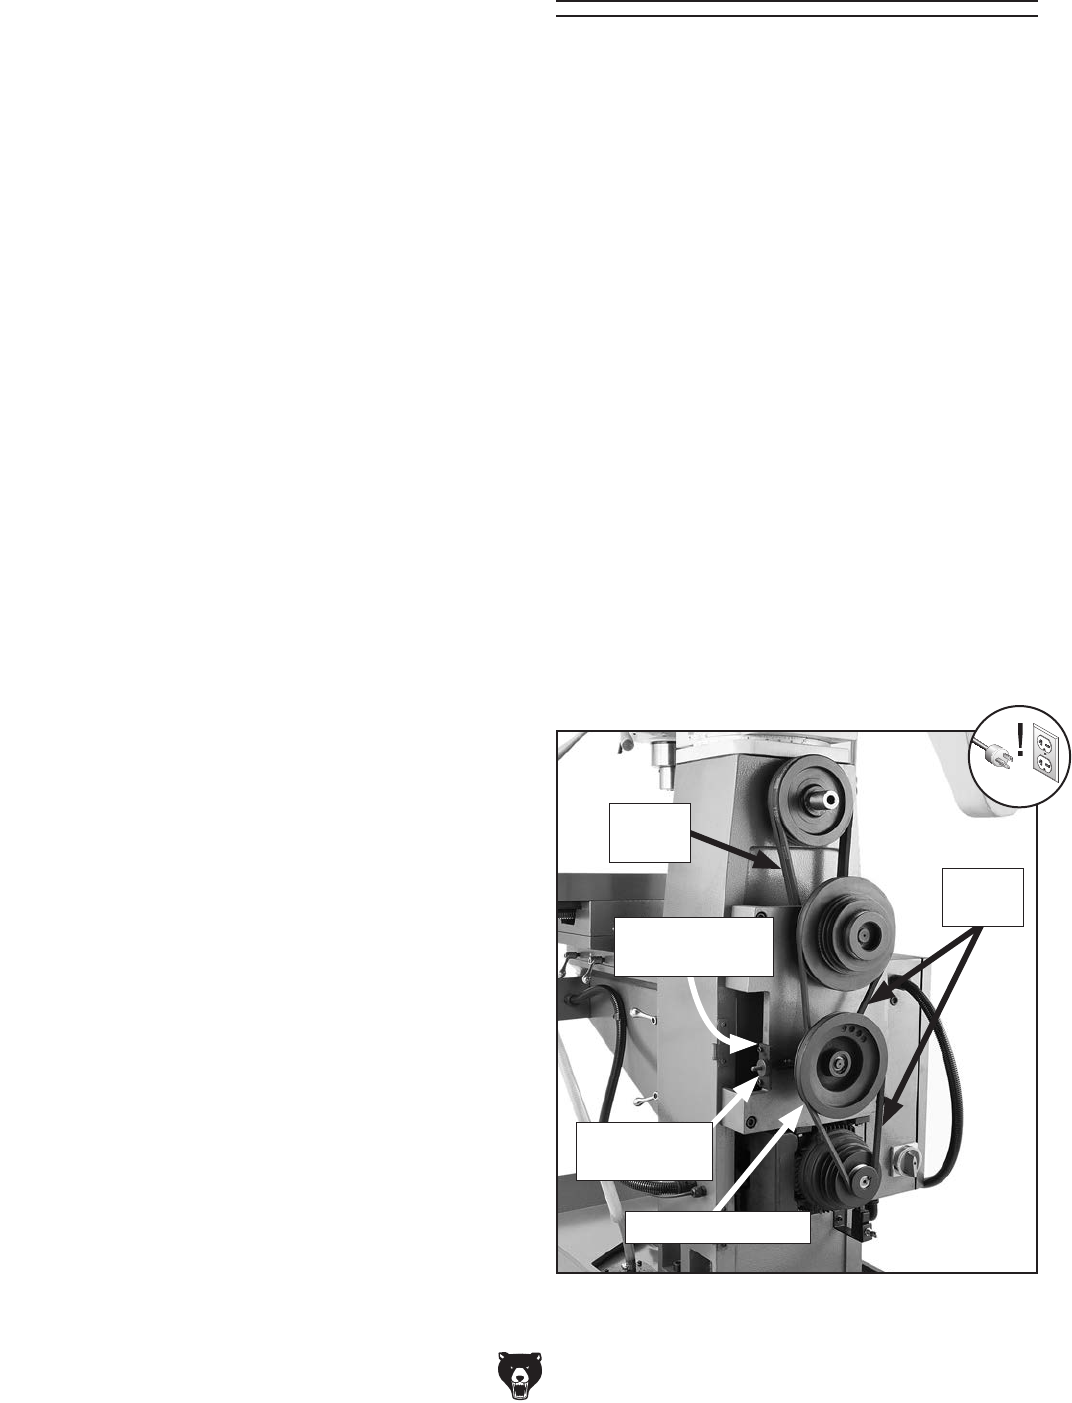
2. Open column rear cover to gain access to
horizontal spindle V-belts and pulleys, as
shown in Figure 73.
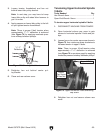
Figure 73. Horizontal spindle V-belts and pulleys
(cover removed for photo clarity).
Hex Nut
Behind Bracket
Tension
Thumbwheel
Lower Idler Pulley
Lower
V-Belts
Upper
V-Belts


